Porta
Switch
Broadband Internet Access Services
© 2000-2011 PortaOne, Inc. All rights Reserved. www.portaone.com
57
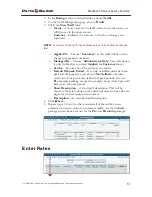
1.
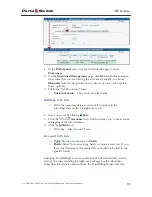
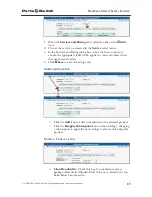
In the
Rating
section of Admin-Index, choose
Tariffs
.
2.
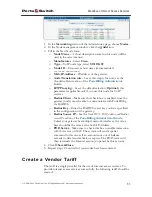
On the Tariff Management
page, choose
Add
.
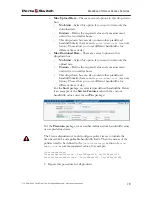
3.
Fill in the
New Tariff
form:
o
Name
– A short name for the tariff object; this is the name you
will then see in the select menus.
o
Currency
– Indicates the currency in which you charge your
customers.
NOTE: The currency for the tariff may be chosen only once, and cannot be changed
later.
o
Applied To
– Choose “
Customer
”, as this tariff will be used to
charge your prepaid customers.
o
Managed By
– Choose “
Administrator Only
” here (this option
is only visible after you select
Applied to: Customer
above).
o
Service
– Choose one of the services you created.
o
Default Off-peak Period
– If you do not differentiate between
peak and off-peak rates, just choose
Not defined
; otherwise,
select one of the previously defined off-peak periods. For our
Pro
example package, we need to set night hours (from 9pm until
8am) as an off-peak period.
o
Short Description
– A short tariff description. This will be
shown in the rate lookup on the admin interface and the self-care
pages for your accounts and customers.
o
Description
– An extended tariff description.
4.
Click
Save.
5.
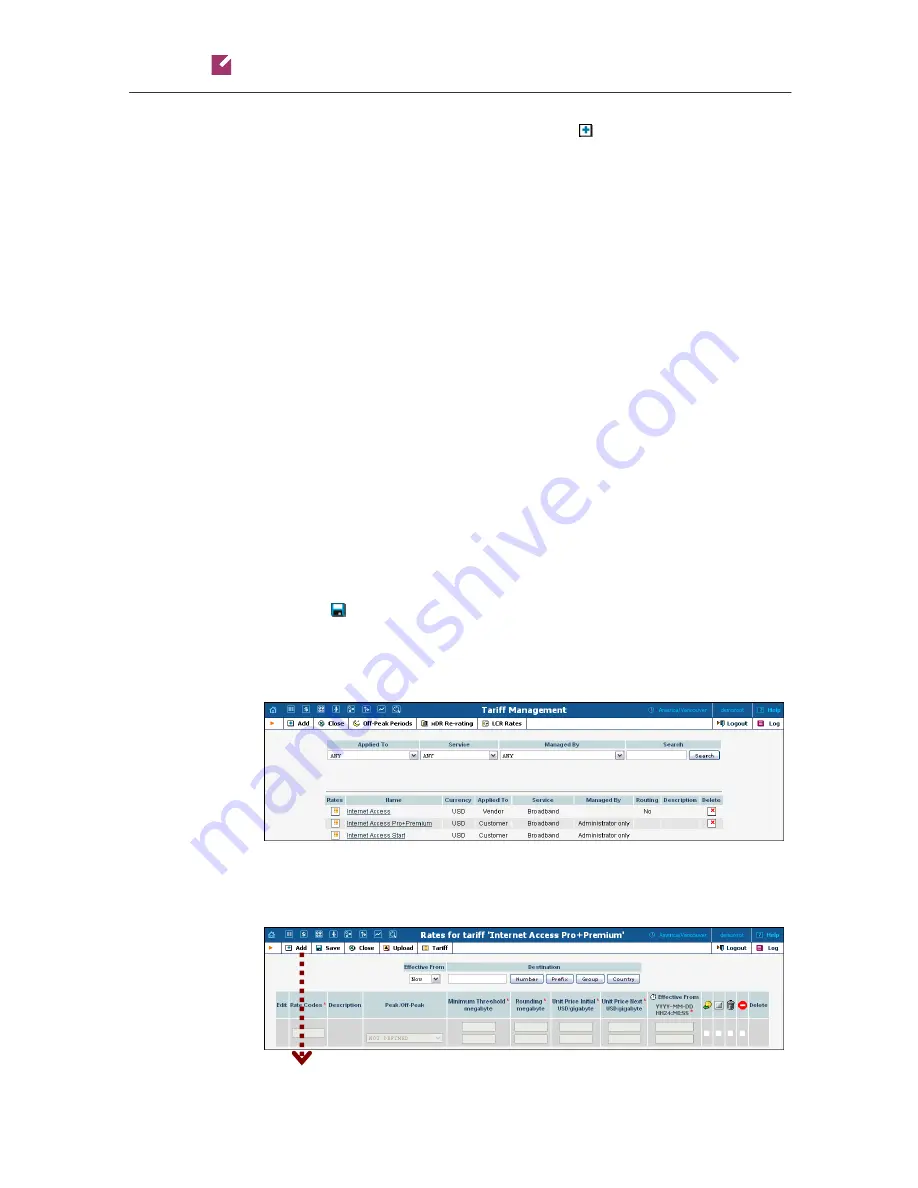
Repeat steps 1-4 until you have entered all of the tariffs. In our
example, we need to create two customer tariffs: one for the
Start
package and another joint one for the
Pro
and
Premium
packages:
Enter Rates

