19
13.2
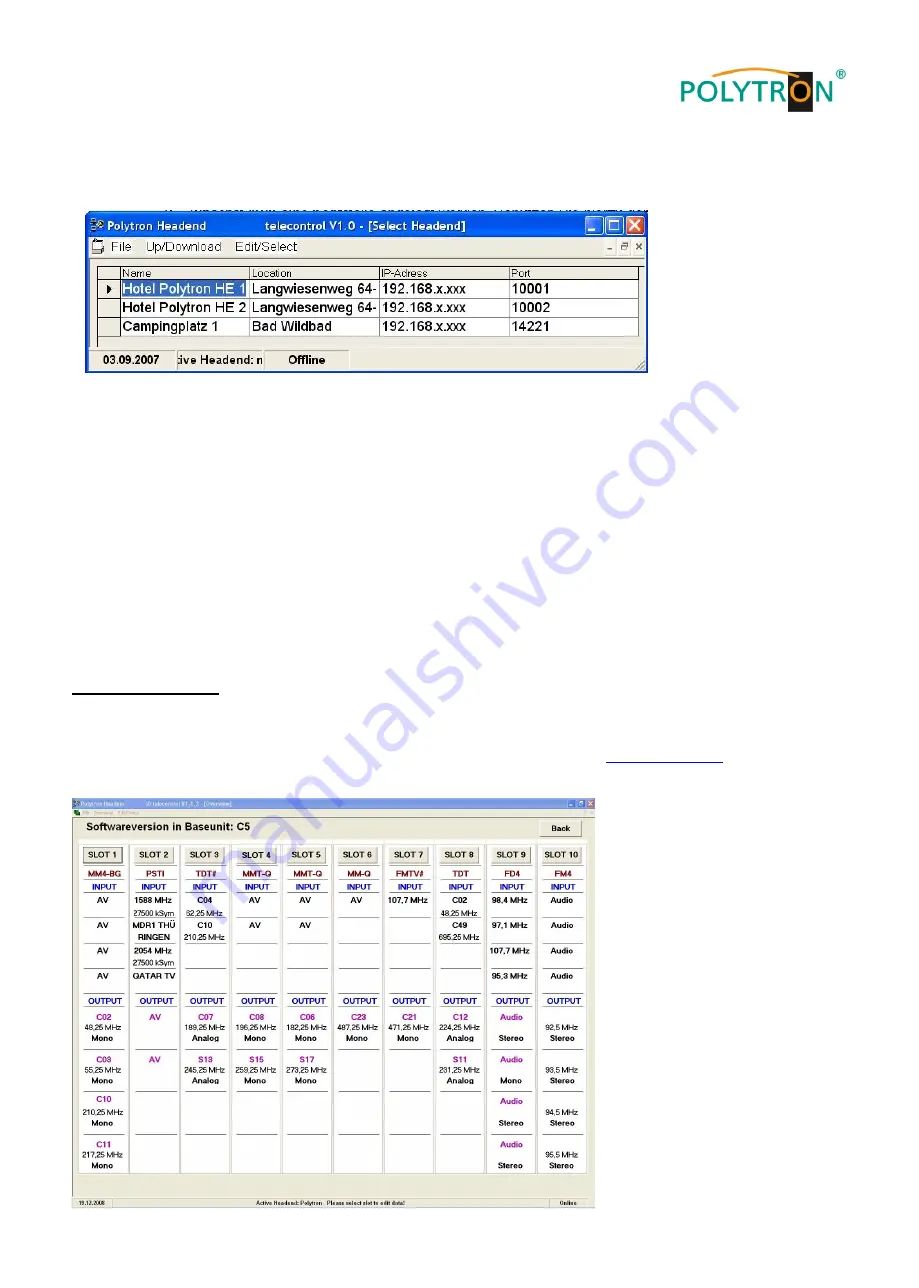
Choosing created headend
1. Select the required headend via mouse pointer.
2. Double click on the arrow in front of the name or click on the “Download“ button. The overview of the existing pro-
gramming will be downloaded.
13.3
Modify channel list
1. Choose slot to be programmed by pushing the button.
For e
xample: ”Slot 2”
2. Adjust required parameters.
3. Click on the “Save/Back“ button.
Following error message appears, if two identical output channels have been set
up: “Duplicate Chan-
nel/Frequencies-
Settings! Please check!“. The identical channels are shown highlighted in red.
13.4
Proxy settings
If the PC is behind a proxy server, the address and the port can be set under the menu item (Edit/Select
Proxy
Settings).
13.5
Settings for telecontrol by Internet
The following settings may vary depending on the type of router. Please follow the instructions in the router manual.
Exemplary procedure:
1. Assign each headend its own IP address in a number range (e.g. 192.168.1.XXX). The port may be the same for
all headends (for example, 10001).
2.
Setting up “port forwarding” in the router, so that every head-end receives its own extern port.
3. If the broadband access has no permanent IP, a dynamic DNS service (e.g.
) is needed.
Thereby the headend receives a unique address like headend.dyndns.com.
Содержание SPM 200 LAN
Страница 4: ...4 1 Montage und Sicherheitshinweise...
Страница 13: ...13 8 Mounting and safety instructions...
Страница 22: ...22 Notizen Notes...
Страница 23: ...23 Notizen Notes...


