


11
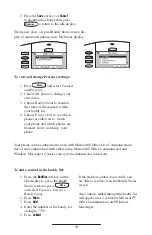
Time and Date is clearly displayed on the
SoundPoint
®
IP 501 SIP phone. If the
phone cannot obtain a time and date from
the server, the display will lash. Contact
your system administrator if either time or
date is incorrect.
You have control over the format of the
display and can turn it off. Select options
which are right for you as follows:
1. Press
Menu
.
2. Select
Settings
followed by
Basic,
Preferences, Time & Date.
3. Select from
Clock Date
,
Clock
Time, Clock Order
or
Enable/Dis-
able
.
4. Scroll through the options via the
up and down arrow keys.
5. Press
Select
to conirm and
Menu
to return directly to the idle display.
Time and Date
Headset Memory Mode
As an option, the headset can be perma-
nently enabled. This is especially useful
for regular headset users. To do this:
1. Press
Menu
.
2. Select
Settings
followed by
Basic,
Preferences, Headset Memory
.
3. Use the up or down arrows and
Select
soft key to enable Headset
Memory Mode.
4. Press
Menu
to return to the
main menu.
Subsequent calls to or from this phone
using the headset will activate a lashing
headset icon on the display. Pressing the
line keys or
Answer
soft key to receive a
call will now connect to the user’s headset
automatically.
Repeat steps 1-3 and select
Disable
to turn
Headset Memory Mode off.
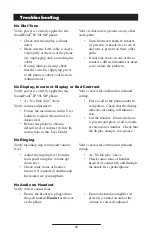
Display Contrast
To adjust the contrast on the display to a
comfortable level:
1. Press
Menu
. Select
Settings,
Basic,
followed by
Contrast
.
2. Press the
Up
or
Down
soft keys
(or volume keys) to increase or
decrease the display contrast.
3. Press the
Ok
or
Cancel
soft keys to
accept or cancel changes.
4. Press
Menu
or the
Exit
soft key
to return to the idle display.
Do Not Disturb
Press
Do Not Disturb
to prevent the phone from
ringing on incoming calls. A lashing icon
and text on the display indicates that Do Not
Disturb is on.
Calls received while Do Not Disturb is
enabled are logged in the
Missed Call
list.
To turn off Do Not Disturb, press
Do Not Disturb
again.
(Optional) If multiple lines are in use,
Do Not Disturb can be set on a line-
by-line basis. Contact your system
administrator for further details.
When Do Not Disturb is enabled for
a particular line, this is indicated by a
lashing “
X
” beside the line indicator
on the display.


