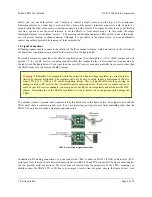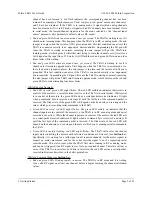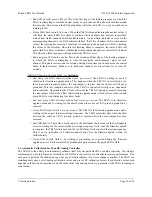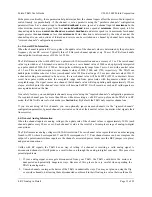
void GenerateCRCTable()
{
int i, j;
// generate a table value for all 256 possible byte values
for (i = 0; i < 256; i++)
{
CRCTable[i] = (i & 0x80) ? i ^ CRCPoly : i;
for (j = 1; j < 8; j++)
{
CRCTable[i] <<= 1;
if (CRCTable[i] & 0x80)
CRCTable[i] ^= CRCPoly;
}
}
}
// adds a message byte to the current CRC-7 to get a the new CRC-7
unsigned char CRCAdd(unsigned char CRC, unsigned char message_byte)
{
return CRCTable[(CRC << 1) ^ message_byte];
}
// returns the CRC-7 for a message of "length" bytes
unsigned char getCRC(unsigned char message[], int length)
{
int i;
unsigned char CRC = 0;
for (i = 0; i < length; i++)
CRC = CRCAdd(CRC, message[i]);
return CRC;
}
5.g. Resetting the Serial Communication Parameters
It is possible to reset the TReX to its default serial settings using the following jumper sequence:
1. Power off your TReX.
2. Attach the channel-mix jumper.
3. Attach the learning-mode/firmware-update jumper (i.e. short SO (Serial Out ) pin to G (Ground)).
4. Remove the mode-selection jumper (i.e. set the TReX for Serial Mode).
5. Restore power to your TReX. You should see the red and green status LEDs alternating around once per
second.
6. Remove the channel-mix jumper. You should now see the red and green status LEDs alternating around four
times per second.
7. Power off your TReX.
When you next power up your TReX, its serial settings will be back to their default values:
19.2 kbps baud, 1 stop
bit, no error detection
Pololu TReX User's Guide
© 2001–2009 Pololu Corporation
5. The Serial Interface
Page 19 of 22


