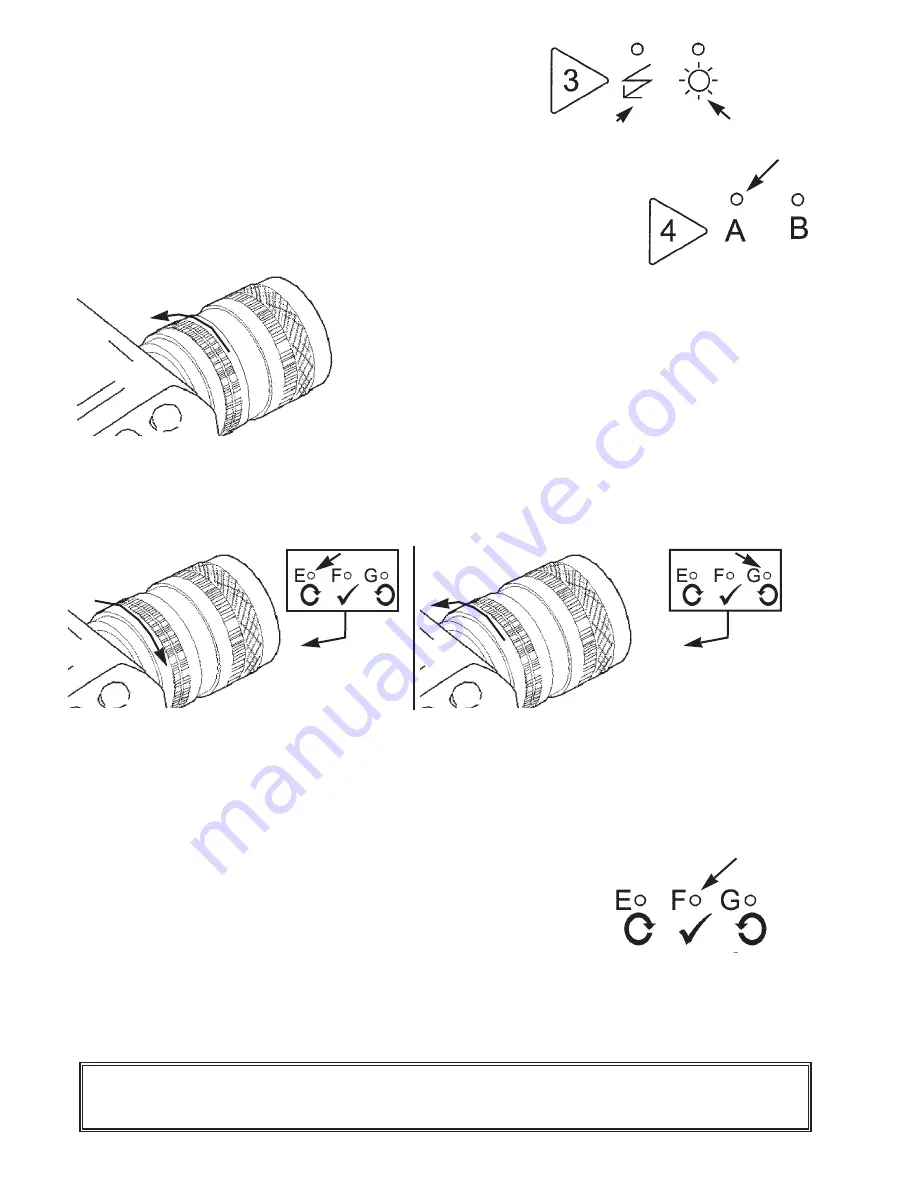
b.
Press
button 3
on the calibration
overlay to select the lighting mode which
corresponds to your lighting set up.
Aperture Adjustment
c. Press
button 4
on the calibration overlay until
indicator A is lit as shown.
d. Zoom the camera in on the grey card by
turning the middle lens ring fully anti -
clockwise as shown. Ensure the grey card
fills the preview screen completely and
press
button 2
on the calibration overlay.
e.
E
,
F
and
G
indicate which direction to turn the lens aperture to
achieve the correct setting.
E
indicates that there is insufficient light and
G
indicates too much light.
Make a small adjustment of the lens
aperture (ring closest to camera body) in the direction shown according
to which indicator is lit.
f. Press
button 2
on the calibration overlay twice and look again at
indicators
E
,
F
and
G
.
g.
Repeat steps e and f until
F
lights
indicating that the light level is acceptable.
h. Fix the aperture at this point by tightening the locking screw. Check
that the aperture ring has not moved in tightening locking screw by
repeating steps f and g.
page 20 of 28
strobe
ambient
Important:
Do not adjust the lens aperture and / or move the
position of the tripod during the following Colour Check procedure.
Содержание SP 350
Страница 1: ...User Guide SP 350...


