Quick Start
Quick Start Instructions
1. Plug the AC adapter into the Digital Photo Frame and plug it into a wall outlet.
2. Insert a memory card into the slot or insert peripheral USB equipment into USB host.
Memory cards that can be used in this device are: Secure Digital™, MultiMedia Card™,
Memory Sti
ck™, Memory Stick Duo™, Memory Stick Pro (MS Pro) .
3. Turn on the Power Switch located on the back of the Digital Photo Frame.
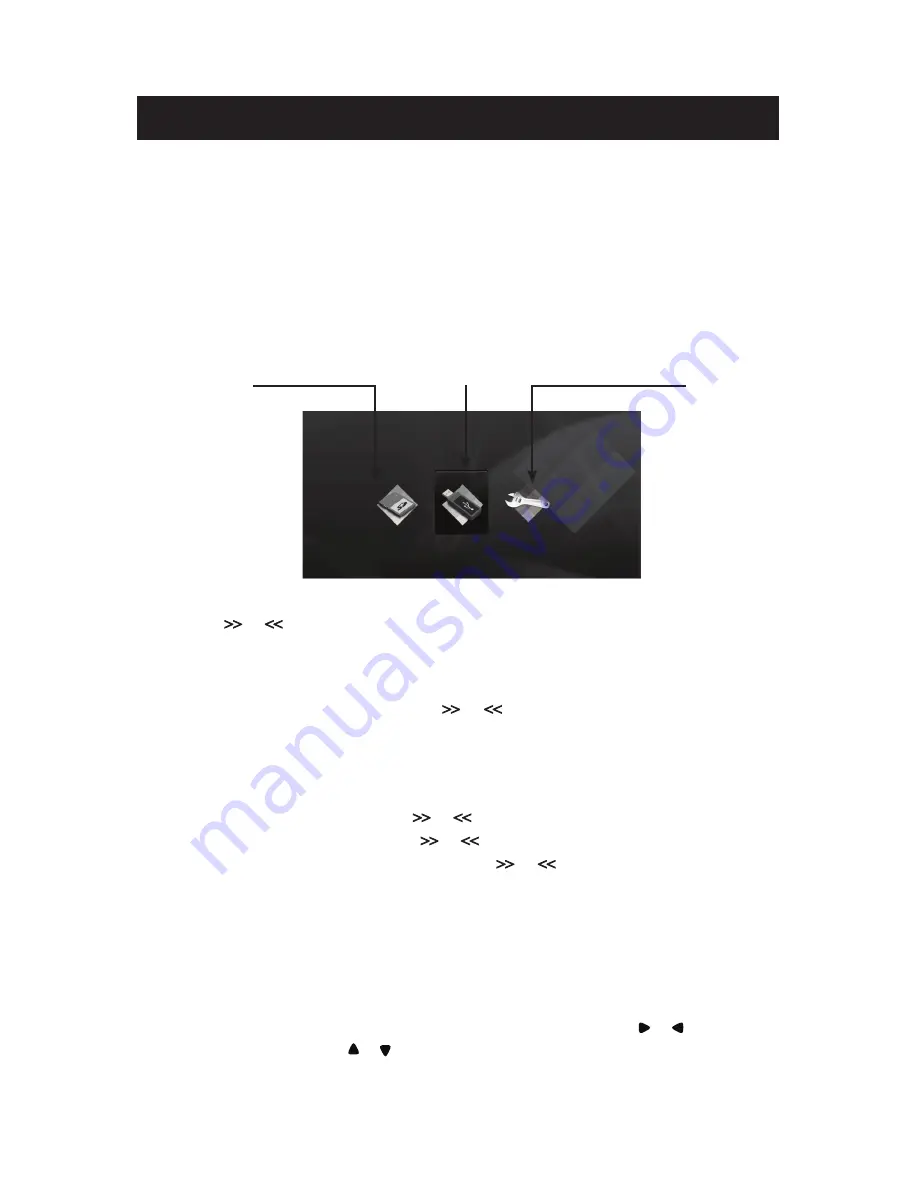
4. Once the Digital Photo Frame has been turned on, the unit will enter the “Select Card” page
automatically.
SD/MMC/MS
USB Flash Drive
SETUP
Select Card Page
5. Press the or button to select a type of memory card and press the Play
▶
II
button to
enter Photo mode. Thumbnails of your images will be shown on the screen.
6. Press the EXIT button to go back to the “Select Card” page.
7. Using the procedure in Step 5, press the or button to select a picture and press the
Play
▶
II
button to view it in full screen. Press the EXIT button to go back.
8. When viewing a picture, press the Play
▶
II
button again to enlarge the current picture. Press
the EXIT button to return to thumbnail mode.
9. On the “Select Card” page, press the or button to select the SETUP mode and press
the Play
▶
II
button to enter. Press the or button to scroll to the “LANGUAGE” option,
press
▶
II
button to enter its submenu. Press the or button to select a language you
prefer and press
▶
II
button to confirm your selection. In the SETUP mode, you can also
setup “Slideshow Time”, “Transition Effect”, “Display Mode”, “Auto Slideshow” “Contrast” and
“Default”.
Notes:
1. When there is no memory card in the unit, pressing the slideshow button will play the demonstration
images. For more details, please refer to “Demo Slide Show” on page 8.
2. You may use the the remote control to perform the above functions. Press the or button to scroll
forward or backward, Press the or button to scroll up or down, and press ENTER/ZOOM button to
enter, play or confirm your choice. Press the EXIT button to go back.
Содержание Digital Photo frame
Страница 67: ...67 20080910 www polaroid com support...
Страница 68: ...68...
Страница 70: ...70...
Страница 72: ...72 90 4 3 16 9 16...
Страница 73: ...73 II 4 3 16 9 4 3 16 9 30 60 1 2 3 10...
Страница 74: ...74 II II II USB USB USB USB USB 1 2 USB USB USB 3 USB USB...
Страница 75: ...75 1 2 3...
Страница 76: ...76 Q A JPEG Q A Q A...
Страница 100: ...100 20080910 www polaroid com support...
Страница 101: ...101 TFT LCD LCD LCD...
Страница 102: ...102 Polaroid Secure Digital Multi Media Card Memory Stick Memory Stick PRO Memory Stick Duo USB host USB flash AC Exit...
Страница 103: ...103 Exit Setup Zoom Enter E...
Страница 105: ...105 90 4 3 16 9 SETUP BUTTON ENTER ZOOM BUTTON ENTER ZOYM 16x EXIT BUTTON EXIT button...
Страница 107: ...107 II EXIT II EXIT II EXIT USB USB USB USB flash USB 1 AC 2 USB USB USB flash 3 USB USB flash...
Страница 108: ...108 1 2 3...
Страница 109: ...109 JPEG A EXIT button...
Страница 111: ...Part No OM6136EU001 Printed in China...


