I
n-Depth Use of
Polaris
So far, however, the unit fails to record the distance your walk covered, and can't mark
down waypoints during this walk. In order to enable it to do the jobs, you should first
establish a track
, which requires two points: the starting point or
Home 0
, an d a
destination.
To mark your current position as Home 0:
Press UP or DOWN button once to highlight the home point icon , then press
and hold '
SET'
button for 3 seconds, the latitude, longitude and altitude of your current
position will be stored.
A destination may be specifically picked out from a map or randomly caught in mind.
If you have no specific destination, you are suggested to input a destination with one
minute difference in latitude and longitude from the starting point, say:
(Starting Point)
(Destination)
To establish a track without specific destination:
Press
UP
three times to highlight the Destination Icon , then press the
SET
button once to highlight latitude icon
,
then press
OK
button to enter data field. With
starting latitude remaining on display and figure
N
or
W
blinking, press
OK
four times
to highlight the forth digit (the single minute), press UP button to increase the value by
one minute. Press OK button four times to highlight longitude icon
,
likewise up
change the longitude by one minute.
To establish a track with specific destination:
Press
UP
three times to highlight the Destination Icon , then press the
SET
button once to highlight latitude icon
,
then press
OK
button to enter data field. Using
UP or DOWN button to change the value you want and confirm by pressing OK button.
Finish the entire input likewise digit by digit.
After a destination has been input, the navigation pointer is activated with its arrow
pointing to it, signifying that user following this direction will arrive at the destination
ultimately. The straight distance between Home 0 and the destination also
appears in the distance data field .
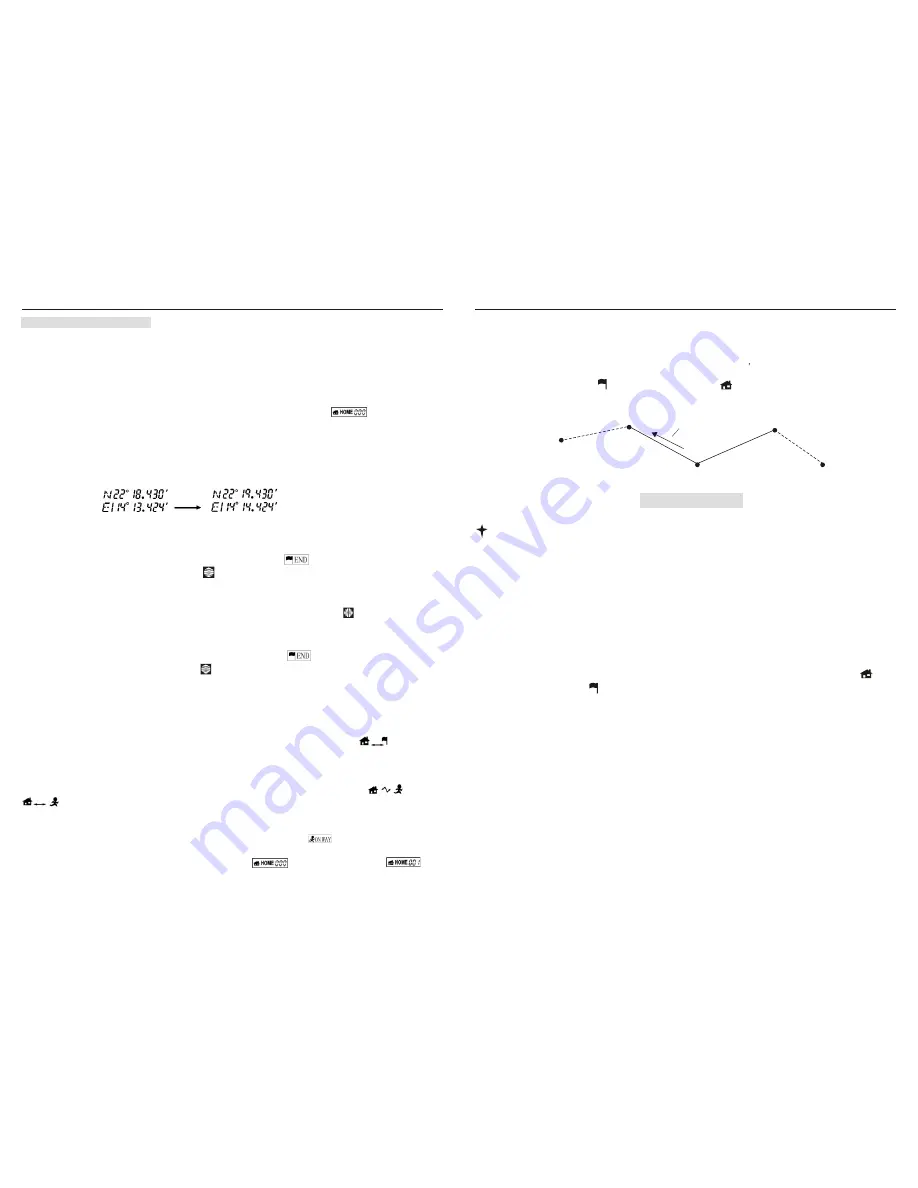
Now you can use the device to mark down waypoints if you talk a walk from the Home 0,
and the unit will measure distance the walk cover symbolized with icon or
.
To mark your current standing location as a waypoint
Press
UP
button
twice to highlight the
Current Point
icon
,
then press and
release SET button.
Such operation will causes the home point icon to increase by one .
10
Case 2__ Backtracking
: In case 1, when user arrive at a certain waypoint Home N, as shown in
the following diagram, circumstance require him to go back to waypoint Home (N-1). Wanting
unit to guide back to that point, he should act in this way:
Op6---
press and hold 'DOWN' and 'SET' button for two seconds
Such dual keying will make the
Navigation Pointer
point to
Home (N-1)
from current
location (
Point N)
. Icon will disappear while icon centered on the display will appear, as
shown in the right picture of Figure 8.
Case 2: Backtracking
Note: In this trailing back state, system will stop marking waypoint. When user arrives at
Home (n-1)
, arriving icon will blink and arriving alarm will be generated. At this time, all other
button will be disabled, until pressing'OK' button to stop it. Once the 'OK' is pressed,
Home (N-1)
will decrease to
Home (N-2)
and the latitude, longitude and altitude windows display the
geographic position of Home (N-1) as current point, and the pointer will point to Home (N-2). So
occurs the same step until, when arriving at Home 0 or in case 3 when forward-tracking has been
triggered.
Case 3___Forward-Tracking
: in case 2, when user arrived at waypoint Home (N-1),
Circumstance require the user go back to Home N again. In order to use the unit to guide him back
to Home N, he should act in this way:
Op7
--- press and hold 'UP' and 'SET' button for two seconds. Such dual keying will force the
Navigation Pointer
point to
Home N
from current location Home (N-1).Icon will
disappear while icon Centered on the display will appear, as shown in the left picture of
Figure 8.
Home 0
N-1
Pointer bearing
N
+1
N
Destination
15
POLARIS USER MANUAL
POLARIS USER MANUAL
‡F
‡I


