Section 4. Advanced Features and PlexTools Professional
PX-712UF Installation and Users Manual
53
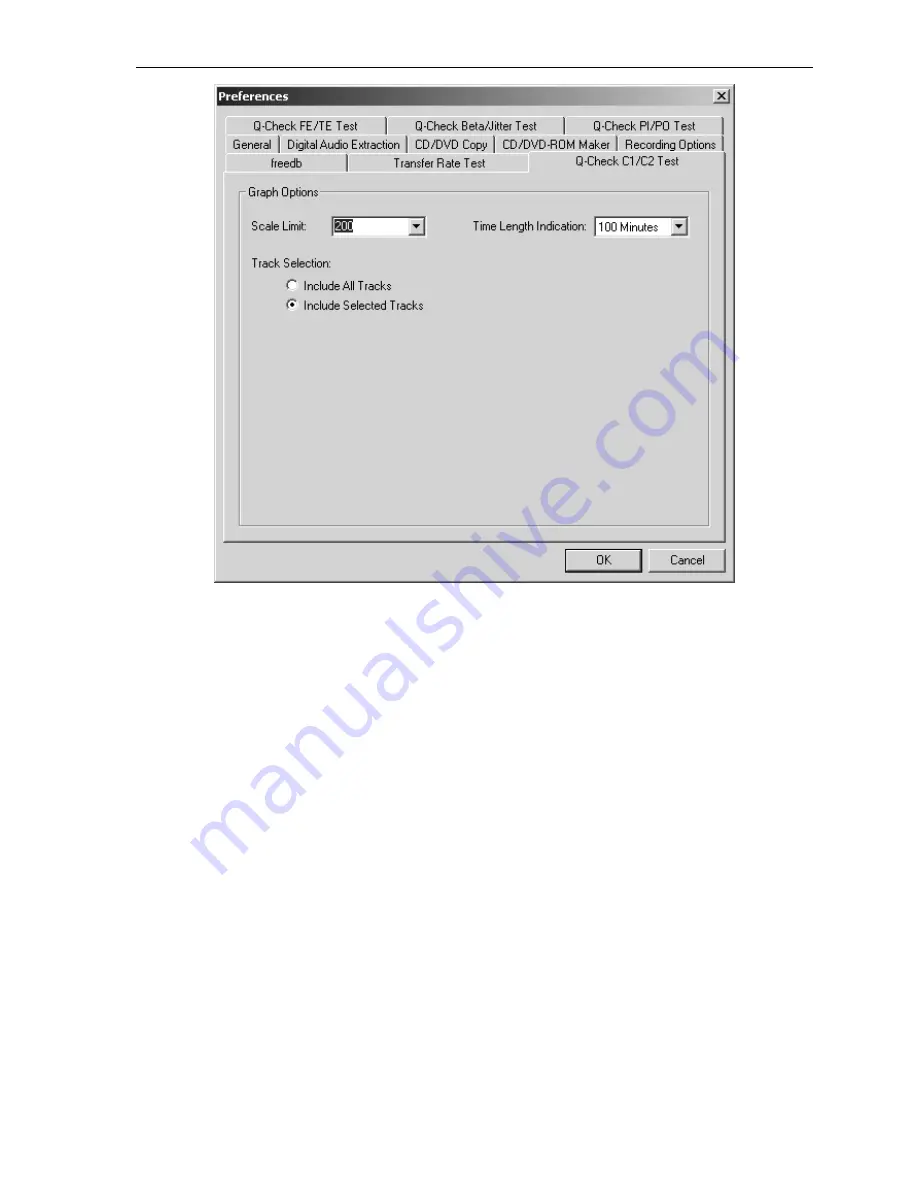
Figure 17: Changing preferences for graphing C1/C2 errors
4. Click OK to exit the Preferences window and return to the Q-Check
C1/C2 Test window.
5. To begin measurement, in the C1/C2 Test window, click the Start
button. You see the error counts representing the result of C1 error
measurement (BLER) and C2 error measurement (E22). If the disc is
defective, you may also see a trace for CU error. The test halts if a
CU error is detected.
6. To end measurement, click the Stop button, or wait for the
measurement to stop by itself. Your window shows the test results,
and a graph of the error counts recorded by the application.
Содержание PX-712UF
Страница 8: ...Table of Contents viii PX 712UF Installation and Users Manual This page intentionally left blank...
Страница 18: ...Section 1 Getting Started 10 PX 712UF Installation and Users Manual This page intentionally left blank...
Страница 92: ...Appendix A PX 712UF Specifications 84 PX 712UF Installation and Users Manual This page intentionally left blank...
Страница 106: ...Index 98 PX 712UF Installation and Users Manual This page intentionally left blank...
Страница 107: ...PX 712UF Installation and Users Manual 99 Notes...
Страница 108: ...Notes 100 PX 712UF Installation and Users Manual...
Страница 109: ...Notes PX 712UF Installation and Users Manual 101...
Страница 110: ...Notes 102 PX 712UF Installation and Users Manual...
Страница 111: ...Notes PX 712UF Installation and Users Manual 103...


