16
17
CABLE TESTING
Cable Testing Guidelines
The Net Prowler tests coax, network, and phone cables to detect possible
faults, measure cable lengths, show wire pairing and examine a cable’s
physical/electrical properties.
Important Notes:
•
RJ jacks for data and phone share internal connections on the
Net Prowler. Connect just one RJ cable at a time.
•
You cannot connect an RJ and coaxial cable at the same time.
•
If testing RJ cables, remove any coax cable adapters
Safety Notes
The Net Prowler is designed for use on cables with v oltage
below 60V. Do not plug the device into a source with voltage
above 60V. Connecting the device to live AC power can damage
the unit and pose a safety hazard.
Poorly terminated RJ plugs can damage the jacks on the Net
Prowler. Inspect all RJ plugs before inserting them into the Net
Prowler. Make sure you insert the plug into the appropriate jack
of the remote or device.
Cable contacts should be recessed into the plastic housing of the
receiving jack. Don’t plug a six-position phone plug into an eight-
position data jack on a remote or remote device.
Length Testing
Net Prowler measures cable length and length to faults using Time Domain
Reflectometry (TDR). Velocity of Propagation (VOP) is the TDR measurement
of the speed of the reflected waveforms compared to the speed of light.
VOP values can vary among cable types, lots, and manufacturers. In most
cases, these differences are minor and may be disregarded.
Cable Testing with Remotes
Cable Tester Smart Remotes are used to verify connectivity at the opposite
end of a cable and provide an ID. To connect to a telephone cable, use the
included RJ12 no fault telephone patch cables to connect to a RJ11 wall
plate. The Coax ID remotes and yellow Network ID remotes are used to
provide an ID only.
TCP/UDP Test
• Open the Net Prowler application.
• Click on the Control tab.
• Power on your Net Prowler and connect it in to an active port/cable.
• From the home screen; Press the Device Discovery soft key,
then press the TCP/UDP soft key
. Click Start on the
application to begin the Throughput test. The test can also be
initiated using the Net Prowler by pressing the Test button
.
• Adjust the Net Prowler Brightness scale left or right (0-100%) or use
the up and down arrow buttons on the Net Prowler, this will indicate a
successful connection.
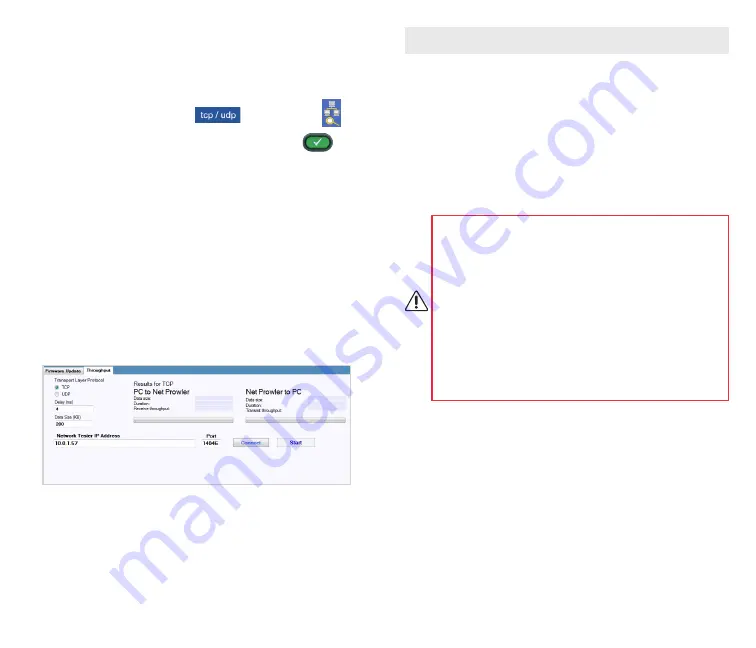
Throughput
Measure the throughput of a specified amount of data:
• Adjust the Net Prowler Brightness scale left or right (0-100%) or use
the up and down arrow buttons on the Net Prowler, this will indicate a
successful connection.
• Power on your Net Prowler and connect it in to an active port/cable.
Press the Network/Poe soft key, power on your Net Prowler and
connect it in to an active port/cable. Press the Network/Poe soft key.
• Click on the Throughput tab on the application.
• Select TCP or UDP.
• Enter a delay (if desired). The delay value is in milliseconds.
• Enter a desired amount of data to send. The data value is in kilobits.
* Note: Increasing the amount of data will increase the time it will take
for the test to be performed. This may impact the battery life of the
Net Prowler.
• Click Start to begin the data transfer.


