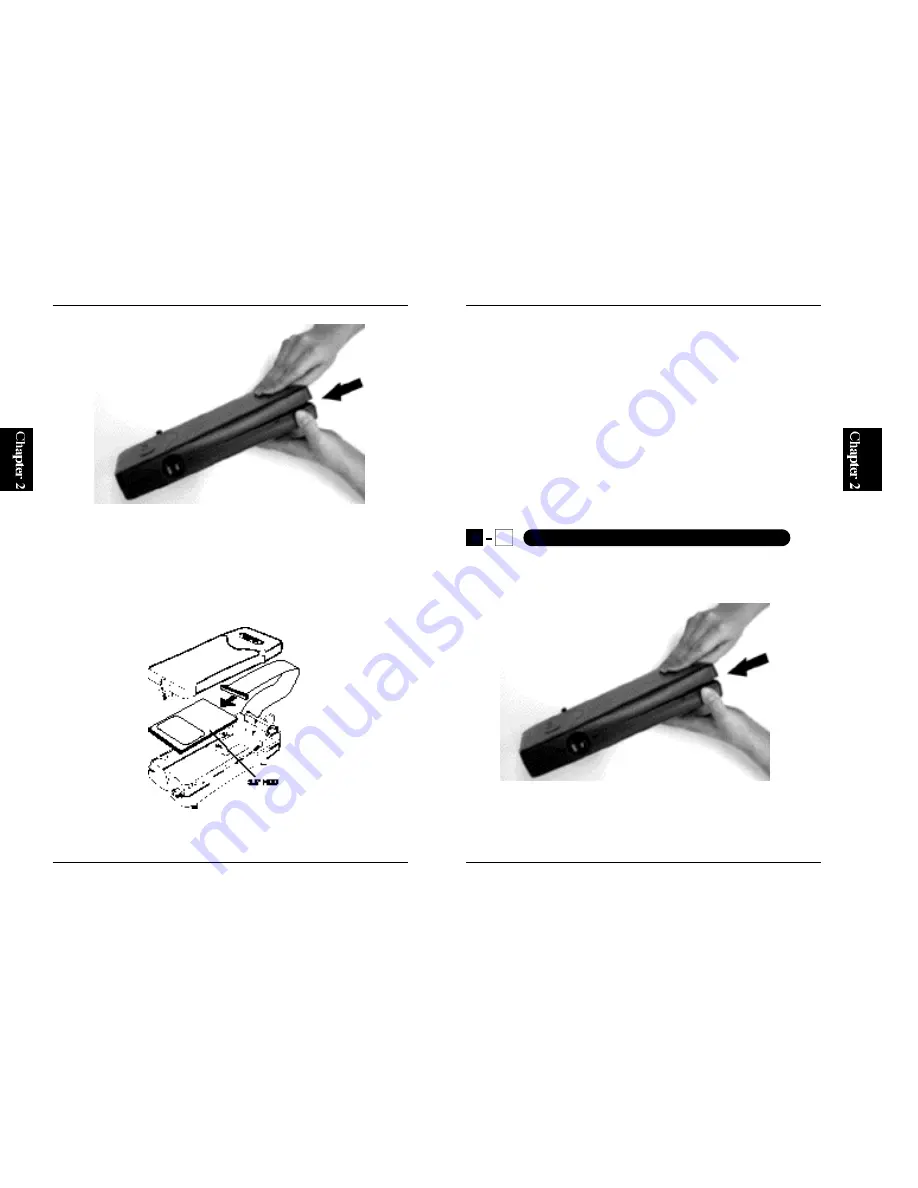
2. Remove the internal cover and take out the accessories contained in the
case. A wide 40pin IDE cable is required to use a 3.5" HDD with the RX-
35. Obtain this cable in advance.
3. Attach one end of the IDE cable to the RX-35F so that the red line on the
IDE cable is aligned with the Pin 1 of the 40pin IDE port of the RX-35F
(the side on which the pin number"1" is printed) .
4. Attach the cable to a 3.5" HDD so that the red line on the IDE cable faces
9
RX-35F
8
RX-35F
the inner side of the 40pin IDE connector of the HDD (toward the pin
near the power connector). When the 3.5"HDD is mounted, its upper
(top) side faces up.
* Set the jumper(s) of the HDD to Master. (For HDDs from WesternDigital:
Single config.)
5. Attach the power connector, and insert the 3.5" HDD into the RX-35F
case.
6. Align the screw holes on the sides of the 3.5" HDD with the screw holes
on the sides of the HDD case, and secure the HDD with the supplied
screws.
Hardware installation is now complete.
1. Firmly hold the lower part of the HDD case, and pull up the portion
indicated by the arrow (see below) to remove the jacket.
2. Remove the internal cover and take out the accessories contained in the
case. A narrow 44pin IDE cable is required to use a 2.5" HDD with the
RX-35. Obtain this cable in advance.
2
2
Mounting a 2.5" HDD to the HDD Case
Содержание PCi RX-35F
Страница 2: ...RX 35F ...
Страница 23: ...34 RX 35F ...


