PLANET NAS-7400 User Manual
134
ii.
The local Area Connection properties dialog box opens. Click on the
“Advanced” tab.
iii.
Click the “Settings” button.
iv.
The Windows Firewall dialog box opens. Click on the “Advanced”
tab.
v.
Under Network Connection Setting, click the “Settings” button.
vi.
The Advanced Settings dialog box opens. Click the “Add” button.
vii.
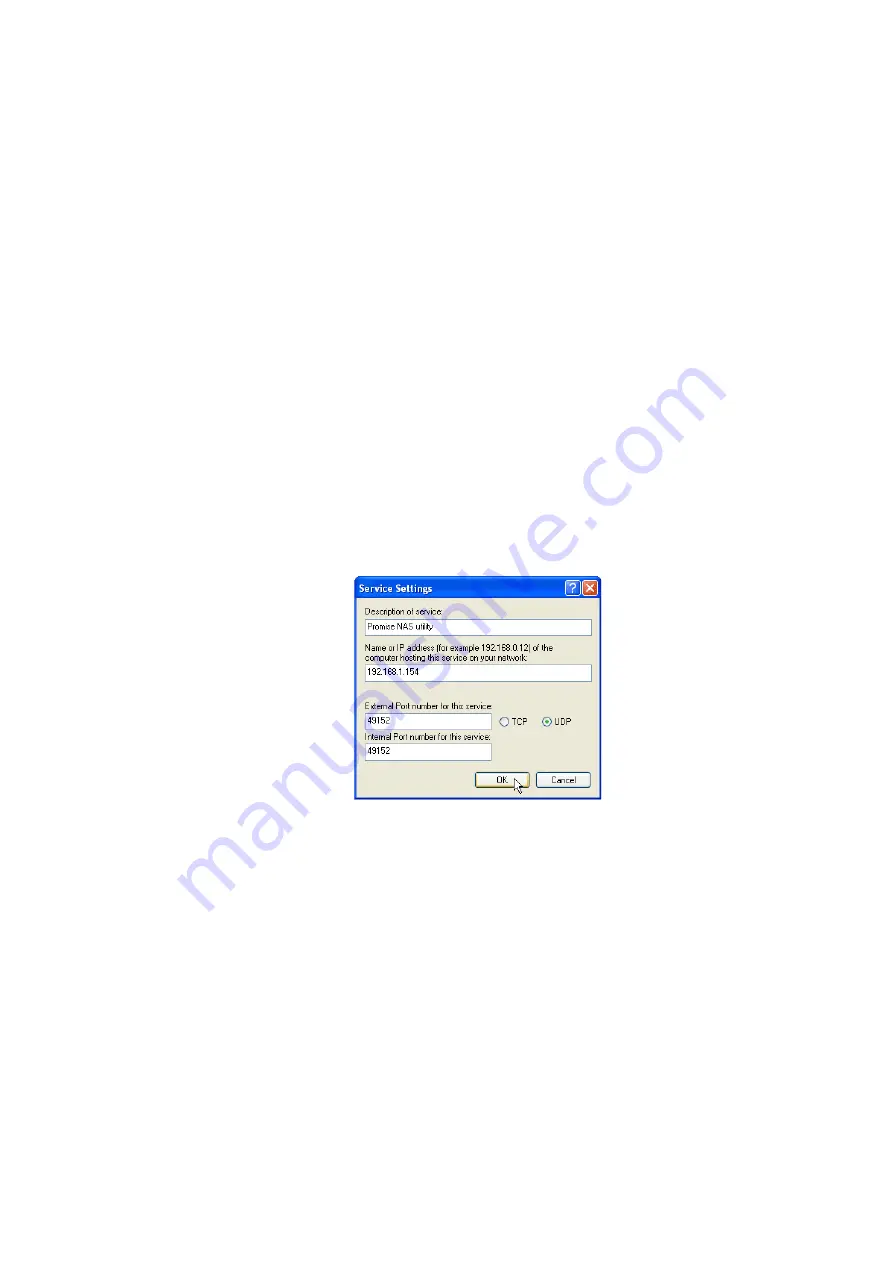
The Service Settings dialog box opens. In the Description of service
field, type PLANET NAS utility.
viii.
In the Name or IP address field, type the IP address of the
NAS-7400.
ix.
In the External Port field, type 49152.
x.
Click on the “UDP” option button.
xi.
In the Internal Port field, type 49152.
xii.
Click the “OK” button.
xiii.
Click the “OK” buttons in the Advanced Settings, Windows Firewall,
and Local Area Connection Properties dialog boxes.
Windows Firewall Advanced Service Settings
8.14 Frequently Asked Questions
Q1:
The NAS-7400 worked OK until I turned it off. When I turned it on again,
my Windows network drive connection no longer works.
A1:
When you powered up the NAS-7400, the DHCP server assigned a
different IP address to the NAS-7400. Here are two possible solutions:
You may be able to reset the NAS-7400’s IP address manually. Note
that changing the NAS-7400’s IP address may cause an IP address
conflict on your network. Check with your Network Administrator
before taking this action.


