« 25 »
1. Click
Users and Groups
.
2. Click
Group List
to display the Group List screen:
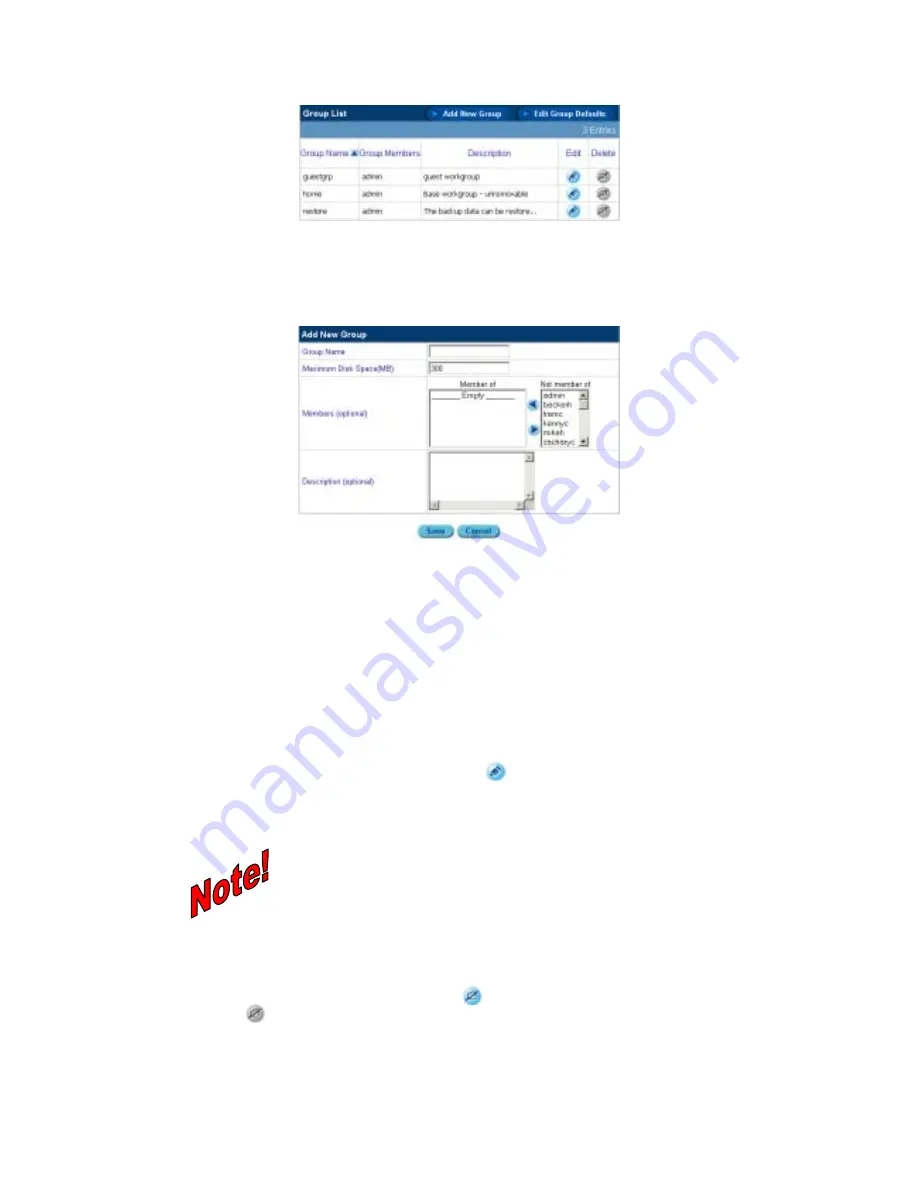
Figure 5-6: Users and Groups group list
5 . 2 . 2 . 1 A
D D I N G A N E W G R O U P
1. In the Group List screen, click the
Add New Group
button to display the following screen:
Figure 5-7: Adding a new group
The field definitions are as follows:
–
Group Name:
the name of the group.
–
Maximum Disk Space (MB):
the total disk storage space allocated to the group.
–
Members:
to choose which users are affiliated to the group, select a user from the list
and click the appropriate arrow. The left arrow adds membership in the selected group,
and the right arrow removes the user from affiliation with the group.
–
Description:
additional information for this group.
2. After typing in the required information, click
Save
.
5 . 2 . 2 . 2 E
D I T I N G G R O U P S E T T I N G S
1. In the Group List screen, click the edit icon
for the group that you want to edit.
2. Modify the fields in the Edit Group Settings screen as described in Adding a New Group.
3. Click
Save
.
You cannot change a group name in this screen. To change a
group name, delete the group as described in the next section and
create a new group.
5 . 2 . 2 . 3 D
E L E T I N G A G R O U P
In the Group List screen, click the Delete icon
for the group that you want to delete. If the delete
icon is gray
, than you are not allowed to delete the item.
5 . 2 . 2 . 4 E
D I T I N G G R O U P D E F A U L T S
1. In the Group List screen click
Edit Group Defaults
to view the following screen:


