background image


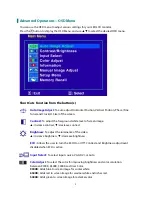
Advanced Operation—OSD Menu


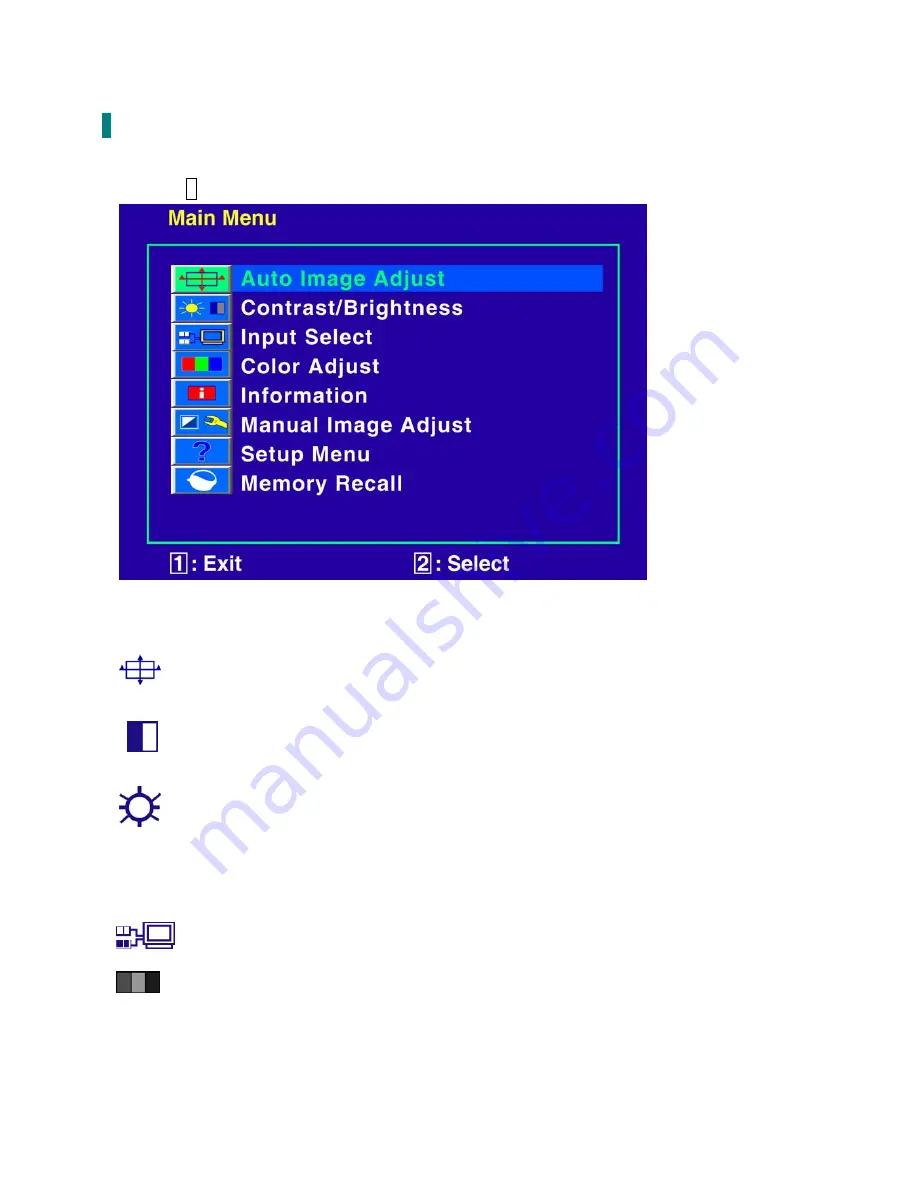
You can use the OSD menu to adjust various settings for your LED LCD monitor. 

Press the 

1

 button to display the OSD Menu, and use 

▲▼

 to select the desired OSD menu. 


Short Cuts Function from the button(s) 


Auto Image Adjust: 

To auto adjust Horizontal Position, Vertical Position, Phase (Fine 

Tune) and Clock (H. Size) of the screen. 


Contrast:


To adjust the foreground white level of screen image. 

increase contrast, 

:

 decrease contrast. 


Brightness:


To adjust the luminance of the video. 

increase brightness, 

:

 decrease brightness. 


ECO :

 Allows the user to turn the ECO On or Off. Contrast and Brightness adjustment 

disabled when ECO is active.   


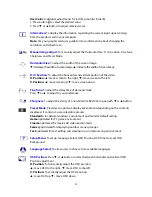
Input Select:


To select input source, VGA, DVI, or Auto. 


Color Adjust:

 To select the color for improving brightness and color saturation 

between 9300K, 6500K, 5400K,and User Color. 

9300K:

 Adds blue to screen image for cooler white.


6500K:

 Adds red to screen image for warmer white and richer red. 

5400K:

 Adds green to screen image for a darker color. 


Содержание PLL1710

Страница 1: ...www planar com USER S GUIDE LED LCD Monitor PLL1710...

Страница 2: ...3 Front View of the Product 4 Rear View of the Product 5 Quick Installation 6 Basic Operation 7 Advanced Operation OSD Menu 9 Supporting Timing Modes 12 Technical Information 13 Wall mount instructio...

Страница 3: ...e to radio or television reception resetting the LED LCD monitor may determine it Moreover users are encouraged to correct interference by doing one or more of the following Reorient or relocate the r...

Страница 4: ...inet There is high voltage parts inside that may cause electric shock to human bodies even when the power cord is disconnected Stop using the LED LCD monitor if the cabinet is damaged Have it checked...

Страница 5: ...ries LED LCD monitor Power Cable User s Guide VGA Cable Installing the Stand Base 1 Place the monitor face down on a soft cloth or cushion on a table 2 Install the stand base to the monitor Disconnect...

Страница 6: ...4 Front View of the Product OSD Menu On Off Contrast Brightness ECO Scroll Down Adjust Decrease Preset Mode Scroll Up Adjust Increase Confirm Select Input Select Auto adjust LED Indicator Power ON OFF...

Страница 7: ...5 Rear View of the Product Power input AC input DVI input DVI 24 pin VGA input D Sub 15 pin...

Страница 8: ...th monitor and computer are powered OFF 2 Connect the power cord to a properly grounded AC outlet then to the monitor 3 Power ON computer and then POWER ON the monitor Set the timing mode on your comp...

Страница 9: ...ton for three seconds to auto adjust the image VGA only 2 Confirm the selection Select the desired item when in OSD menu When not in OSD menu directly enters Contrast Brightness ECO mode Setting menu...

Страница 10: ...uding the POWER button are locked Press and hold the 1 button and the button for 3 seconds to lock all 5 buttons The LED LCD monitor will show an Lock Out message for 5 10 seconds and the message will...

Страница 11: ...el of screen image increase contrast decrease contrast Brightness To adjust the luminance of the video increase brightness decrease brightness ECO Allows the user to turn the ECO On or Off Contrast an...

Страница 12: ...adjust the delay time of data and clock Press or to adjust to your preference Sharpness To adjust the clarity of a non SXGA 1280x1024 signal with or button Preset Mode Provides an optimum display env...

Страница 13: ...off On Screen Display OSD after a preset period of time OSD Background Allows the user to turn the OSD background On or Off Memory Recall To recall factory settings for Video controls Press button 2 t...

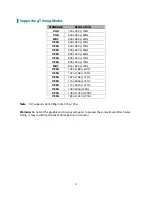
Страница 14: ...Hz VESA 800 x 600 75Hz MAC 832 x 624 75Hz VESA 1024 x 768 60Hz VESA 1024 x 768 70Hz VESA 1024 x 768 75Hz VESA 1152 x 864 75Hz VESA 1152 x 870 75Hz VESA 1280 x 960 60Hz VESA 1280 x 1024 60Hz VESA 1280...

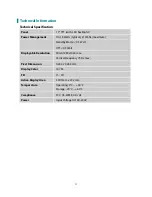
Страница 15: ...s maximum Standby Mode 0 5 Watt Off 0 5 Watt Displayable Resolution SXGA 1280x1024 max Vertical Frequency 75Hz max Pixel Dimension 0 264 x 0 264 mm Display Color 16 7M Tilt 0 20 Active Display Area 33...

Страница 16: ...ge 4 Remove the stand Attaching The Optional Wall Mount Arm not supplied Follow these steps to finish installing the wall mounting arm 1 Place the wall mounting arm onto the back of the LED LCD monito...

Страница 17: ...ains high voltage parts and may cause electric shock to human bodies Never try to repair your LED LCD monitor yourself Always call your service center or a qualified technician to fix it Troubleshooti...

Страница 18: ...2013 P N 2001171397T...

Отзывы: