29
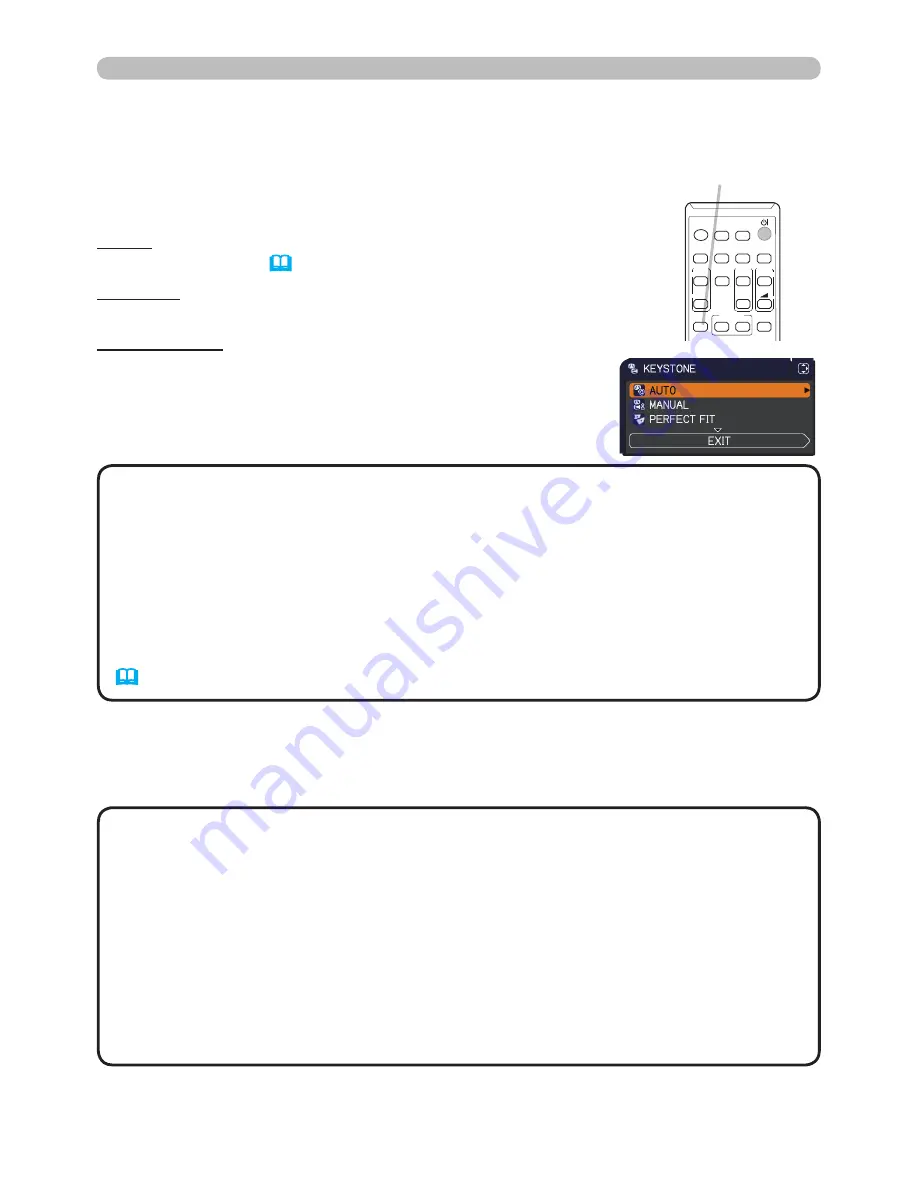
AUTO: performs the automatic vertical keystone
correction. (
48
)
MANUAL: allows you to adjust the vertical and horizontal
keystone.
PERFECT FIT: allows you to adjust each of the screen
corners and sides to correct the
distortion.
• The menu or dialog will automatically disappear after several seconds
of inactivity. Press the
KEYSTONE
button again, or point the cursor at EXIT in
the dialog and press the ►or
ENTER
button to end the operation and close the
menu or dialog.
• When the screen is adjusted by PERFECT FIT, neither AUTO nor MANUAL is
selectable. If you wish to use these functions, refer to step 3 in the PERFECT
FIT item to initialize the adjustment of PERFECT FIT.
• When TRANSITION DETECTOR is ON, these functions are not available
(
85
).
NOTE
• When the projector is in one of the following conditions, the automatic
vertical keystone correction feature may not work correctly or at all.
- REAR / CEILING or FRONT / CEILING is selected for the INSTALLATION
item in the SETUP menu, and the projector screen is slanted or tilted down-
wards.
- The ZOOM adjustment is not set to the full WIDE (wide-angle focus).
- The projector is nearly horizontal (about ±4°).
- The projector is inclined at about ±40 degrees or over.
• When the horizontal lens shift is not set to the center, this function may not
work well.
NOTE
To correct the distortion of projected screen, you can select
one of three options, AUTO, MANUAL and PERFECT FIT.
First press the
KEYSTONE
button to display the KEYSTONE
menu, and point at one of items with the ▲/▼ buttons.
Correcting the distortion
Then follow the procedure shown below for the item
you selected.
AUTO:
When AUTO is pointed at, pressing the ► or
ENTER
button performs
automatic vertical keystone correction.
Operating
KEYSTONE
button
VIDEO
DOC.CAMERA
KEYSTONE
ASPECT
SEARCH BLANK
MUTE
MY BUTTON
POSITION
ESC
MENU
RESET
COMPUTER MY SOURCE/
AUTO
MAGNIFY
PAGE
DOWN
ON
OFF
FREEZE
UP
ー
+
VOLUME
1
2
ENTER


