


Putting the DigitalEye™ 7.2 Out in the Woods…
Before using your camera charge up the Sony Li Ion
battery and place it into the Sony 7.2 MegaPixel digital
camera.
Before setting your DigitalEye™ 7.2 unit out in the woods be
sure to read over the previous sections. Be sure to setup your
User Switch Setting to the desired mode of operation.
The default mode is 10 seconds between photos (PIR delay),
24 hour photo taking mode, digital still photo taking mode, Red
Control LED On, Green PIR LED On.
Find a secure tree or post to mount your DigitalEye™ 7.2 unit
to in the woods. See the “Setup Tips” for more information on
placing the unit in the woods.
Once the DigitalEye™ 7.2 unit is powered up the Red and
Green LED’s will turn on. You have a total of 2 minutes to
hang the unit before the DigitalEye™ 7.2 will start taking
photos. The Green PIR LED will shut off after about 20
seconds and will blink every time it sees motion. The Red
Control LED will stay lit the entire 2-minute time period, then
turn off. The Red Control LED will still light even if the User
Switch Setting for this LED is turned off, however, if the User
Switch Setting for the Green PIR LED is turned off the LED will
not light.
Be sure you do not turn on the Sony digital camera. If you
do the trail camera will not function. You must also wait
the full 1.5 minute warm up period before your DigitalEye
is ready to take photos.
Note: When hanging your DigitalEye™ 7.2 on a tree keep it
about 2.5 feet to 3 feet above the ground. This will give
you the optimal detection range.
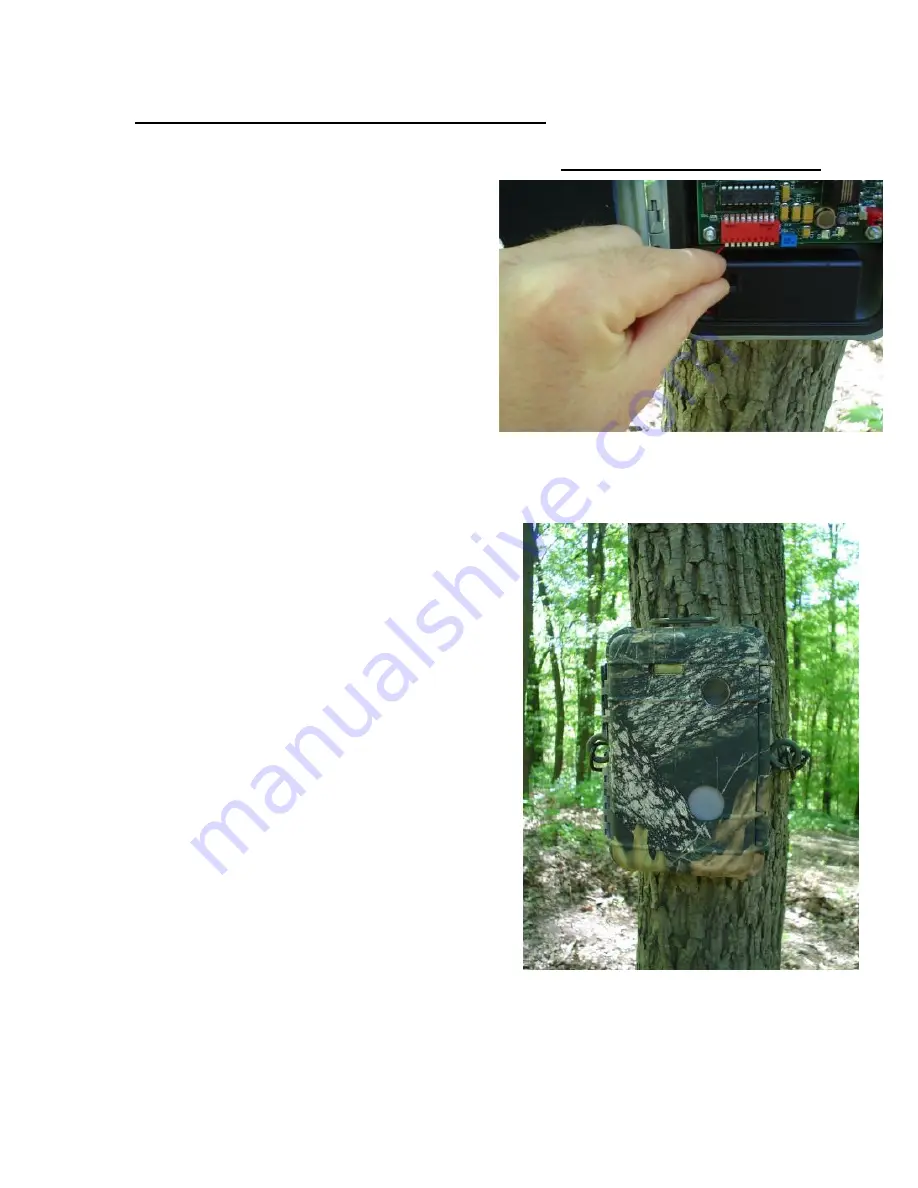
Setting up the DigitalEye™ 7.2
1.
Turn the unit power switch on.
2.
Make sure the Digital Camera is turned off
3.
You must wait 1.5 minutes before your DigitalEye™ 7.2
can start taking photos
4.
Close the lid


