Pix Controller DigitalEye Скачать руководство пользователя страница 15

Visual Media Explorer™ Photo Browsing Software 


Included on the DigitalEye™ 7.2 Installation CD is a copy of 
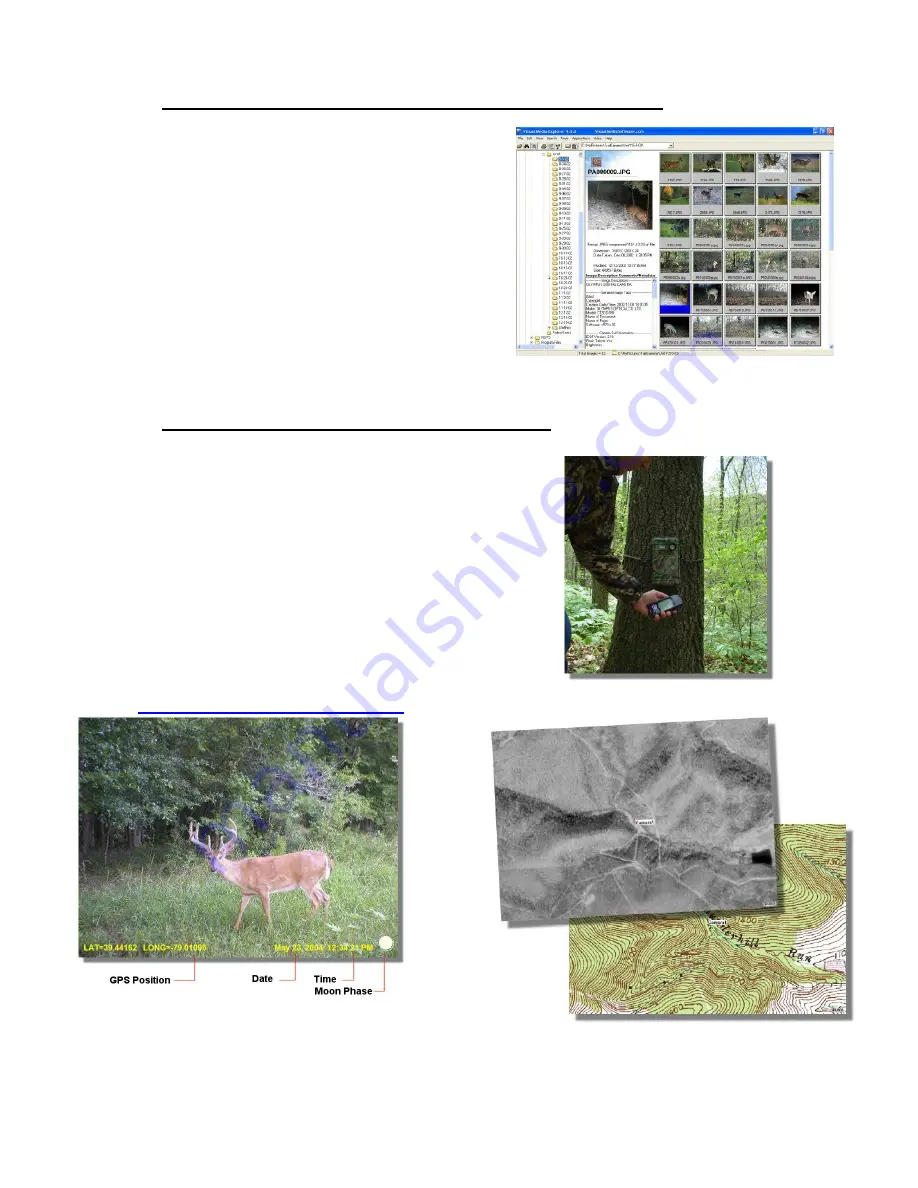
the powerful photo browsing software – Visual Media 
Explorer™.  This software runs on any Win 95, 98, 2000, 
NT, and XP operating system.  
 
Visual Media Explorer™ will let you view your photos in an 
easy to use browser.  Here you can edit your photos, add 
time/date stamps, email photos to your family and friends, 
and much more! 
 
Your DigitalEye™ 7.2 Installation CD includes an online 
manual and animated tutorials for Visual Media Explorer™. 


Visual Media Explorer™ 


Using a GPS with your DigitalEye™ 7.2  
 

We recommend that you use a GPS unit to mark the 
location of your DigitalEye™ 7.2 unit. In the summer 
months especially you can easily lose your unit in the 
woods. 
 
Secondly, if you do use a GPS unit along with your 
DigitalEye™ 7.2  you can embed the GPS position into the 
photos taken by the unit with your copy of Visual Media 
Explorer™. With the Visual Media Explorer™ upgrade you 
can stamp the GPS position on to your photos along with 
the time/date, and phase of the moon. You can even 
download aerial photos and topo maps from Microsoft’s 
Terraserver. For Visual Media Explorer™ upgrades please 
visit: 

http://www.VisualMediaSoftware.com 


S

ave your DigitalEye™ 7.2 GPS Position. 


Stamp you photos with GPS, Date/Time and Moon Phase 

information! 


Get Aerial photos and Topo maps of your DigitalEye™ 7.2 GPS 

position. 


Содержание DigitalEye

Страница 1: ...DigitalEye 7 2 Digital Trail Camera Instruction Manual Copyright PixController Inc All rights reserved http www pixcontroller com sales pixcontroller com 724 733 0970...

Страница 2: ...photos right in the woods on the digital camera s TFT color display Never again will you have to spend money for 1 hour film developing Before using your camera charge up the Sony Li Ion battery and...

Страница 3: ...2 Overview Listed below are the components of your DigitalEye 7 2 unit These items will be referred to throughout this manual Please become familiar with these items DigitalEye 7 2 Exterior DigitalEye...

Страница 4: ...tion distance is much greater However in air temperatures above 85 deg F the detection distance can be cut by more than 20 feet Under air temperatures around 65 deg F your PIR detection range should b...

Страница 5: ...his time will allow the PIR circuit to warm up After this time expires the green LED will turn off and the red LED will blink 5 times letting you know that the board is entering a 1 minute automatic w...

Страница 6: ...e first photo and will be take any subsequent photos in 1 10 of a second for a window time of 30 seconds In the case a subsequent photo is taken the window of time is pushed out another 30 seconds Thi...

Страница 7: ...ode PIR Sensor Detection Area View The PIR sensor detection area is an invisible cone shaped area See the photo above If you walk slowly through this zone the LED s will light Using this simple techni...

Страница 8: ...when in Walk Test Mode Control LED On Control LED Of PIR LED On Off Setting Switch 9 sets if the PIR LED Green LED is to be used or not PIR LED Off PIR LED On Note When changing switch setting you mus...

Страница 9: ...before the DigitalEye 7 2 will start taking photos The Green PIR LED will shut off after about 20 seconds and will blink every time it sees motion The Red Control LED will stay lit the entire 2 minute...

Страница 10: ...our DigitalEye 7 2 unit follow the 5 Step process below Step 1 Run the Master Lock Python Cable system through the DigitalEye 7 2 Eye Bolts as shown Step 2 Hold your DigitalEye 7 2 unit to the tree us...

Страница 11: ...and a spare memory card for the digital camera Approach the DigitalEye 7 2 unit from the rear unless you want your photo taken Note when you open the DigitalEye 7 2 lid a photo could be taken at this...

Страница 12: ...cable Note Pull straight down do not twist cable Note Pull straight down do not twist cable Step 3 You can now remove the digital camera from the DigitalEye 7 2 unit You can review any photos taken by...

Страница 13: ...Slide to switch to movie mode How do I get my photos on to my computer There are several ways you can transfer your digital photos to your computer First you can remove the digital camera from the Di...

Страница 14: ...he wind This can set off the camera system If you don t have a lot of big thick trees to mount your cam to you can improvise and use wooden stakes barbed wire fence posts or rebar reinforcing rod to m...

Страница 15: ...ecommend that you use a GPS unit to mark the location of your DigitalEye 7 2 unit In the summer months especially you can easily lose your unit in the woods Secondly if you do use a GPS unit along wit...

Страница 16: ...ng the Sony 7 2 camera dial to the P setting for Program Setting Red Eye Reduction Off AF Illuminator Off Auto Review Off Beep Off Set your Date Time Focus 3m to 7m ISO 1000 brightest night photos Pic...

Отзывы: