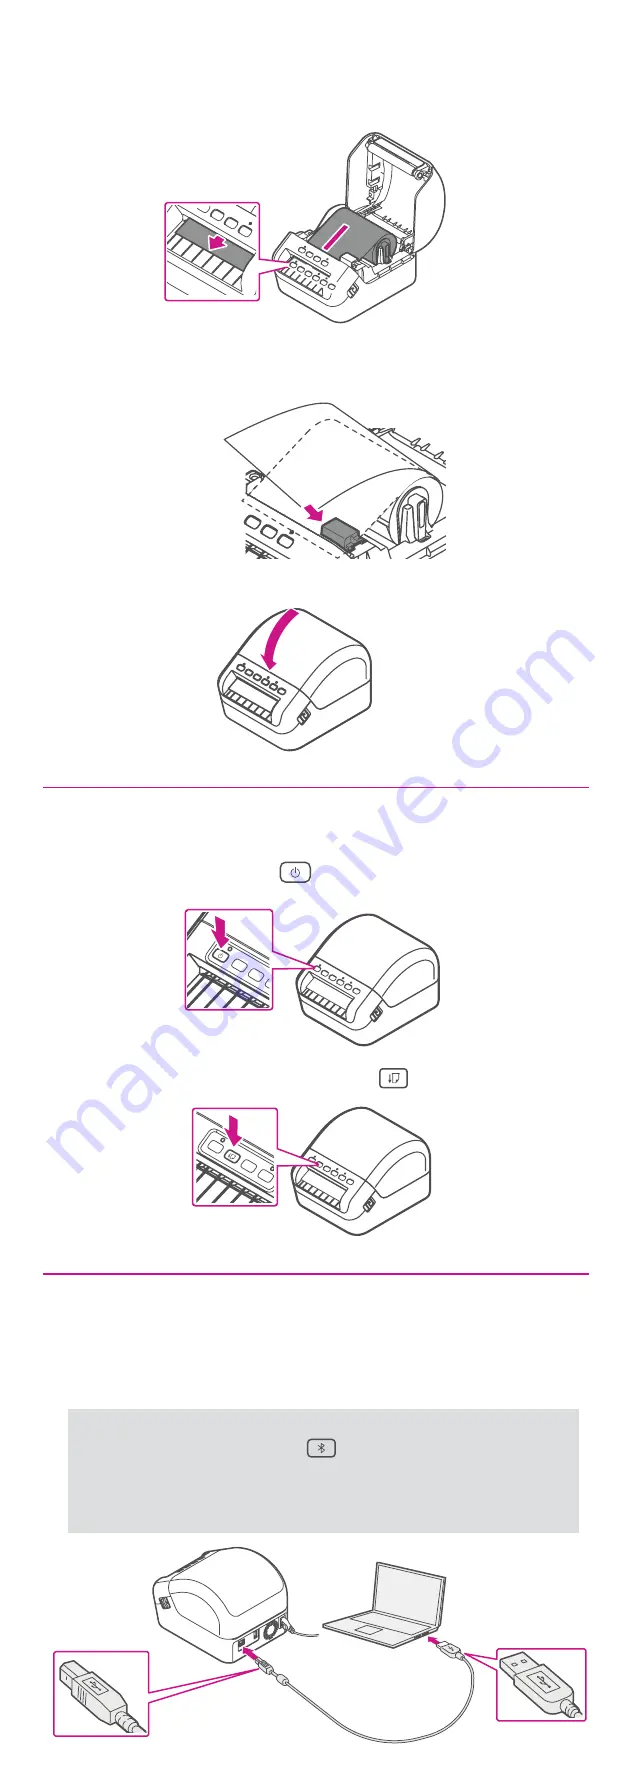
Make sure to press the Feed button to align the end of the
Roll.
3. Thread the label roll straight through the printer, and align
the edge of the roll with the upright edge of the output
slot. Push the first label through the output slot until the
end comes out of the slot as shown.
If experiencing trouble loading the label roll, try inserting from
the side making sure the label is under the sensor.
4. Close the cover.
7. Turning power on.
Press the Power button to turn the printer on, and check
the status LED turns green.
8. Connecting the printer.
Connect your printer to your computer with the USB cable.
Your Printer Driver should automatically download and
install. If this does not happen, please follow step 9 below.
Note: If you choose to connect the printer by Bluetooth,
press the Bluetooth button on the printer and check the
LED lights up blue. Make sure to turn on Bluetooth on your
computer.
Skip this step and go to step 9.


