Before you start
01
9
En
2
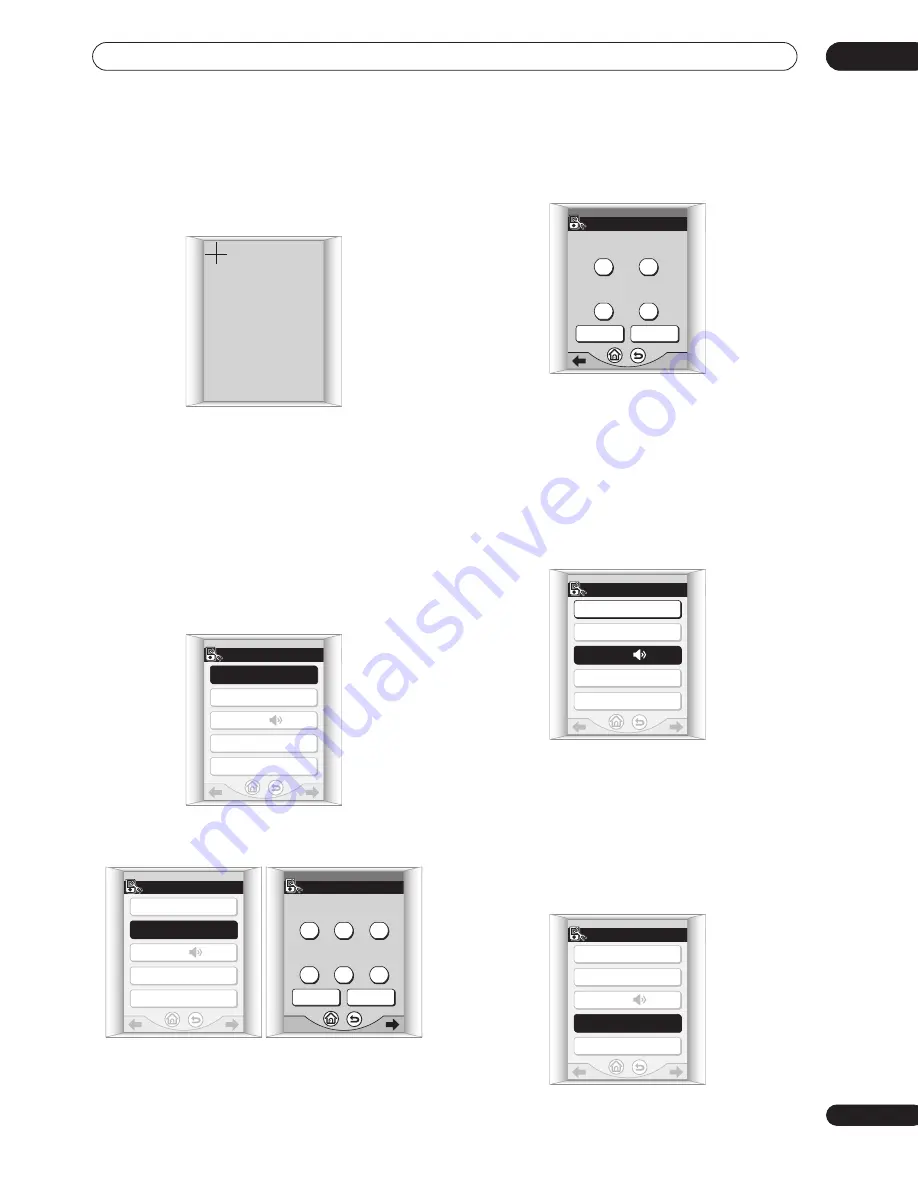
Press the center of each cross point to align the
touch screen with the LCD panel underneath.
This adjustment will make sure your remote control is
calibrated correctly.
When you've touched both cross points,
PLEASE WAIT
is
displayed and you’ll return to the remote setup menu
when calibration is finished.
Setting the clock
The remote control features a clock that shows both 12
and 24 hour formats.
1
Press CLOCK DISPLAY to select either AM/PM or
24H display format.
Each press switches between the two settings. The
current display format is shown after
CLOCK DISPLAY
.
2
Press CLOCK SETTING to set the date.
Use the
+
and
–
buttons to set the year, month and day.
3
Press NEXT to continue and set the time.
Use the
+
and
–
buttons to set the hour and minute.
4
Press ENTER when you’re finished.
You’ll return to the remote setup menu.
Setting the button alert volume
You can set the volume of the ‘beep’ you hear when you
press a button on the remote.
•
Press BEEP to select a setting.
Each press selects between quiet, loud or off. The current
setting is shown on the touch screen.
Setting the time-out setting
• Default setting:
60sec
To save battery life, a timer automatically switches off the
remote control off after a set amount of time if no
commands are entered. You can adjust separate time-
out settings for the LCD, and the remote backlight.
1
Press TIMEOUT.
PLEASE TOUCH
THE UPPER "+" MARK
"MUTE": CANCEL
SETUP
2/3
CLOCK DISPLAY : AM/PM
CLOCK SETTING
BEEP :
TIMEOUT
KEY LABEL
SETUP
2/3
CLOCK DISPLAY : AM/PM
CLOCK SETTING
BEEP :
TIMEOUT
KEY LABEL
DATE
1/2
CANCEL
NEXT
+
+
+
2003
/10
/09
-
-
-
TIME
2/2
CANCEL
ENTER
+
+
17 : 08
-
-
SETUP
2/3
CLOCK DISPLAY : AM/PM
CLOCK SETTING
BEEP :
TIMEOUT
KEY LABEL
SETUP
2/3
CLOCK DISPLAY : AM/PM
CLOCK SETTING
BEEP :
TIMEOUT
KEY LABEL


