25
|
Supplementary Information, etc.
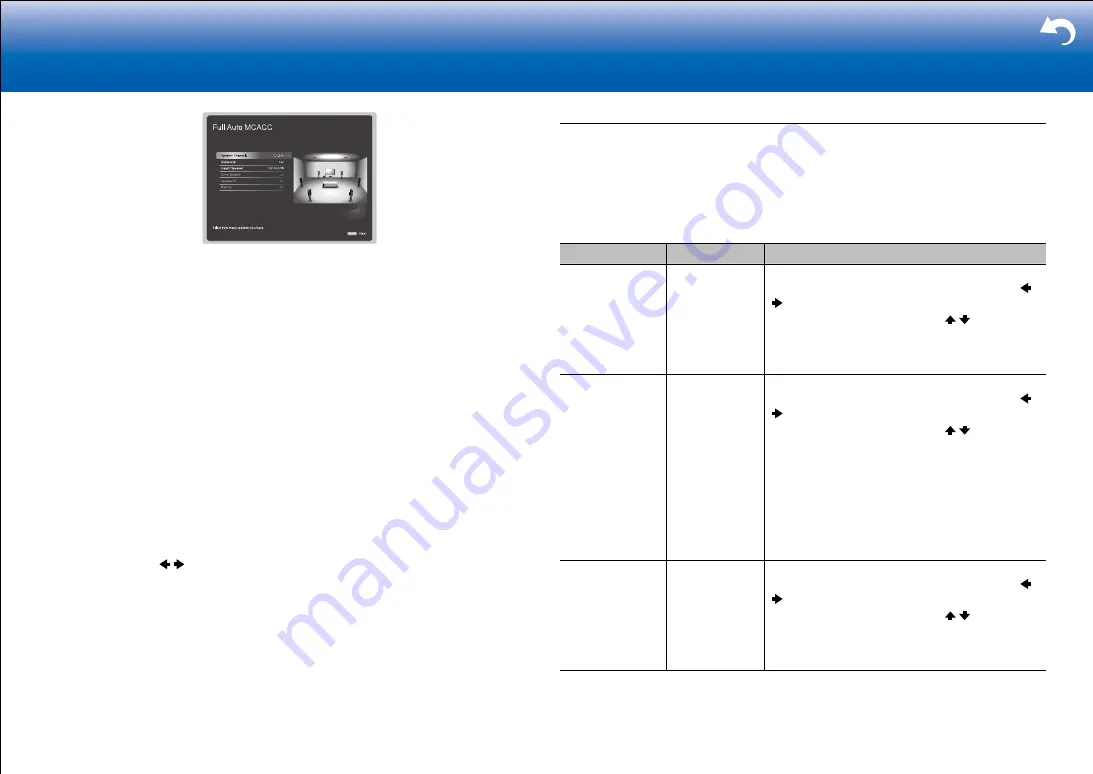
The image on the screen changes as you choose the number of channels in "Speaker
Channels", so refer to it when performing the settings.
Use this screen to select whether you have connected a subwoofer and to select the
type of height speaker, etc.
3. Test tones are emitted by the speakers, and firstly the unit detects the speakers
connected and the noise in the environment.
4. The results of the measurements made in 3. are displayed. If there are no problems
with the speaker detection results, select "Next" with the cursors on the remote
controller and press ENTER to proceed to the next step. (If no operation is performed,
the unit proceeds to the next step automatically after 10 seconds.)
•
If an error message is displayed or a connected speaker is not detected, select
"Retry" and do the measurements again. If the same problem is detected after doing
the measurements again, there may be a problem with the speaker connections.
Turn the unit off and check the connections. If there is a problem with the
connection, first unplug the power cord, then do the connections properly. When the
connections are complete, turn the unit on and do the measurements again.
5. The test tones are emitted again, and the unit automatically makes settings such as the
optimum volume level and the crossover frequency.
6. When the measurement is completed, the measurement result is displayed.
Press the cursors / on the remote controller to check the settings. Press ENTER
when "Save" is selected to save the settings.
7. Disconnect the speaker setup microphone.
Manual MCACC
■
EQ Adjust
If you perform Full Auto MCACC then settings are automatic, but you can also adjust the
output volume of the range of each connected speaker to suit your own preferences. You
can adjust the volume of the different sound ranges for each of the speakers. You can set
three different equalizers in Preset 1 to 3. You can select up to 4 bands for the Subwoofer
and 9 bands for all other speakers.
Setting Item
Default Value
Setting Details
Front Left
0 dB
After selecting the speaker frequency from
between "63 Hz" and "16 kHz" with the cursors
/ , adjust the volume of that frequency between
"
−
12.0 dB" and "
+
12.0 dB" with / .
•
"63 Hz" can only be selected when this speaker
is set to "Large" in "System Setup" - "Speaker" -
"Crossover".
Center
0 dB
After selecting the speaker frequency from
between "63 Hz" and "16 kHz" with the cursors
/ , adjust the volume of that frequency between
"
−
12.0 dB" and "
+
12.0 dB" with / .
•
"63 Hz" can only be selected when this speaker
is set to "Large" in "System Setup" - "Speaker" -
"Crossover".
•
If an item cannot be selected even though
connection is correct, check that the settings in
"System Setup" - "Speaker" - "Configuration"
- "Speaker Channels" matches the number of
connected channels.
Front Right
0 dB
After selecting the speaker frequency from
between "63 Hz" and "16 kHz" with the cursors
/ , adjust the volume of that frequency between
"
−
12.0 dB" and "
+
12.0 dB" with / .
•
"63 Hz" can only be selected when this speaker
is set to "Large" in "System Setup" - "Speaker" -
"Crossover".


