HTZ-7, HTZ-C7, HTZ-SW7, HTZ-ST7
114
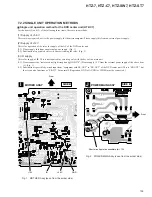
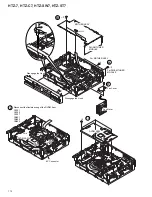
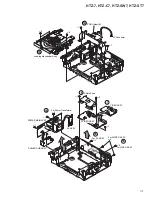
Bottom of
the unit
AMP Assy
Cord Clamper S
HP ASSY
4
5
6
7
×
3
7
8
8
×
3
Place the unit on its side.
(As the unit is heavy, take care not to damage it.)
Disengage the connection
cable from the cable clamper
S and pull the connector.
Use cushioning material (to prevent
the amplifier from dropping).
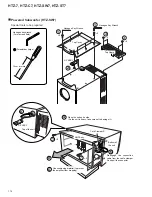
Top of the unit
Hexagon key wrench
(3 mm across flats)
15cm or more
Screwdriver (large)
Top Cover
Hexagon Key Wrench
Hexagon Key Wrench
HP ASSY
1
2
1
Top Guard
3
3
×
3
×
3
×
2
×
1
×
2
Powered Subwoofer (HTZ-SW7)
Special tools to be prepared
Содержание HTZ-7 VisionPlus
Страница 47: ...HTZ 7 HTZ C7 HTZ SW7 HTZ ST7 47 A B C D 5 6 7 8 5 6 7 8 S1 3 S 2 3 S 2 3 S 2 3 S 2 3 S 2 3 S 2 3 S 3 3 ...
Страница 49: ...HTZ 7 HTZ C7 HTZ SW7 HTZ ST7 49 A B C D 5 6 7 8 5 6 7 8 S2 3 S 1 3 S 1 3 S 3 3 S 3 3 ...
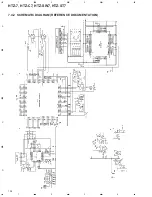
Страница 124: ...HTZ 7 HTZ C7 HTZ SW7 HTZ ST7 124 A B C D 1 2 3 4 1 2 3 4 7 4 2 SCHEMATIC DIAGRAM REFERENCE DOCUMENTATION ...

