!
SLA
is not available when FM is selected as
the source.
Fader/Balance
(fader/balance adjustment)
1
Press
M.C.
to display the setting mode.
2
Press
M.C.
to cycle between fader (front/rear)
and balance (left/right).
3
Turn
M.C.
to adjust the front/rear speaker bal-
ance.
Turn
M.C.
to adjust the left/right speaker bal-
ance.
Preset EQ
(equalizer recall)
1
Press
M.C.
to display the setting mode.
2
Turn
M.C.
to select an equalizer curve.
Powerful
—
Natural
—
Vocal
—
Custom1
—
Cus-
tom2
—
Flat
—
SuperBass
G.EQ
(equalizer adjustment)
You can adjust the currently selected equalizer
curve setting as desired. Adjusted equalizer curve
settings are stored in
Custom1
or
Custom2
.
!
Custom1
can be set separately for each
source. However, each of the below combina-
tions are set to the same setting automatically.
!
USB
,
iPod
,
PANDORA
(iPhone), and
Apps
(iPhone)
!
BT Audio
,
PANDORA
(Android), and
Apps
(Android)
!
Custom2
is a shared setting used in common
for all sources.
1
Press
M.C.
to display the setting mode.
2
Press
M.C.
to cycle between the following:
Equalizer band
—
Equalizer level
3
Turn
M.C.
to select the desired setting.
Equalizer band:
100Hz
—
315Hz
—
1.25kHz
—
3.15kHz
—
8kHz
Equalizer level:
+6
to
–
6
Loudness
(loudness)
Loudness compensates for deficiencies in the low-
frequency and high-frequency ranges at low vol-
ume.
1
Press
M.C.
to display the setting mode.
2
Press
M.C.
to turn loudness on or off.
3
Turn
M.C.
to select the desired setting.
Low
(low)
—
Mid
(mid)
—
High
(high)
Subwoofer1
(subwoofer on/off setting)
This unit is equipped with a subwoofer output
which can be turned on or off.
1
Press
M.C.
to display the setting mode.
2
Press
M.C.
to turn subwoofer output on or off.
3
Turn
M.C.
to select the phase for the sub-
woofer output.
Turn
M.C.
to the left to select reverse phase,
and
Reverse
appears in the display. Turn
M.C.
to the right to select normal phase, and
Nor-
mal
appears in the display.
Subwoofer2
(subwoofer adjustment)
Only frequencies lower than those in the selected
range are outputted from the subwoofer.
1
Press
M.C.
to display the setting mode.
2
Press
M.C.
to cycle between the cut-off fre-
quency and the output level for the subwoofer.
3
Turn
M.C.
to select the cut-off frequency.
50Hz
—
63Hz
—
80Hz
—
100Hz
—
125Hz
4
Turn
M.C.
to adjust the output level for the sub-
woofer.
+6
to
–
24
is displayed as the level is increased
or decreased.
Bass Booster
(bass boost)
1
Press
M.C.
to display the setting mode.
2
Turn
M.C.
to select a desired level.
0
to
+6
is displayed as the level is increased or
decreased.
HPF
(high pass filter adjustment)
When you do not want low sounds from the sub-
woofer output frequency range to play from the
front or rear speakers, turn on the HPF (high pass
filter). Only frequencies higher than those in the
selected range are output from the front or rear
speakers.
1
Press
M.C.
to display the setting mode.
2
Press
M.C.
to turn high pass filter on or off.
3
Turn
M.C.
to select the cut-off frequency.
50Hz
—
63Hz
—
80Hz
—
100Hz
—
125Hz
SLA
(source level adjustment)
SLA
(Source level adjustment) lets you adjust the
volume level of each source to prevent sudden
changes in volume when switching between sour-
ces.
!
Settings are based on the FM volume level,
which remains unchanged.
!
The AM volume level can also be adjusted with
this function.
!
Each of the below combinations are set to the
same setting automatically.
!
USB
,
iPod
,
PANDORA
(iPhone), and
Apps
(iPhone)
!
BT Audio
,
PANDORA
(Android), and
Apps
(Android)
1
Press
M.C.
to display the setting mode.
2
Turn
M.C.
to adjust the source volume.
Adjustment range:
+4
to
–
4
Using different
entertainment displays
You can enjoy entertainment displays while lis-
tening to each sound source.
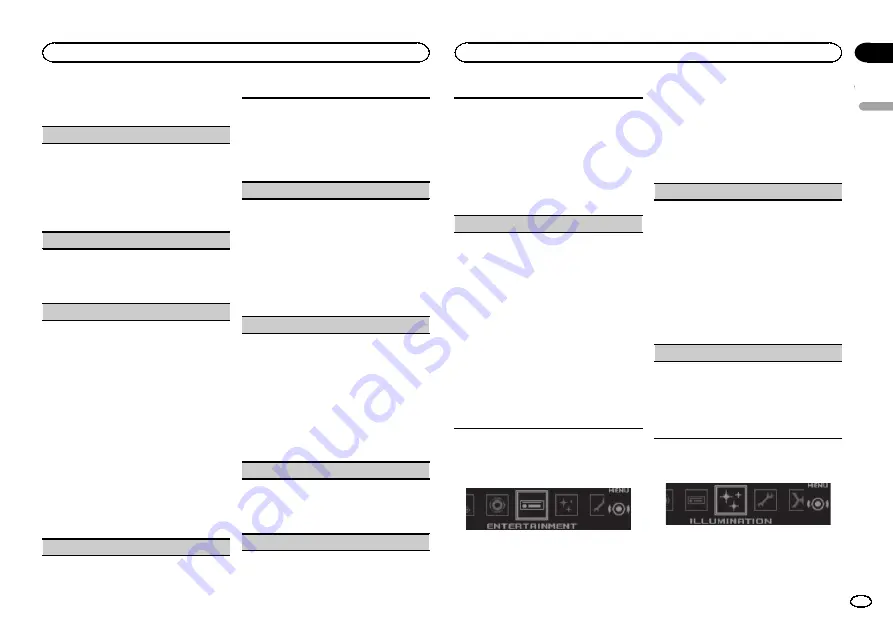
1
Press M.C. to display the main menu.
2
Turn M.C. to change the menu option
and press to select ENTERTAINMENT.
3
Turn M.C. to select the entertainment
function.
Once selected, the following entertainment
functions can be adjusted.
Background
(background setting)
1
Press
M.C.
to display the setting mode.
2
Turn
M.C.
to select the desired setting.
Background visual
—
genre
—
background pic-
ture 1
—
background picture 2
—
background
picture 3
—
background picture 4
—
simple dis-
play
—
movie screen
—
calendar
!
Genre display changes depending on the
genre of music.
!
Genre display may not work correctly de-
pending on the application used to encode
audio files.
3
Press
M.C.
to select.
Clock
(clock display setting)
1
Press
M.C.
to select the desired setting.
ON
(clock display)
—
Elapsed time
(elapsed
time display)
—
OFF
(clock off)
!
Only for DEH-X7500HD and DEH-X7500S
You can switch the function by pressing
CLOCK
.
Selecting the illumination color
1
Press M.C. to display the main menu.
2
Turn M.C. to change the menu option
and press to select ILLUMINATION.
English
Using this unit
17
Section
Using this unit
En
02


