21
Installation
3
Installa
tion
NOTE
• If a connected HDMI device does not accept
the audio output of the unit, the HDMI
device’s audio sound may be distorted or
may not output.
• When you connect a HDMI or DVI
compatible device make sure of the
following:
- Try switching off the HDMI/DVI device and
this unit. Next, switch on the HDMI/DVI
device and leave it for around 30 seconds,
then switch on this unit.
- The connected device’s video input is set
correctly for this unit.
- The connected device is compatible with
720x480i (or 576i), 720x480p (or 576p),
1280x720p,1920x1080i or 1920x1080p video
input.
• Not all HDCP‑compatible HDMI or DVI
devices will work with this unit.
- The picture will not be displayed properly
with non-HDCP device.
- This unit does not playback and TV screen
is changed to black or green screen or the
snow noise may occur on the screen.
CAUTION
• Changing the resolution when the
connection has already been established
may result in malfunctions. To solve the
problem, turn off the unit and then turn it on
again.
• When the HDMI connection with HDCP is
not verified, TV screen is changed to black
or green screen or the snow noise may
occur on the screen. In this case, check the
HDMI connection, or disconnect the HDMI
cable.
• If there is noise or lines on the screen,
please check the HDMI cable (length is
generally limited to 4.5 m) and use a High
Speed HDMI cable (Version 1.3).
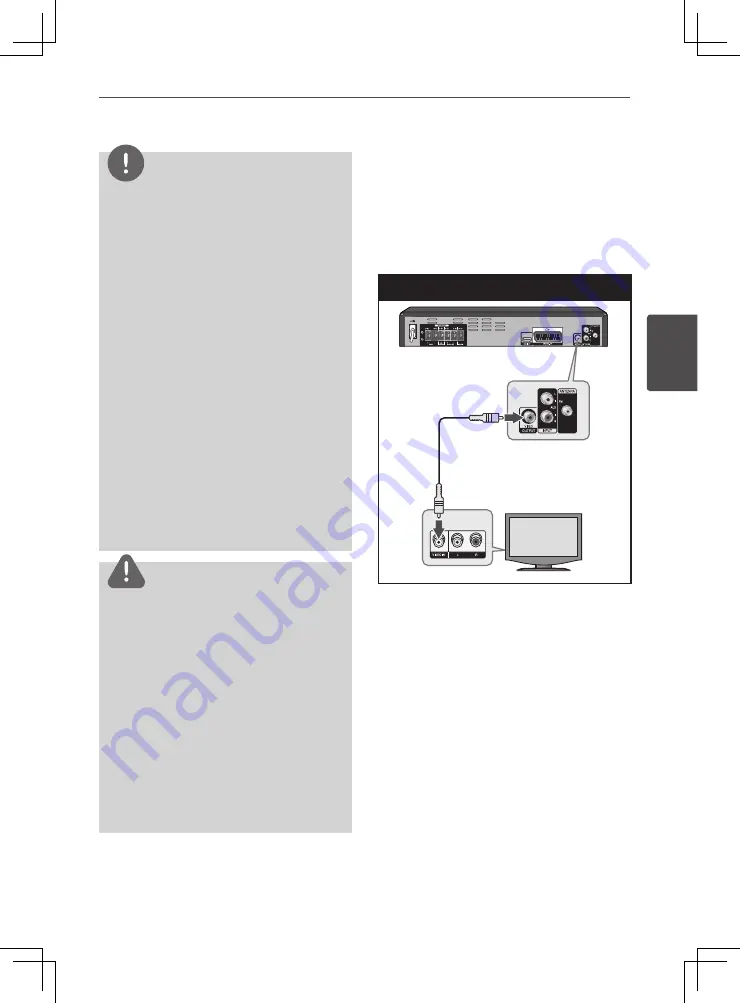
Video Connection
Connect the VIDEO OUTPUT jack on the
unit to the video in jack on the TV using a
video cable.
You can hear the sound through the
system’s speakers.
Video Connection


