Getting Started Guide
If using either Wired Ethernet deployment option, your device is immediately ready to
install - The factory default settings for the device will attempt to DHCP on the Ethernet
link to obtain an IP Address, DNS and Gateway IP. If successful it will phone home to
the SenseiAQ Cloud Service
If using Wireless deployment mode, the device will need to be configured to your
Wireless Networks settings before bringing online. SenseiAQ Software version
1.2.2 or greater is required to configure Wifi settings and register devices to your
SenseiAQ Cloud Account. The latest version of our software is available on GitHub to
Download:
https://github.com/PieraSystems/SenseiAQ
Configuration and Registration using SenseiAQ
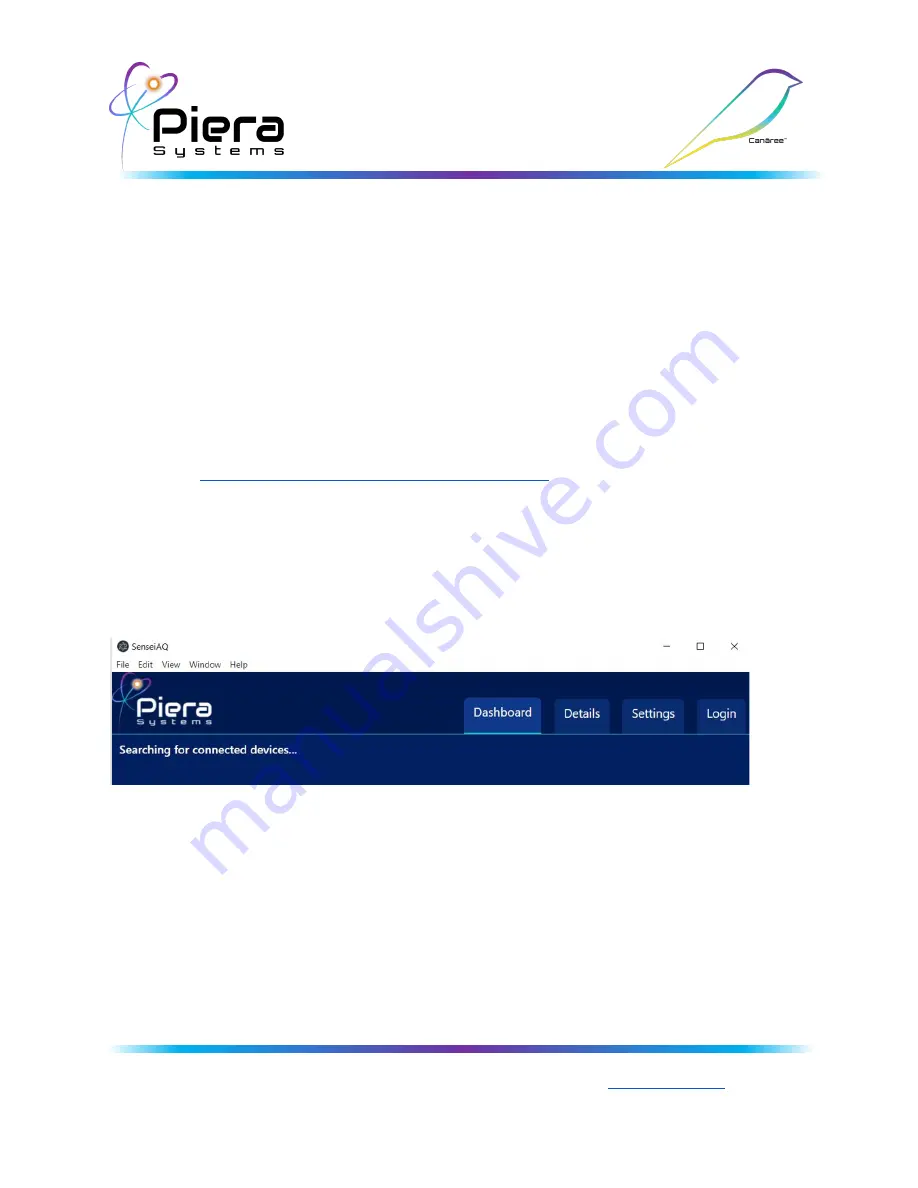
When running SenseiAQ will begin searching for your local USB-Connected sensor
until a device is connected. A notice will instruct you to download a driver if required.
Once the Canāree I1E is connected it will appear as a local (USB) device in SenseiAQ.
Here you can monitor sensor information in real-time and use all the features of the
SenseiAQ App locally or configure the device for network operation. The full user
guide for SenseiAQ Software is available at https://pierasystems.com/support/
Piera Systems Inc. reserves the right to make corrections, modifications enhancements, improvements and other changes to its products and
services at any time and to discontinue any product or service without notice. Please contact Piera Systems anytime to obtain the latest relevant
information - We are ready to help you determine which of our solutions will best meet your needs contact
for information.
© 2021 Piera Systems Inc.
Page | 4


