Pico for Mac Getting Started Guide
4
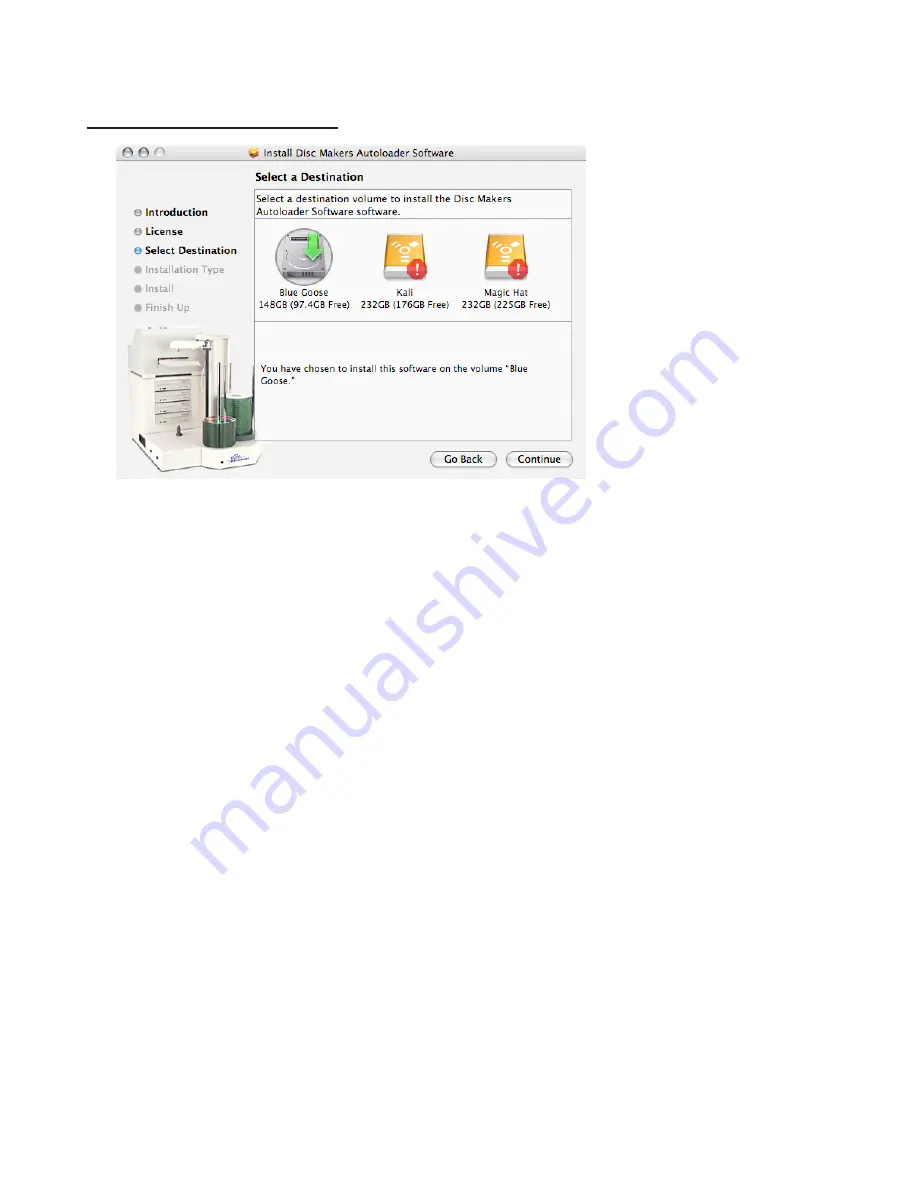
Choose the volume on which the software will be installed. Click Continue to begin
the installation on the designated volume.
5
Enter the administrator password when prompted.
6
Select the installation type—Custom or Easy Install. If you select Custom, check the
components that you want to have installed. Click Install to continue.
7
To finish up the installation process, click Restart when prompted. While the computer
is powered down and preparing to restart, start up the duplicator as described in the
following steps.
Powering on the duplicator
1
With all cables securely connected to the duplicator, press the power switch on the
back of the Pico duplicator cabinet to the “1” position.
2
Press the power switch at the rear of the cabinet once. The system fan starts spinning
and the disc activity LED illuminates on the face of the cabinet.
3
If the Disc Makers Autoloader Software has been properly installed and the duplicator
is connected to the computer and powered on, the equipment will be recognized by
Discribe Robot once the Mac restarts.
Copying a master with Discribe Robot
1
Select the Discribe Robot folder from the Applications options and start the Discribe
Disc Makers program. The Quick Start window appears.


