Pico Digital miniCMTS200a Скачать руководство пользователя страница 2

User Manual  


Release 1.5 

miniCMTS200a


Page 1 of 29


Copyright © 2014 Pico Digital Inc. All rights reserved 

subject to change 

www.

picodigital

.com 

CONTACT US 

858.546.5050 

Product Inspection 

Inspect the equipment  for shipping damage. Should any damage be discovered, immediately file a claim with the 
carrier. 

Important Safety Instructions 

To  ensure  proper  installation  and  operation,  take  a  moment  to  read  this  guide  before  proceeding  with  the 
installation.  If  you  have any questions  or  comments  about  the  product

please contact  your  dealer or  have him 

contact  the Pico Digital service center at this phone number: 800-421-6511. 

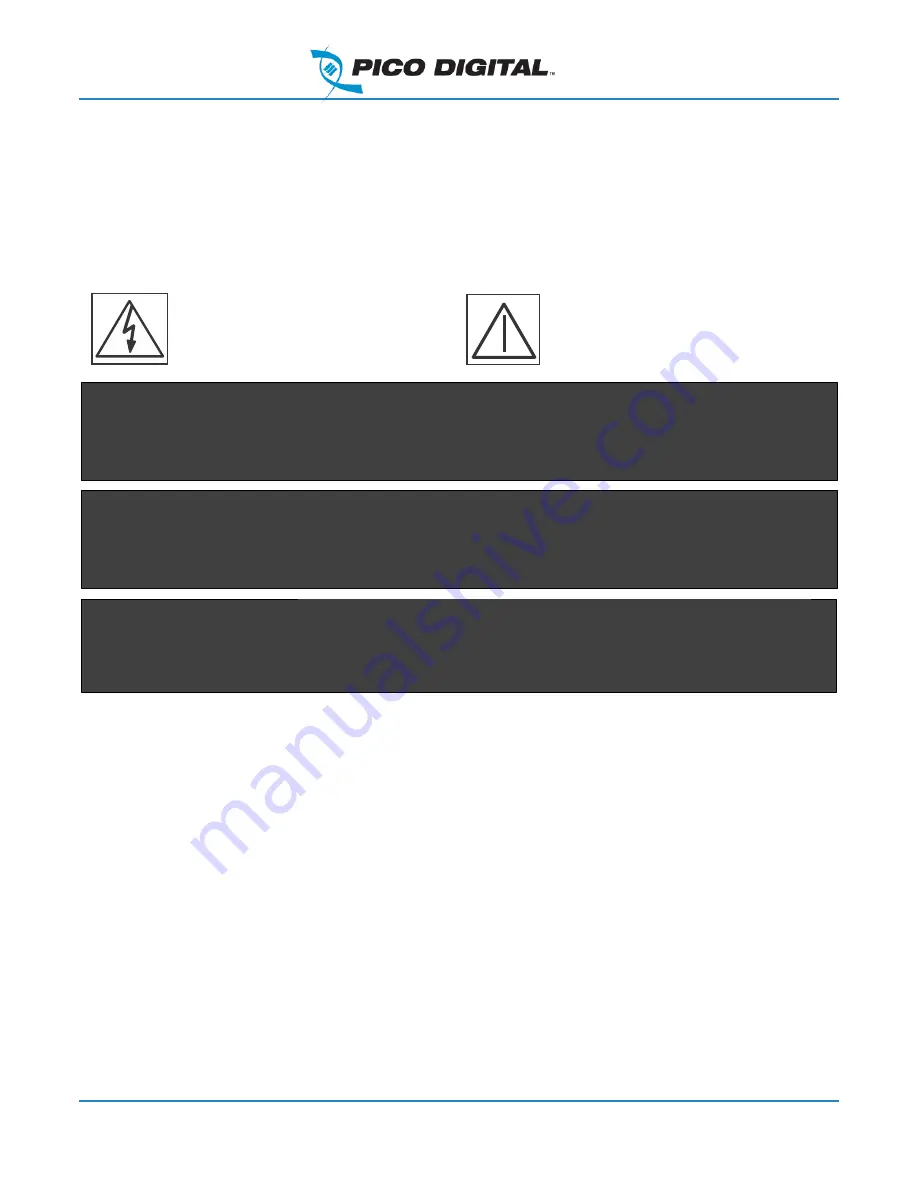
The lightning  flash with  arrowhead symbol,  within  an 
equilateral triangle, is intended to alert the user to the 
presence  of  uninsulated 

“dangerous  voltage”  within 

the  product

’s  enclosure  that  may  be  of  sufficient 

magnitude  to  constitute  a  risk  of  electric  shock  to 
persons. 

The  exclamation  point  within  an  equilateral  triangle  is 
intended  to  alert  the  user  to  the  presence  of  important 
operating  and  maintenance  (servicing)  instructions  in  the 
literature accompanying  the appliance.


1. 

Read Instructions:

 All safety and operating instructions should 

be read before the appliance is operated. 

2. 

Retain  Instructions:

  The  safety  and  operating  instructions 

should be retained for future reference. 

3. 

Heed  Warnings:

  All  warnings  on  the  appliance  should  be 

adhered to. 

4. 

Follow Instructions:

 All operating and user instructions should 

be followed. 

5. 

Cleaning:

  Unplug  this  appliance  from  the  wall  outlet  before 

cleaning.  Use  a  damp  cloth  for  cleaning.    Do  not  use  liquid 
cleaners or aerosol cleansers. 

6. 

Do  Not


Use  Attachments:

  Use  of  attachments  not 

recommended by the manufacturer may cause hazards. 

7. 

Water  and  Moisture

:  Do  not  use  this  product  near  water  for 

example, near a bathtub, washbowl, kitchen sink, laundry tub, in 
a wet basement, or near a swimming pool and the like. 

8. 

Accessories:

  Do  not  place  this  product  on  an  unstable  cart, 

stand,  tripod,  bracket,  or  table.  The  product  may  fall,  causing 
serious  injury  to  a  child  or  adult,  and  serious  damage  to  the 
appliance. 

9. 

Elevated Operating  Ambient

: If installed in a closed or multi-

unit  rack  assembly,  the  operating  ambient  temperature  of  the 

rack environment may be greater than room ambient. Therefore, 
consideration should be given to installing the equipment in an 
environment compatible with the maximum ambient temperature 
50°C. 

10. 

Reduced Air Flow

: Installation of the equipment in a rack should 

be such that the amount of air flow required for safe operation of 
the equipment is not compromised. 

11. 

Mechanical  Loading:

  The  product  is  designed  to  be  rack 

mounted  in  a  standard  EIA  19  inch  width  telecommunications 
rack. Mounting of the equipment in the rack should be such that 
a hazardous condition is not achieved due to uneven mechanical 
loading. 

12. 

Circuit  Overloading:

  Consideration  should  be  given  to  the 

connection of the equipment to the supply circuit and the effect 
that  overloading  of  the  circuits  might  have  on  over  current 
protection  and  supply  wiring.  Appropriate  consideration  of 
equipment nameplate ratings should be used when addressing 
this concern. 

13. 

Reliable  Earthing:

  Reliable  earthing  of  rack-mounted 

equipment should be maintained. Particular attention should be 
given to supply connections other than direct connections to the 
branch circuit (e.g. use of power strips)  

WARNING:


TO REDUCE THE RISK OF FIRE OR ELECTRIC SHOCK, DO NOT EXPOSE 
THIS APPLIANCE TO RAIN OR MOISTURE.  DO NOT OPEN THE CABINET 
REFER SERVICING TO QUALIFIED PERSONNEL ONLY 

CAUTION:


TO  PREVENT  ELECTRIC  SHOCK,  DO  NOT  USE  THIS  (POLARIZED)  PLUG 
WITH  AN  EXTENSION  CORD  RECEPTACLE  OR  OTHER  OUTLET  UNLESS 
THE BLADES CAN BE FULLY INSERTED TO PREVENT BLADE EXPOSURE.  

ATTENCION:


POUR  PREVENIR  LES  CHOCS  ELECTRIQUES,  NE  PAS  UTILISER  CETTE 
FICHE  POLARISEE  AVEC  UN  PROLONGATEUR,  UNE  PRISE  DE  COURANT 
OU UNE AUTRE SORTIE DE COURANT, SAUF SI LES LAMES PEUVENT ETRE 
INSEREES A FOND SANS EN LAISSER AUCUNE PARTIE A DECOUVERT 

Содержание miniCMTS200a

Страница 1: ...ight 2014 Pico Digital Inc All rights reserved subject to change www picodigital com CONTACT US 858 546 5050 User Manual miniCMTS200a By Andrew Pico Digital Inc www picodigital com 24 July 2014 Releas...

Страница 2: ...ke 8 Accessories Do not place this product on an unstable cart stand tripod bracket or table The product may fall causing serious injury to a child or adult and serious damage to the appliance 9 Eleva...

Страница 3: ...esult in damage and will often require extensive work by a qualified technician to restore the product to its normal operation e If the product has been dropped or the cabinet has been damaged f When...

Страница 4: ...rademarks Any product or corporate names used herein may be trademarks or registered trademarks and are only used for identification and explanation without intent to infringe Any terms mentioned or u...

Страница 5: ...itoring and Management features 9 2 Installation 10 2 1 Unpacking the Unit 10 2 2 Before Rack Mounting 10 2 3 Rack Mounting 10 2 4 Front Panel 11 2 5 Rear Panel 11 2 5 1 Ground 11 2 5 2 Upstream RF co...

Страница 6: ...basic tools 22 4 MiniCMTS Web Interface 24 4 1 Start page 24 4 2 Channel Settings 24 4 3 Network Settings 24 4 3 1 Manage IP 24 4 3 2 Business IP 24 4 3 3 Option60 Settings 24 4 3 4 Business Model Set...

Страница 7: ...28 5 1 RF 28 5 2 miniCMTS200a IP configuration 29 5 3 Installation Procedure 29 5 4 Configuration Procedure 29 Table of Figures Figure 1 miniCMTS200a 8 Figure 2 miniCMTS200a Front Panel 11 Figure 3 m...

Страница 8: ...odel Option 60 22 Figure 17 CM List 22 Figure 18 IP Address Check 25 Figure 19 Load Balancing 26 Figure 20 QOS 26 Figure 21 Basic Network setup 28 Table of Tables Table 1 Revision History 7 Revision H...

Страница 9: ...l as the hospitality industry the miniCMTS features an extensive Web interface for simple configuration management and debugging Figure 1 miniCMTS200a 1 2 Features 1 2 1 DOCSIS QoS supported Load Bala...

Страница 10: ...itoring and Management features GUI tool monitoring US SNR and FEC per US and per CM Cable modem monitoring via CMTS web interface includes main RF values read from Cable Modems via SNMP SNMP support...

Страница 11: ...four front panel mounting locations This ensures a secure mount You must supply screws matching your rack To prolong service life pay special attention that the environment in which the unit is being...

Страница 12: ...rounding Port to a protective earth grounding accordance with the local legal and safety regulations 2 5 2 Upstream RF connection The F type connector labeled U S is for the upstream signals or the re...

Страница 13: ...cks within the miniCMTS Figure 4 miniCMTS block diagram The miniCMTS takes Ethernet packets from either one of the Ethernet ports Eth0 or Eth1 or from the SFP port it converts these Ethernet packets t...

Страница 14: ...gnals are being combined with other cable TV signals to be place on the network This allows the power settings of all the QAM channels to be configured by adding attenuation to each products feed By m...

Страница 15: ...nge the IP address and forget it This IP address is a fixed static address and always untagged In the event you lose IP connectivity to the miniCMTS access to the miniCMTS Web GUI can be made via this...

Страница 16: ...of the available tabs to be displayed in the main area 2 Main Tab Area System Overview The main tab area in the center of the page is where the tabs are loaded when the menu options from the Navigati...

Страница 17: ...ress this is done by clicking on the Network Settings Manage IP The Manage IP tab is displayed in the main Tab area 3 1 3 1 Field names Configuration Mode choose Static IP or DHCP IP Address Subnet Ma...

Страница 18: ...er of downstream channels which are enabled Configuration in Simple mode only first downstream channel is configurable with the remainder being set automatically adjacent to the first downstream chann...

Страница 19: ...ower the power level configured for the internal DOCSIS chipset output RF Power indicates RF power level available on CMTS RF connector This is lower than Inner Power due to the internal RF combining...

Страница 20: ...de this option is reserved for future releases and must be set to DISABLED Channel type This field is automatically set to match the chosen modulation profile Inner Power the power level configured fo...

Страница 21: ...field in the Business IP configuration page is optional but needs to be set when a VLAN is assigned to Business IP or a Default Gateway is not provided under Manage IP The setting or changing of the B...

Страница 22: ...o possible to use a single DHCP server IP for all relayed elements VLAN tagging for CM CPE MTA or other traffic is done based on Business IP VLAN ID The following screen shows mapping of Business IP a...

Страница 23: ...oducts if you require EdgeQAM functionality 3 1 10 Cable Modem Analysis basic tools The primary screen for showing the Cable Modem overview and analysis is found in the Guides menu 3 1 10 1 Toolbar CM...

Страница 24: ...CMTS Up Power Up SNR Down Power Down SNR RF values Up SNR is measured at the CMTS input Up Power transmit Down Power receive Down SNR receive are read from the Cable Modem via SNMP The CM SNMP read co...

Страница 25: ...ive CM CPE VLAN tagging available Option 82 filled OPTION60 Model No DHCP Relay CM CPE VLAN tagging Option 82 optionally filled Bundle No DHCP Relay Cable Bundles more complex VLAN setup available Adv...

Страница 26: ...ngs enable to manipulate VLAN tagging and trunking on Ethernet ports Be careful not to block management VLAN as the CMTS management IP may become inaccessible 4 4 2 Port Isolation Port Isolation defin...

Страница 27: ...Restricted LoadBalancingGroups configuration 4 6 4 QOS Figure 20 QOS DS Packet Classification is configurable via the Cable Modem configuration files using DOCSIS TLVs DS US Packet Classification via...

Страница 28: ...nagement The miniCMTS200a like all CMTS s is a complex product and can be configured in a fashion which means it will no longer function correctly The factory reset allows the restoration of the facto...

Страница 29: ...as complex as your number of cable modems subscribers need Figure 21 Basic Network setup What the following describes is a simple DHCP server which has one IP address range and offers one configurati...

Страница 30: ...ddress of the server to 192 168 130 2 mask 255 255 0 0 default gateway 192 168 130 1 Pico Digital can supply some example files please place these following files on a USB stick drive dhcpd conf this...

Отзывы: