9
10
1.2 CONNECTING
THE PRITNER
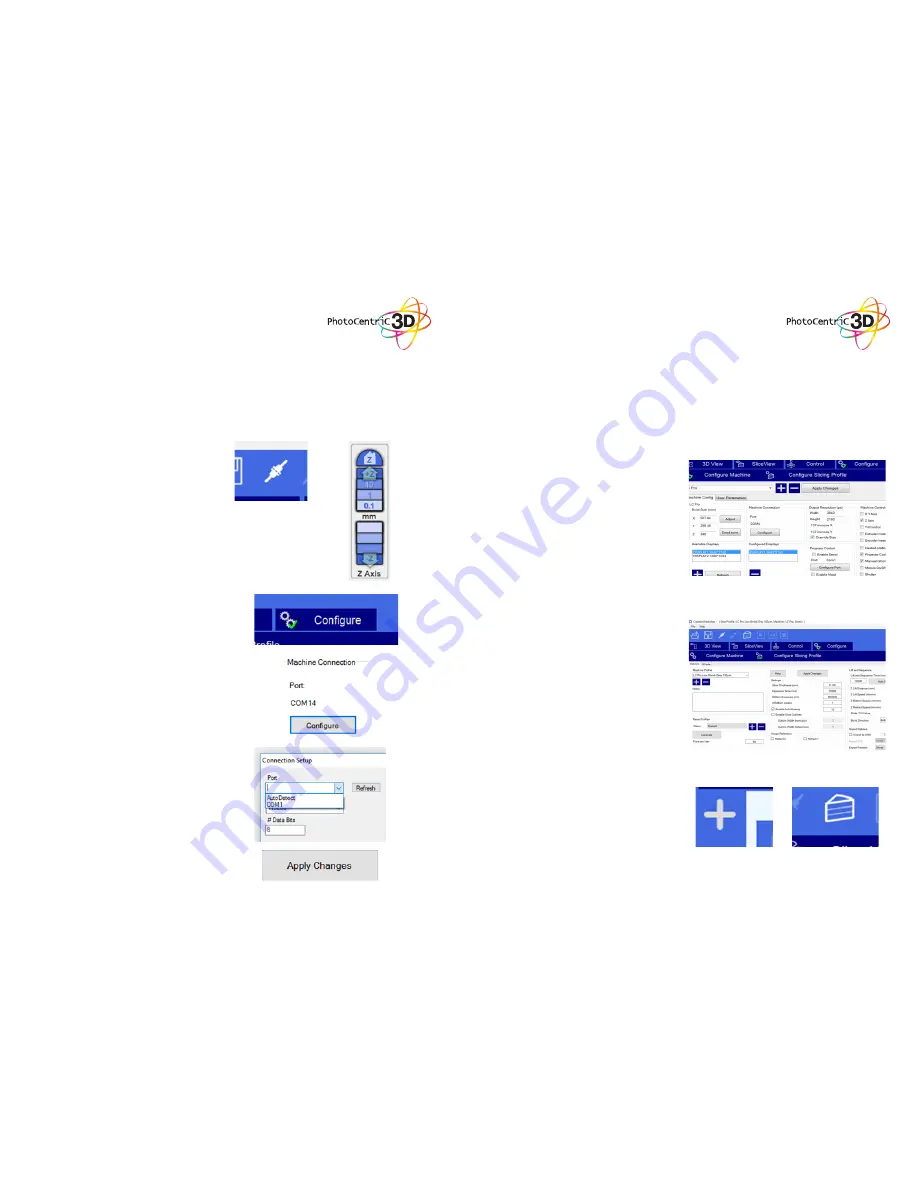
1. Connect the printer to the PC using the connect
button.
2. Check that the printer has successfully
connected by moving the drive up a small
distance. Remember that the printer will not
move unless the door is closed
3. If the printer doesn’t connect successfully, go
to the ‘Configure’ tab and press the ‘Configure’
button in the ‘Machine Connection’ frame.
Choose a different COM port from the drop-
down menu (if available). Press ‘OK’ then press
‘Apply Changes’. Connect the machine again
and try moving the drive (remember the door
must be closed). If all COM Port options have
been tried unsuccessfully, contact Photocentric
for further support.
2. SLICING YOUR PRINT
1. Set up the machine profile in Creation Workshop
as shown below. Remember to press ‘Apply
Changes’.
2. Set up the slicing profile in Creation Workshop
as shown below. Remember to press ‘Apply
Changes’.
3. Open the STL file that you wish to print. Adjust
scale, position, rotation etc using the controls
provided on the right hand tool bar in Creation
Workshop. Your printed item(s) should be
positioned centrally within the build area. Add
supports if required using the left hand tool bar
in Creation Workshop. You may need to expand
this tool bar by pressing the ‘+’ button.
4. Slice the STL file using the button. Use the ‘Slice
View’ tab to review the slice images. If you have
difficulty generating the slices correctly, contact
Photocentric for further support


