


53
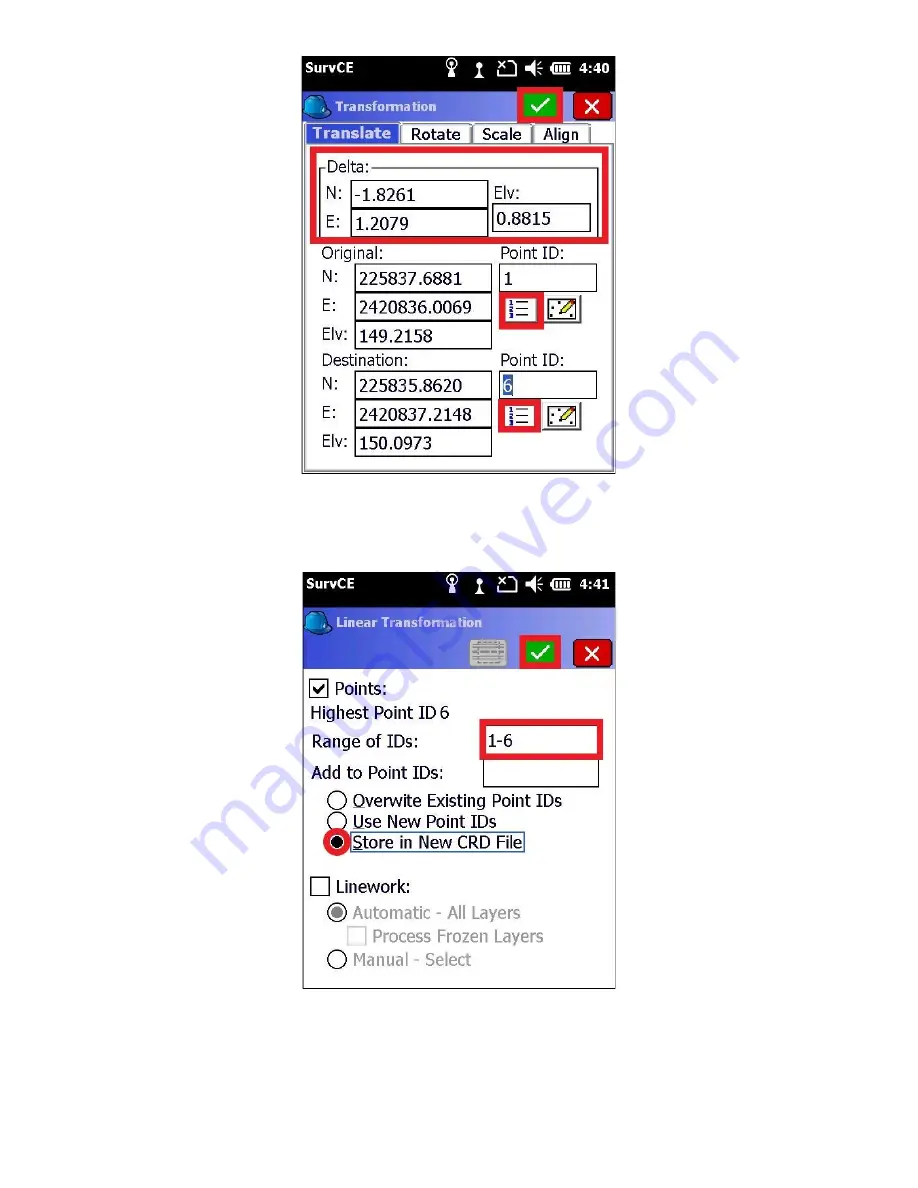
7. Check the “Points” box on the “Linear Transformation” screen, and verify the “Range of IDs” encapsulates all the
points in your project. You can leave “Add to Point IDs” blank.
8. Select “Store in New CRD File” to preserve your original points, and press the green check mark. You will be
prompted, “Transform: Range of Points: 1-6. Linework Selected: None. Is this Correct?”, select “Yes”
Note: If you do not wish to transform your post processed Base coordinate, do not include it in the “Range of IDs”
Содержание Stonex S4II
Страница 34: ...34 SurvCE should now show the selected head as the Device 9 Click on the Receiver tab...
Страница 51: ...51 3 Select the green check mark Wait a moment while the Data Collector adds the new point...
Страница 55: ...55 13 Next go to File tab and click on 3 Points to view the list of adjusted points...
Страница 57: ...57 2 Go to the File tab and click on 7 Import Export 3 Select Export Ascii File...
Страница 65: ...65 Enter your Network key the Wi Fi Password presented on the phone 12 Click Next...
Страница 78: ...78 7 Click Next 8 Enter Network key which is the wifi password then click Next...


