CAUTION:
This cooler is designed for connection to 120 volt AC, 60 Hz
(cycle) power only. NOTE: Improper voltage will void the pump
and/or motor warranties and may cause serious personal injury
or property damage.
This cooler is equipped with a power cord having equipment
grounding conductor and grounding plug. Do NOT attempt to
defeat this safety device by removing the grounding pin.
Master Blaster Use and Care Manual 3
OPERATING INSTRUCTIONS
Guidelines and location
Always make sure that the roll-around unit is operated on a solid,
level surface strong enough to hold its weight (unit can weigh 270
lbs when full). Make sure the two locking casters have been locked
to prevent the cooler from accidentally moving while in use. Use
caution when rolling the unit to avoid splashing or spilling of water.
Unless the move is for a short distance, it is best to drain the unit,
move it and then refill it in its new location.
Controls
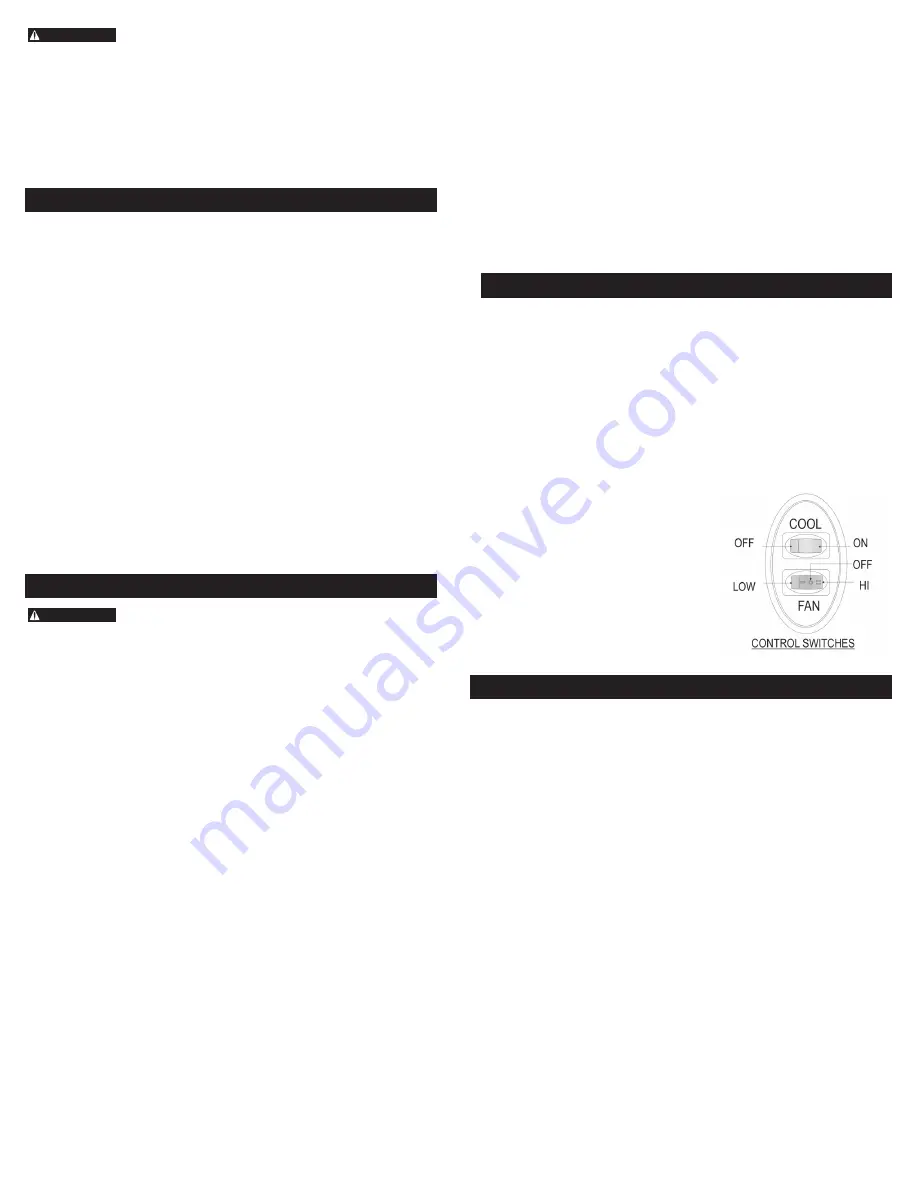
Rocker-type control switches are used
to select the operating mode of the
cooler. These switches control fan
speed (FAN-HIGH/OFF/LOW) and the
pump operation (COOL-ON/OFF).
To eliminate a rush of warm air when
starting the cooler, be sure to turn the
pump (COOL) on for a few minutes
before turning on the blower motor
(FAN) in low or high speed.
GENERAL INSPECTION
Pre-Start-up Inspection Checklist
Before start-up of the cooler motor and pump for the first time, or
at the beginning of each cooling season, make sure all connections
and adjustments have been made.
√
Cooler is on a level surface, casters locked to prevent unnessary
movement (prevent spillage).
√ Power supply cord is plugged into a GFCI protected receptacle;
cord is secure from accidental damage.
√ Drain and float valve installed.
√ Water hose connected securely without leaks.
√ Water faucet or supply is turned on.
√ Float adjusted for proper water level.
√ Pad frames and air outlet grille correctly installed.
√ Pump impeller turns freely. Remove impeller cover (see
"Cleaning Pump"), and check rotation.
√ Blower wheel, shaft, pulley and motor sheave set bolts/screws
are snug.
√ Motor sheave/Blower pulley alignment is okay; belt tension is
okay.
CAUTION:
Never operate unit with pad frame(s) and/or air outlet grille
removed. This will result in an overloaded condition and may
damage the fan motor. The motor and pump have an internal
automatic thermal overload switch that will shut the motor and/
or the pump off if it overheats! The motor and/or pump can
restart automatically when they cool down.
To verify and check out the cooler installation on initial start-up, the
following procedure should be followed.
√
Push “COOL” switch to ON position (pump on).
√ Verify that pump starts and pads are evenly wet.
√ Push “FAN” switch to LOW position (low speed on).
√ Observe that motor starts and runs. Check high-speed function by
turning “FAN” switch to HIGH (high speed on).
√ When switching from Low to Hi speed you should pause in center
position (OFF) for 2 seconds to extend motor life.
NOTE: When new, the glue in the media pad may emit an odor.
Flushing the pad and draining the water prior to first use can
reduce or eliminate the odor. Turn the pump on (do not turn on
the fan) and run for approx. 30 minutes making sure the pad is
soaked. Remove standpipe & cap and drain the water out of the
cooler. Refill and run the pump again for another 30 minutes.
The odor should diminish and go away. If not, drain and flush
until the order is gone.
Cabinet Inspection Checklist
After initial start-up and during periodic inspections, check for and/
or observe the following: Refer to the Troubleshooting Chart on
page 6 if necessary.
√
Leaks from water lines, pad frames, cabinet, etc.
√ Observe cooler pads for uneven wetting.
√ Confirm water level setting is correct.
√ Verify full, even flow in water distribution system.
√ Blower wheel / motor rotates freely.
√ Belt condition / tension / alignment.
√ Check that set screws on pulleys, blower wheel are tight.
√ Check motor mounting and cabinet hardware.
Regular maintenance and periodic inspection is the key to long and
successful service of your Master Blaster cooler. The cooler should
receive major servicing at least once a year, more often if conditions
require (dusty environment, constant use, poor water quality, etc.) For
maximum cooling efficiency, long life and appearance, every two
months during operation, the cooler should be inspected and
cleaned.
NOTE: Do Not Undercoat the Water Reservoir
Your cooler's water reservoir is finished with our Peblar XT®
appliance-type finish. It is so hard that asphalt-type cooler water
pan under-coatings will not stick to it. Undercoating will break free,
clogging the pump and water distribution system.
NOTE:
Do not use cooler cleaners, cooler treatments, anodes or
other chemical additives in this evaporative cooler. Use of any
additives or water treatment other than the furnished bleed-off will
void your warranty and may impair the life of the cooler.
Before starting any maintenance operation, thoroughly
read all operating and maintenance instructions and
observe all cautions and warnings.
MAINTENANCE SCHEDULE
START-UP CHECKLIST


