


12
Philips
·
119
4 Connect to the playback device
Only use the supplied cable or cables that are available
as accessories to connect the projector.
Cables available as Accessories
Component Video Cable ........ (PPA 1210 / 253447083)
VGA-Audio Cable .................... (PPA 1250 / 253447070)
iPhone Cable .............................. (PPA 1280 / 253447091)
Connecting to Devices with
HDMI output
Use the HDMI to mini HDMI cable to connect the
projector to a computer or laptop.
1
Switch to
HDMI
in
Menu
>
Source
2
Connect the HDMI cable to the projector's mini-
HDMI socket.
3
Connect the cable to the HDMI socket of the play-
back device.
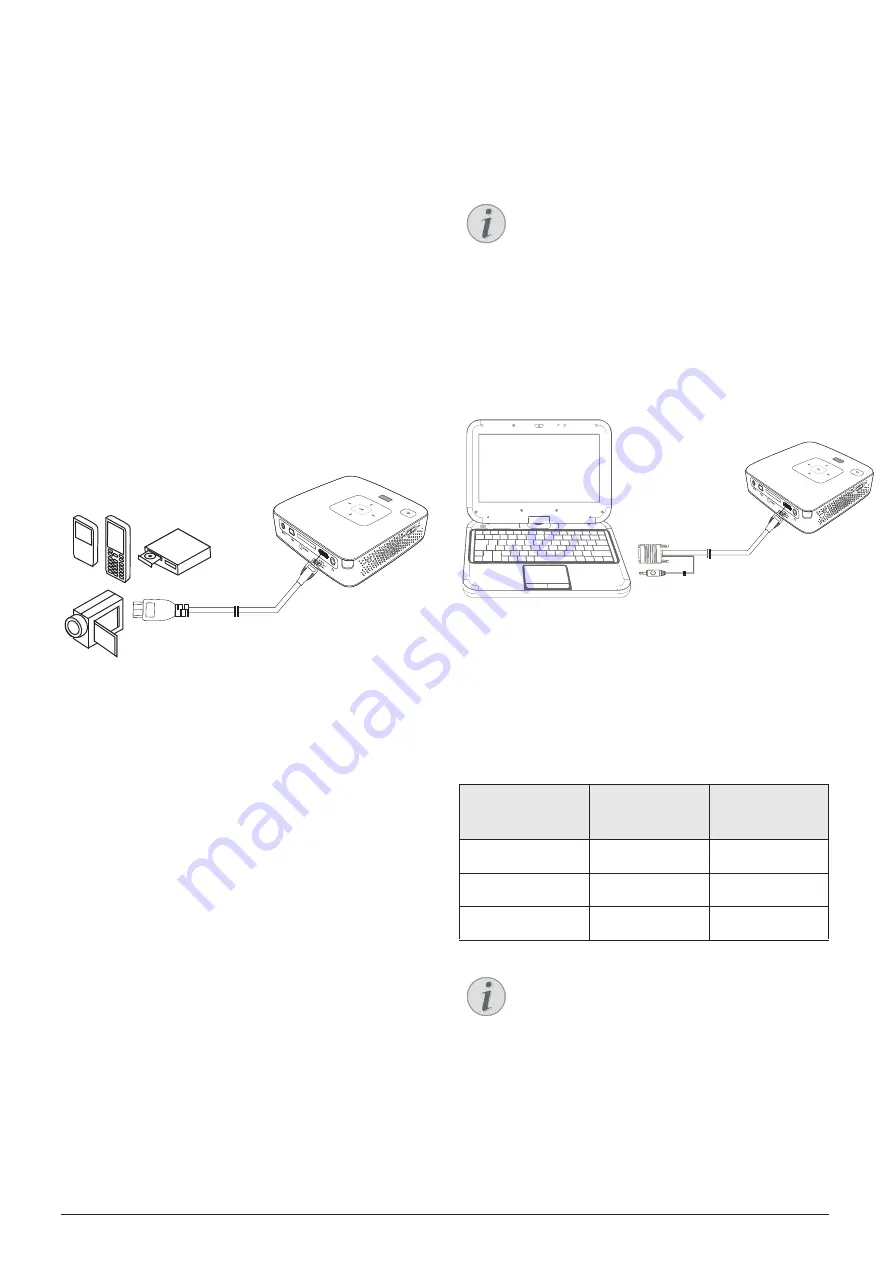
Connecting to a Computer
(VGA)
Use the VGA-Audio cable (available as an accessory) to
connect the projector to a computer, laptop, or some
PDAs. The projector supports the following resolutions:
VGA/SVGA/XGA. For best results, set the computer’s
resolution to SVGA (800x600).
1
Connect the VGA-Audio cable to the projector's
mini-HDMI socket.
2
Connect the VGA plug to the computer's VGA
socket and the audio plug to the computer's audio
output.
3
Adjust the computer's resolution to the correct set-
ting and switch the VGA signal to an external moni-
tor. The following resolutions are supported:
4
Select
Menu
>
Source
and switch to
VGA
.
Note
Many laptops do not activate the external
video output automatically when you connect
a second display such as a projector. Check
your laptop's manual to find out how to acti-
vate the external video output.
Resolution
Image
refresh rate
VGA
640 x 480
60 Hz
SVGA
800 x 600
60 Hz
XGA
1024 x 768
60 Hz
Note
Screen Resolution
You can obtain the best results with the
800¦×¦600 (60Hz) resolution.
MHL to mini-HDMI cable ....... (PPA 1240 / 253520048)
Supplied
Cables
Mini-USB to USB Cable
HDMI to mini-HDMI Cable
Pico Station ................................. (PPA 7300 / 253529749)


