


USB
You can connect the camera to any USB port on your computer. The computer does not have to
be switched off. USB ports are 'hot-swappable', which means that you do not have to restart
Windows every time you connect a new USB device. The USB driver will detect the camera as
new hardware. It can be used within a few seconds, without the need to restart the computer.
If you unplug the camera while it is actively providing an audio or video stream to an application
on your computer, the computer may crash. To avoid these problems, first close any applications
using audio from the camera microphone or video from the camera before unplugging the Philips
USB PC Camera.
Driver software check
You can determine if the camera is installed
correctly, and if it is being recognized by the
operating system, by checking the Device M
menu in System Properties.
anager
he
ystem
®XP:
are).
2.
er to view the list of
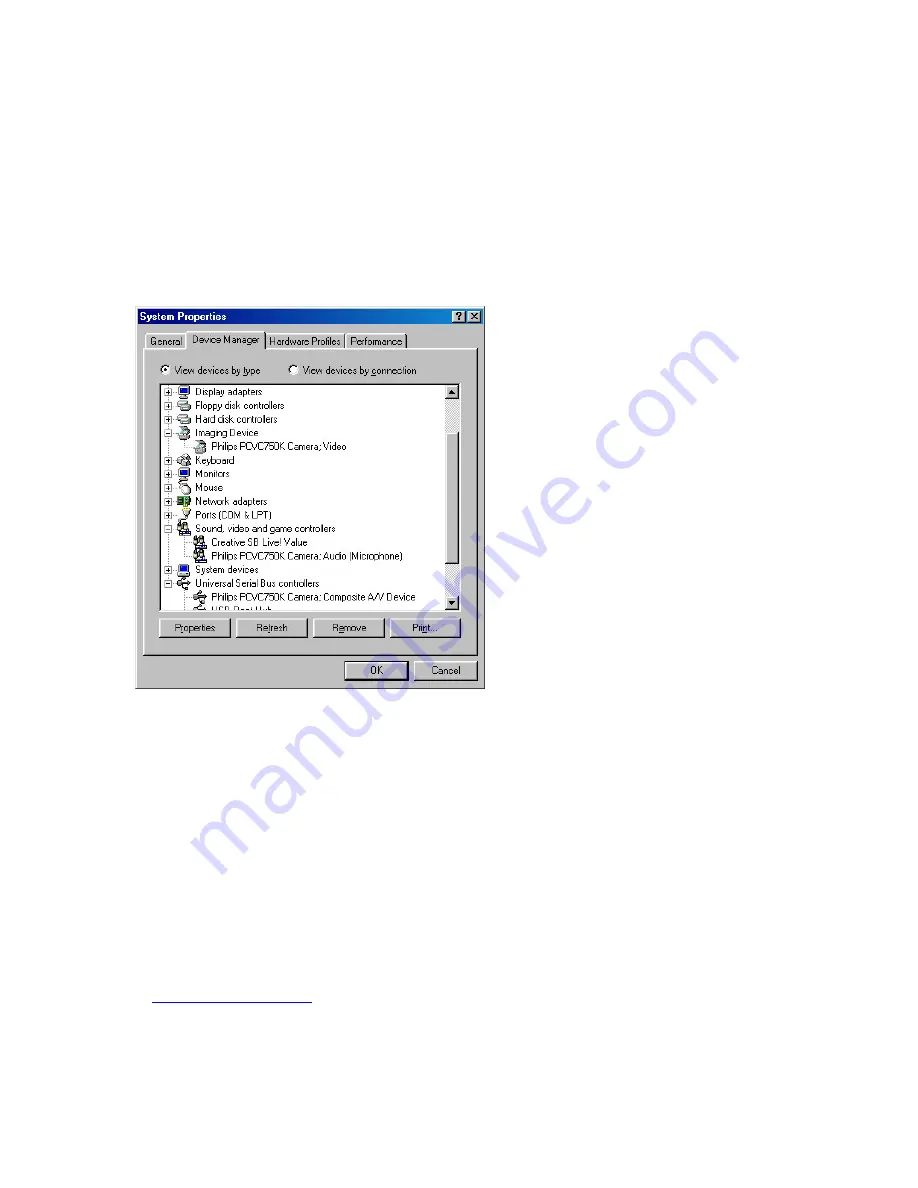
If the USB PC Camera has been installed correctly
Camera; Video
:
phone)
site A/V Device
hese
ill disappear from the list (and can
).
1.
Access this menu by right-clicking 'My
Computer' in the top left-hand corner of t
desktop (for Windows®XP: in the Start
menu), and clicking Properties.
Alternatively, click on Start / Settings /
Control Panel, then double-click on S
to access the menu (for Windows
Start / Control Panel / System / Hardw
Click on Device Manag
installed devices.
and it is plugged into a USB port, you will see the
following devices in the list (double-click on the
devices to see their specifications):
Imaging Device:
Philips PCVC750K
Sound, video and game controllers
Philips PCVC750K Camera; Audio (Micro
Universal serial bus controller:
Philips PCVC750K Camera; Compo
If you unplug the camera from the USB port, t
devices w
therefore not be used by any application on your
computer until you reconnect the USB camera
WEBSITE
If you have any questions or experience any problems with the camera, please visit our website
at
www.philips.com/pcstuff
for new or updated information.
21
Содержание PCVC750K Pro 3D
Страница 7: ...Using the pouch 7 ...


