Initial operation 7
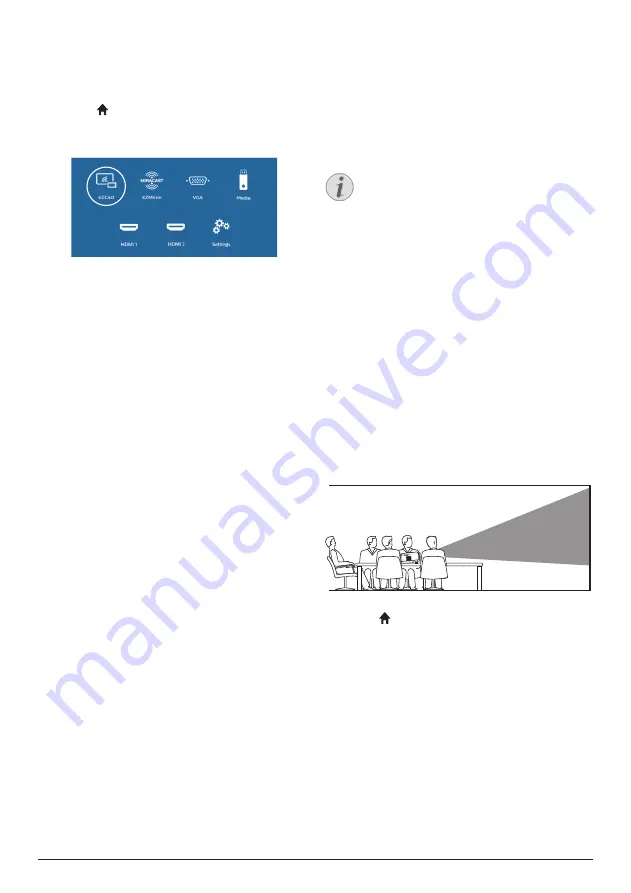
Access home menu
The home menu provides easy access to
connected devices, setup and other useful
features in the projector.
1
Press . The home menu is displayed.
2 Press the
Navigation buttons
and
OK
to
select the following.
•
EZCast
: Start wireless connection to an
iPhone for Screen Mirroring.
•
EZMirror
: Start wireless connection to
an Android device for Screen Mirroring.
•
VGA
: Select the digital device
connected to
VGA
on the projector.
•
Media
: Access media playback from
USB or Micro SD card.
•
HDMI 1
: Select the digital device
connected to
HDMI 1
on the projector.
•
HDMI 2
: Select the digital device
connected to
HDMI 2
on the projector.
•
Settings
: Access menus to change
picture, WiFi, Bluetooth and other
settings.
3 Initial operation
Placing projector
You can install the projector in four different
configuration. Follow the guidelines below for
different projector placement.
Notice
For overhead mounting on ceiling,
purchase a projector mount
recommended by an installation
professional and follow the instructions
that come with the mount.
Before mounting on the ceiling, make
sure the ceiling can support the weight
of the projector and mounting kit.
For ceiling installation, this product
must be securely attached to the ceiling
in accordance with the installation
instructions. An improper ceiling
installation may result in accident, injury
or damage.
Front table
1
Place the projector on a table in front of the
projection screen. This is the most common
way to position the projector for quick
setup and portability.
2 To adjust projection to the correct position,
press , and select
Settings - Advanced
Settings - Projection Location - Front
).
Front ceiling
1
Mount the projector on the ceiling with
upside up in front of the projection screen.
A projector mount is required to mount the
projector on ceiling.


