background image

5


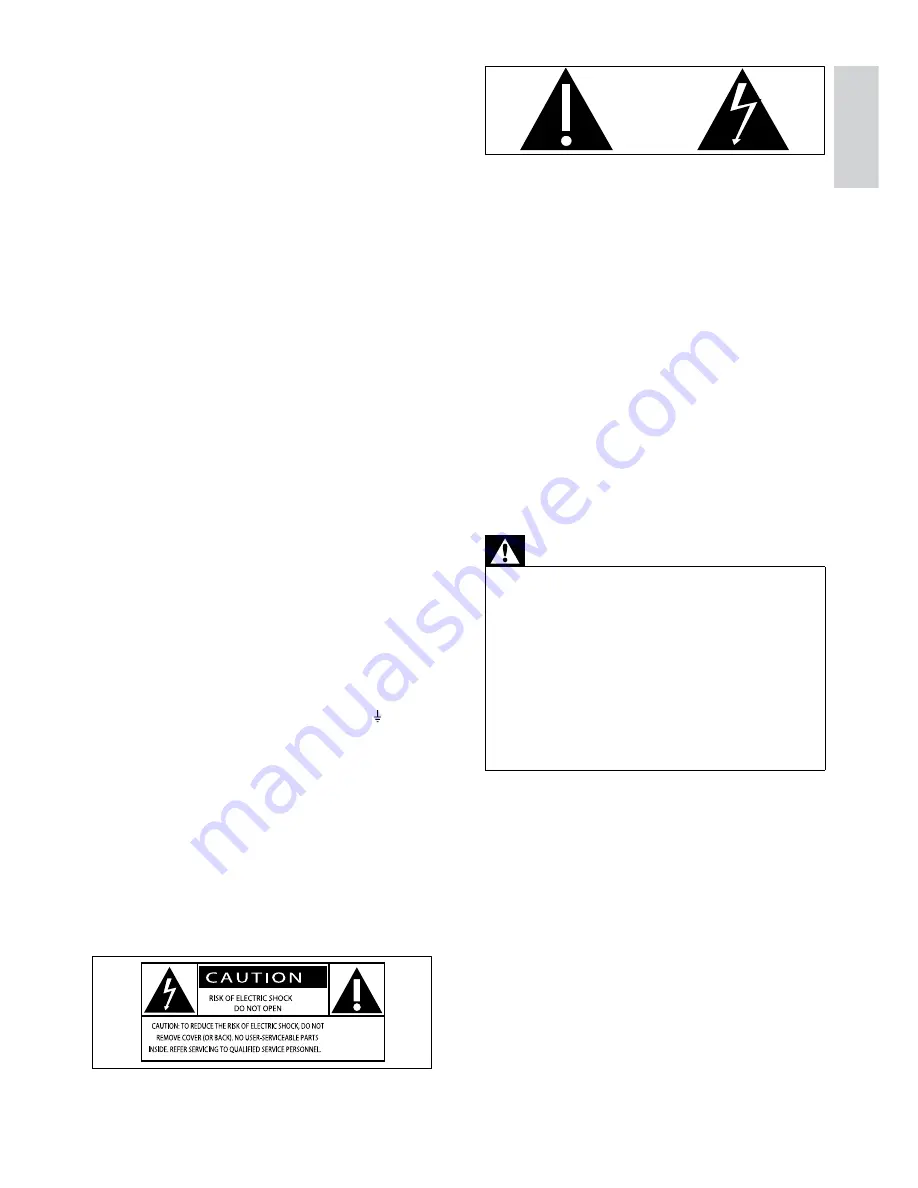
This ‘bolt of lightning’ indicates uninsulated 
material within your unit may cause an 
electrical shock. For the safety of everyone 
in your household, please do not remove 
product covering. 
The ‘exclamation point’ calls attention to 
features for which you should read the 
enclosed literature closely to prevent 
operating and maintenance problems. 
WARNING: To reduce the risk of fire or 
electric shock, this apparatus should not be 
exposed to rain or moisture and objects filled 
with liquids, such as vases, should not be 
placed on this apparatus. 
CAUTION: To prevent electric shock, match 
wide blade of plug to wide slot, fully insert. 

Warning

Never remove the casing of this unit. 


Never lubricate any part of this unit.


Place this unit on a flat, hard and stable 


surface.
Never place this unit on other electrical 


equipment.
Only use this unit indoors. Keep this unit away 


from water, moisture and liquid-filled objects.
Keep this unit away from direct sunlight, naked 


flames or heat. 
Never look into the laser beam inside the unit.


Wall mounting of the unit should only be 
performed by qualified personnel. The unit 
must only be mounted on an appropriate wall 
bracket and on a wall that can safely hold the 
weight of the unit. Improper wall mounting 
can result in severe injury or damage. Do not 
attempt to wall mount the unit yourself.

b

  Fix new fuse which should be a BS1362 5 

Amp, A.S.T.A. or BSI approved type.

c

  Refit the fuse cover.

If the fitted plug is not suitable for your 
socket outlets, it should be cut off and an 
appropriate plug fitted in its place. 
If the mains plug contains a fuse, this 
should have a value of 5 Amp. If a plug 
without a fuse is used, the fuse at the 
distribution board should not be greater 
than 5 Amp. 
Note: The severed plug must be disposed 
off to avoid a possible shock hazard 
should it be inserted into a 13 Amp 
socket elsewhere.

How to connect a plug

The wires in the mains lead are coloured with 
the following code: blue = neutral (N), brown 
= live (L).
As these colours may not correspond with the 
colour markings identifying the terminals in 
your plug, proceed as follows:

Connect the blue wire to the terminal 

• 

marked N or coloured black. 
Connect the brown wire to the terminal 

• 

marked L or coloured red.
Do not connect either wire to the earth 

• 

terminal in the plug, marked E (or  ) or 
coloured green (or green and yellow).

Before replacing the plug cover, make certain 
that the cord grip is clamped over the sheath 
of the lead - not simply over the two wires.

Copyright in the U.K.

Recording and playback of material may 
require consent. see Copyright Act 1956 and 
The performer’s Protection Acts 1958 to 
1972.


English

EN

Содержание MCD388

Страница 1: ...ur product and get support at www philips com welcome EN User manual DA Brugervejledning DE Benutzerhandbuch ES Manual del usuario FR Mode d emploi IT Manuale utente NL Gebruiksaanwijzing SV Användarhandbok MCD388 ...

Страница 2: ......

Страница 3: ...icture files 22 Play control 23 Play options 23 Picture view options 24 6 Adjust settings 25 General setup 25 Audio setup 25 Video setup 26 Preference setup 26 7 Tune to FM radio stations 28 Program radio stations automatically 28 Program radio stations manually 28 Tune to a preset radio station 28 Set RDS clock 28 Show RDS information 29 8 Adjust volume level and sound effect 30 Adjust volume leve...

Страница 4: ... disposal or recycling information please contact your local authorities or the Electronic Industries Alliance www eiae org Safety Important notes for users in the U K Mains plug This apparatus is fitted with an approved 13 Amp plug To change a fuse in this type of plug proceed as follows a Remove fuse cover and fuse 1 Important Safety Important Safety Instructions a Read these instructions b Keep ...

Страница 5: ...t Improper wall mounting can result in severe injury or damage Do not attempt to wall mount the unit yourself b Fix new fuse which should be a BS1362 5 Amp A S T A or BSI approved type c Refit the fuse cover If the fitted plug is not suitable for your socket outlets it should be cut off and an appropriate plug fitted in its place If the mains plug contains a fuse this should have a value of 5 Amp If ...

Страница 6: ...pair your hearing This product can produce sounds in decibel ranges that may cause hearing loss for a normal person even for exposure less than a minute The higher decibel ranges are offered for those that may have already experienced some hearing loss Sound can be deceiving Over time your hearing comfort level adapts to higher volumes of sound So after prolonged listening what sounds normal can a...

Страница 7: ...er is encouraged to try to correct the interference by one or more of the following measures Reorient or relocate the receiving antenna Please inform yourself about the local rules on separate collection of batteries The correct disposal of batteries helps prevent potentially negative consequences on the environment and human health Environmental information All unnecessary packaging has been omit...

Страница 8: ...r or an experienced radio TV technician for help Norge Typeskilt finnes på apparatens underside Observer Nettbryteren er sekundert innkoplet Den innebygde netdelen er derfor ikke frakoplet nettet så lenge apparatet er tilsluttet nettkontakten For å redusere faren for brann eller elektrisk støt skal apparatet ikke utsettes for regn eller fuktighet This apparatus includes this label EN ...

Страница 9: ... Theater Congratulations on your purchase and welcome to Philips To fully benefit from the support that Philips offers register your product at www Philips com welcome Introduction With this unit you can watch video from DVD VCD SVCD or USB SD MMC devices enjoy audio from discs or USB SD MMC devices view pictures from discs or USB SD MMC devices You can enrich sound output with these sound effects ...

Страница 10: ...track Select a preset radio station Overview of the main unit Caution Use of controls or adjustments or performance of procedures other than herein may result in hazardous radiation exposure or other unsafe operation a STANDBY ECO POWER Turn on the apparatus or switch to the Eco Power standby mode b Display panel Display current status c Disc compartment d Remote control sensor e EJECT Eject the d...

Страница 11: ...dby mode b Source selection keys Select a source x w t s q r o p u v i l j k m n c b a d h f g e n TUNING Search within a track or disc Tune to a radio station o SOURCE Select a source p Start or pause play q Stop play Erase a program Activate deactivate the demonstration mode En gli sh EN ...

Страница 12: ...brightness level for the display screen c DISPLAY RDS Display play information on a connected TV For selected FM radio stations display RDS information d DISC MENU For video discs access or exit the disc menu For video discs with playback control PBC turn on off PBC e SLEEP TIMER Set the sleep timer Set the alarm timer f Search within a track or disc For menus navigate left right Tune to a radio s...

Страница 13: ...nect through HDMI TV HDMI IN 3 Connect Place the unit 1 Place the unit near to the TV 2 Keep the speakers at the normal listening ear level and directly parallel to the listening area 3 Place the subwoofer at the corner of the room or at least one meter away from the TV Note To avoid magnetic interference or unwanted noise never place this apparatus and speakers too close to any radiation devices ...

Страница 14: ...ction compliant TVs through HDMI for the best picture quality This connection transmits both video and audio signals Through this connection you can watch DVDs that contain HD High Definition content Note Some TVs do not support HDMI audio transmission This connection provides the best video quality 1 Connect an HDMI cable not supplied to the HDMI OUT socket on this unit the HDMI input socket on th...

Страница 15: ...e to the VIDEO OUT socket on this unit the video input socket on the TV TV S VIDEO IN TV VIDEO IN Option 3 Connect through component video Connect a progressive scan TV through component video for higher quality video 1 Connect component video cables red blue green not supplied to the COMPONENT VIDEO OUT Pr Cr Pb Cb Y sockets on this unit the component input sockets on the TV TV Pr Cr Pb Cb Y COMP...

Страница 16: ...cket Never pull the cord Before you connect the AC power ensure you have completed all other connections 1 Connect the power plug of the main unit to the wall outlet 2 Connect the power plug of the digital wireless subwoofer to the wall outlet Connect audio cables 1 To play sound from the TV through this unit connect audio cables red white not supplied to the AUX IN L R sockets on this unit the au...

Страница 17: ...e the unit 1 Attach the rear cover 2 Attach the supplied table stand to the bottom of the main unit 3 Place the main unit on a hard flat and stable surface Tip You can also mount the unit on a wall En gli sh EN ...

Страница 18: ...RING pairing flashes 2 Press and hold PAIR on the subwoofer for 3 seconds 4 Get started Caution Use of controls or adjustments or performance of procedures other than herein may result in hazardous radiation exposure or other unsafe operation Always follow the instructions in this chapter in sequence If you contact Philips you will be asked for the model and serial number of this apparatus The mode...

Страница 19: ... the subwoofer flash alternately If wireless connection succeeds PAIR OK pair OK is displayed and the blue indicators on the subwoofer lights up 3 Turn on the main unit again Note If the wireless connection fails again check whether there is any conflict or strong interference for example interference from other electronic devices around your location After removal of the conflict or strong interfere...

Страница 20: ... signals You have connected this unit with the TV through component video 1 Turn on the TV 2 Ensure that the TV progressive scan mode is deactivated see the TV user manual 3 Switch the TV to the correct viewing channel for this unit 4 Press DISC 5 Press SYSTEM MENU 6 Press to select Video Setup Page in the menu then press 7 Select Component Pr Cr Pb Cb Y then press OK 8 Select TV Mode Progressive ...

Страница 21: ...ccess the menu Select a subtitle language You can select a subtitle language on DVDs or DivX Ultra discs During play press SUBTITLE Tip For some DVDs the language can only be changed from the disc menu Press DISC MENU to access the menu 5 Play Note With some disc file types play may differ Play discs Caution Never look at the laser beam inside the unit Risk of product damage Never play discs with a...

Страница 22: ...device or SD MMC card 2 Select a source For discs press DISC For USB devices or SD MMC cards press USB SD repeatedly 3 Press to select a folder then press OK to confirm 4 Press to select a file from the folder 5 Press OK to start play To stop play press To pause or resume play press OK To skip to the previous next file press Play from USB CARD Note Ensure that the USB device or SD MMC card contains p...

Страница 23: ... MENU until the file list is displayed Play control Select repeat shuffle play options 1 During play press MODE DIM repeatedly to select a repeat option or the shuffle play mode To resume normal play press MODE DIM repeatedly until no option is displayed Repeat A B DVD VCD CD MP3 WMA 1 During music or video play press A B at the start point 2 Press A B at the end point The selected section starts to ...

Страница 24: ...to rotate the picture anti clockwise clockwise 2 Select a file then press ANGLE PROG to add the file to the program list 3 Repeat step 2 until the program is complete 4 Press DISC MENU until the program list is displayed 5 Press OK to play the program To delete a file from the Program List 1 Press DISC MENU until the program list is displayed 2 Select a file then press ANGLE PROG to delete the file fro...

Страница 25: ... 3D Processing 3D Processing Page Reverb Mode Select a virtual surround sound mode HDCD HDCD Setup Page Filter When you play a HDCD High Definition Compatible Digital disc select the audio output cutoff frequency 6 Adjust settings 1 Press SYSTEM MENU 2 Select a setup page 3 Select an option and then press 4 Select a setting and then press OK To return to the previous menu press To exit the menu pre...

Страница 26: ...e Night Mode Make loud sound level softer and soft sound level louder so that you can watch the DVD movies at a low volume without disturbing others On enjoy quiet viewing at night DVDs only Off enjoy surround sound with its full dynamic range Audio Sync Set the default delay time for audio output when you play a video disc Press to set the delay time Press OK to confirm and exit Video setup On Vid...

Страница 27: ... with ratings Press OK Select a rating level then press OK Press the numeric keys to enter the password Note Rated discs above the level you set in Parental require a password to be played The ratings are country dependent To allow all discs to play select 8 ADULT Some discs have ratings printed on them but are not recorded with ratings This function has no effect on such discs Tip You can set or ...

Страница 28: ...ion that transmits time signals The unit reads the RDS time and sets the clock automatically 7 Tune to FM radio stations 1 Ensure that you have connected and fully extended the supplied FM antenna 2 Press TUNER 3 Press and hold 4 When the frequency indication starts to change release the button The FM tuner tunes to a station with strong reception automatically 5 Repeat steps 3 4 to tune to more s...

Страница 29: ...une to a RDS station a RDS icon and the station name are displayed When automatic programming is used RDS stations are programmed first 1 Tune to a RDS station 2 Press DISPLAY RDS repeatedly to scroll through the following information if available Station name Program type such as NEWS news SPORT sport POP M pop music Frequency Note See Product information RDS program types for definitions of RDS pr...

Страница 30: ...aker setup is limited 1 During play press SURROUND to turn on off surround sound effect Mute sound 1 During play press MUTE to mute unmute sound Listen through headphone 1 Plug a headphone into the socket on the unit 8 Adjust volume level and sound effect Adjust volume level 1 During play press VOL to increase decrease the volume level Adjust subwoofer volume 1 Press SUBW VOL to adjust the subwoof...

Страница 31: ... features 1 In standby mode press on the main unit to activate the demonstration mode A demonstration of major available features starts To deactivate the demonstration mode 1 Press on the main unit again Adjust brightness of display panel 1 In standby mode press MODE DIM repeatedly to select different levels of brightness for the display panel Set the alarm timer 1 Ensure that you have set the cl...

Страница 32: ...nic Distortion 0 1 1 kHz Frequency Response 4Hz 20kHz 44 1kHz 4Hz 22kHz 48kHz 4Hz 24kHz 96kHz S N Ratio 67dBA For audio players with headphone sockets Connect a 3 5mm audio cable to the MP3 LINK socket and to the headphone socket on the audio player 3 Select the MP3 Link AUX source 4 Start play on the audio player Record to a digital recorder You can record audio from this unit to a digital record...

Страница 33: ...h ID3 tag USB SD MMC playability information Compatible devices USB flash memory USB 2 0 or USB1 1 USB flash players USB 2 0 or USB1 1 SD MMC memory cards Tuner FM Tuning Range 87 5 108MHz Tuning grid 50KHz Sensitivity Mono 26dB S N Ratio Stereo 46dB S N Ratio 22 dBf 43 dBf Search Selectivity 28dBf Total Harmonic Distortion 2 Signal to Noise Ratio 55dB Speakers Speaker Impedance 4ohm Speaker Driver ...

Страница 34: ...size 512 bytes MP3 bit rate data rate 32 320 Kbps and variable bit rate WMA v9 or earlier Directory nesting up to a maximum of 8 levels Number of albums folders maximum 99 Number of tracks titles maximum 999 ID3 tag v2 0 or later File name in Unicode UTF8 maximum length 128 bytes Unsupported formats Empty albums an empty album is an album that does not contain MP3 WMA files and is not be shown in t...

Страница 35: ...ype color system and regional code Check for any scratches or smudges on the disc Press SYSTEM MENU to exit the system setup menu Disable the password for parental control or change the rating level 11 Troubleshooting Caution Never remove the casing of this unit To keep the warranty valid never try to repair the system yourself If you encounter problems when using this unit check the following poi...

Страница 36: ...tem and your TV or VCR Fully extend the FM antenna Connect an outdoor FM antenna instead Wireless connection fails Set up wireless connection manually Unable to select Progressive Scan Ensure the video output mode is set to Pr Cr Pb Cb Y No sound on HDMI connection You may not hear any sound if the connected device is non HDCP compliant or only DVI compatible No picture on HDMI connection Check if...

Страница 37: ......

Страница 38: ... 2010 Koninklijke Philips Electronics N V All rights reserved Document order number MCD388_12_UM_V4 0 ...

Отзывы: