2 - 1
2 - 1
Software upgrade & Procedure to restore product setting
1)Restore factory setting
a) Press “
” <Home> button on R/C.
b) Select <SETUP>, then press “OK” button on R/C.
c) Select <Advanced setup> ,then press < OK > button on R/C.
d) Select <Restore default settings>,then press <OK> to confirm.
2)Password change
a) Press “
” <Home> button on R/C.
b) Select <SETUP>, then press “OK” button on R/C.
c) Select <preference setup>, then press <OK> button on R/C.
d) Select <Change Password> <Confirm>, then press <OK> button
on R/C.
“0000” is default password supplied.
3)Trade mode
a) In open model,press “
” <Home> button on R/C.
b) Press “2” “5” “9” on R/C,VFD will display “TRA ON” or “TRA
OFF”.
4)Check software version
a) Press “
” <Home> button on R/C
b) Select <Setup>, then press <OK> button on R/C.
c) Select <Advanced Setup> <Version Info.>,then press <OK>
button on R/C.
d) TV will show message as follow:
Model:
HTS4561/
12
Version:
System SW:027.00
Subsystem SW:20-00-00-00
Ethernet MAC:00:25:D1:01:8D:6C
For more information,frequently asked questions and
software updates,please visit
philips.com/support
Close
e) Select <Close> on the version display screen and press <OK>
button to exit .
5) Upgrading new software
Method 1: Update software from a USB storage device
a) Create a folder named “UPG_ALL” in your USB storage device,
and Copy the latest upgrading software into the folder.
b) Connect the USB storage device to the home theater.
c) Press “
” <Home> button on R/C, and select <Setup>.
d) Select <Advance Setup> <Software Update> <USB>.
e) TV will show message as follow:
Now searching for upgrade software!
Please wait...!
Software updates for this player have been found. Do you want to
upgrade?
Cancel
Start
f) Select <Start>, press <OK> button on R/C.
Software upgrade will take 5 minutes
Do not switch off!
Package version: 000025.0
Software BE 80%
Software FE Completed
Software MCU1:
Software Dock:
Software MCU3:
Software upgrade will take 5 minutes
Do not switch off!
Package version: 000025.0
Software BE Completed
Software FE Completed
Software MCU1: Not started
Software Dock: 2%
Software MCU3: Not started
Software upgrade will take 5 minutes
Do not switch off!
Package version: 000025.0
Software BE Completed
Software FE Completed
Software MCU1: 1%
Software Dock: Failed
Software MCU3:
g)The set will shut down automatically when the software upgrade
is completed.
Method 2: Update software from the internet
Note: To check for new updates, compare the current software
version of your home theater with the latest software version (if
available) on the Philips web site, and for BD-Live application and
software update, make sure that the network router has access to
the Internet and the firewall is disabled.
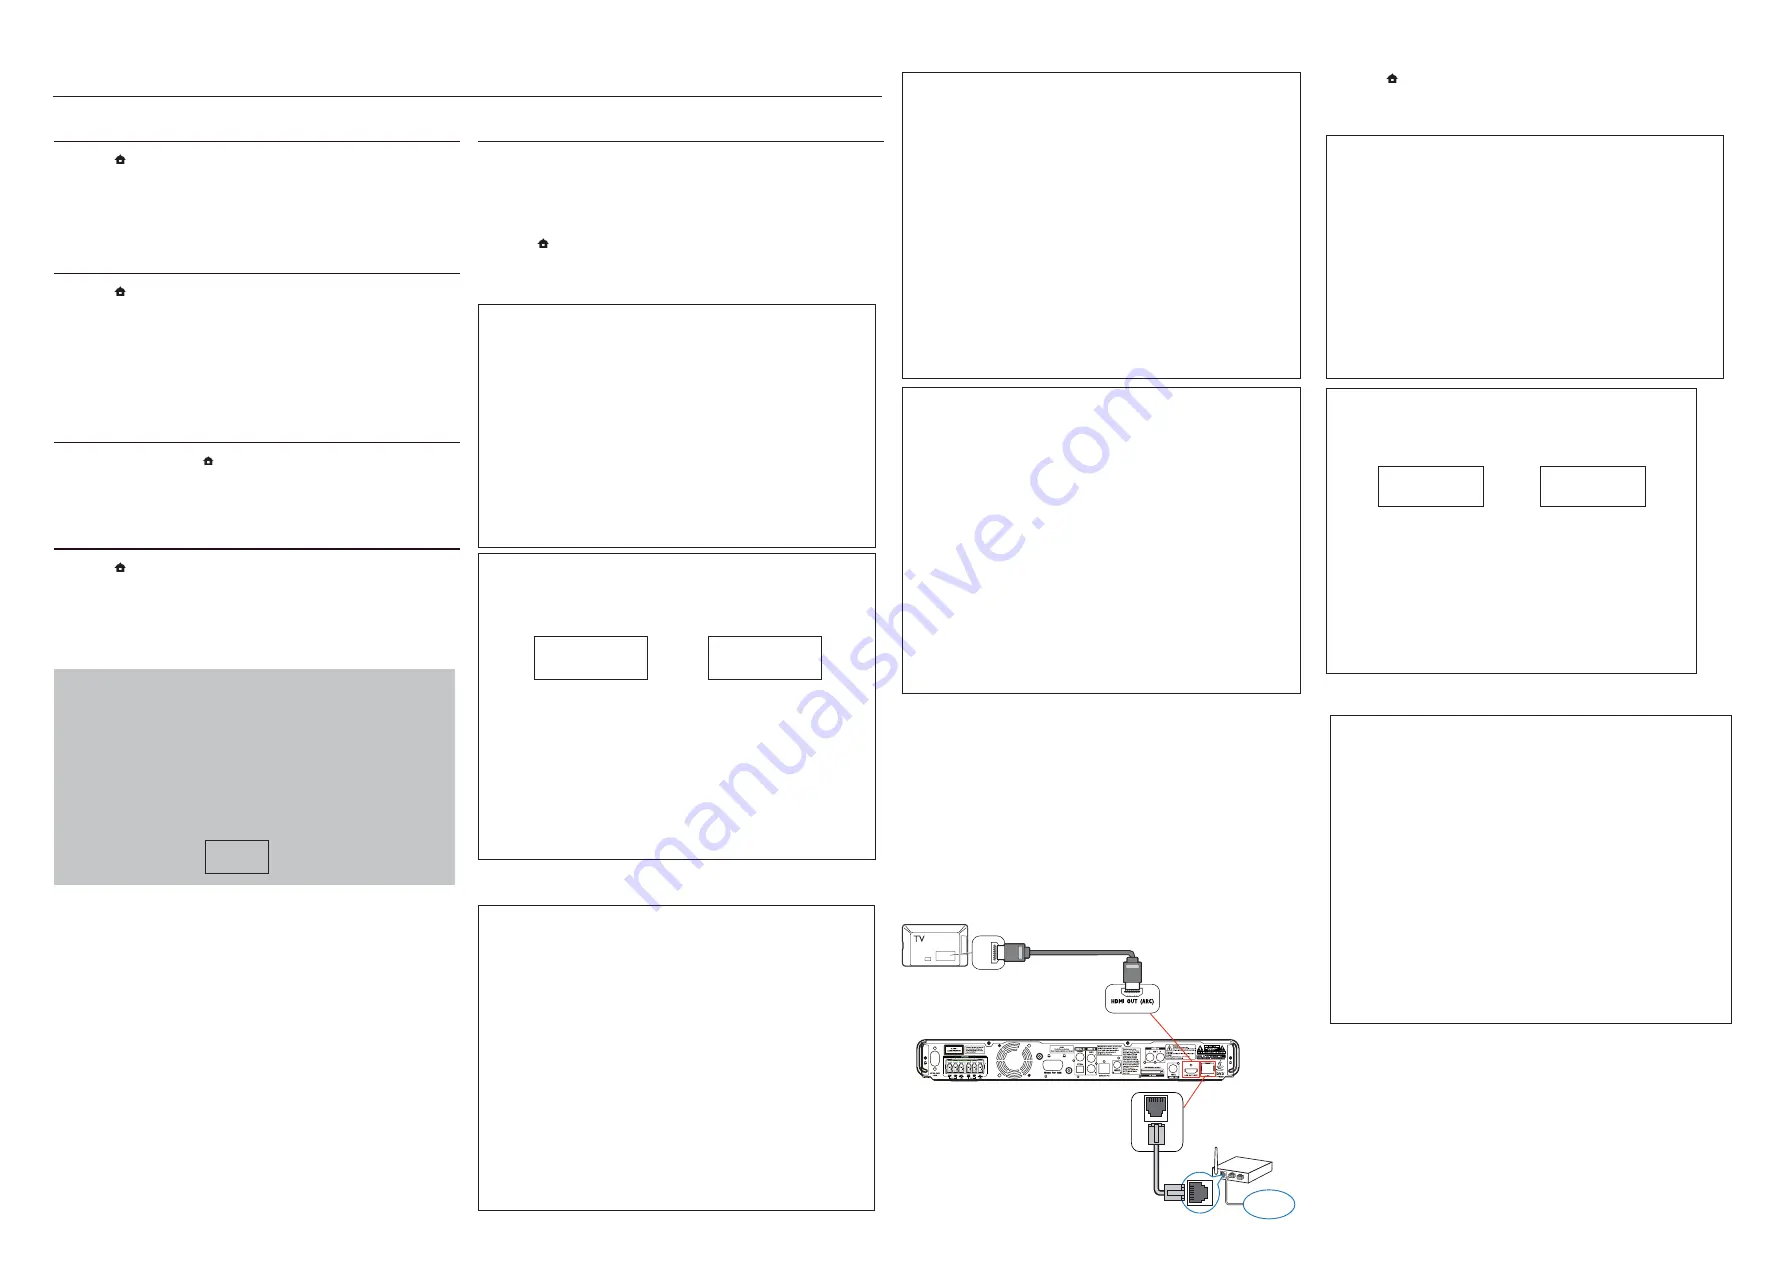
a) The “LAN” jack at the back panel of the set must be connect to
the network router via network cable and the set connect to TV,
Prepare the connection as shown follow:
b) Press “
” <Home> button on R/C, and select <Setup>.
c) Select <Advance Setup> <Software Update> <Network>.
d) TV will show message as follow:
Now searching for upgrade software!
Please wait...!
Software updates for this player have been found. Do you want to
upgrade?
Cancel
Start
e) Select <Start>, press <OK> button on R/C.
w
w
w
LAN
/NI
I
MD
H
CR
A I
MD
H
Software upgrade will take 5 minutes
Do not switch off!
Package version: 000025.0
Software BE 80%
Software FE Completed
Software MCU1:
Software Dock:
Software MCU3:
Содержание HTS4561/12
Страница 16: ...4 1 4 1 BLOCK DIAGRAM ...
Страница 17: ...4 2 4 2 WIRING DIAGRAM V6 V2 V3 V7 V5 V8 V1 V4 ...
Страница 21: ...5 4 5 4 1 2 3 5 MUSIC iLINK 2 1 1 DOCK for iPod 3 1 2 2 3 TV HOME THEATER 1 2 ...
Страница 34: ...8 5 8 5 HA501 PIN16_ADC_RST CN203 Pin3 USBM pin4 USBP USB and WIFI Function wave Waveforms for measure point ...
Страница 35: ...9 1 9 1 TOUCH BOARD TABLE OF CONTENTS Circuit Diagram 9 2 PCB Layout Top Bottom View 9 3 ...
Страница 38: ...10 1 10 1 WIRELESS JACK BOARD TABLE OF CONTENTS Circuit Diagram 10 2 PCB Layout Top Bottom View 10 3 ...
Страница 39: ...10 2 10 2 CIRCUIT DIAGRAM 1 2 1 2 A B A B CN601 A1 JK601 A1 ...
Страница 40: ...10 3 10 3 PCB LAYOUT TOP VIEW PCB LAYOUT BOTTOM VIEW CN601 A1 JK601 A1 1 1 A A 1 1 A A ...
Страница 44: ...12 1 12 1 Mechanical Exploded View Note A1 10 11 22 24 B1 9 16 C1 2 3 5 6 7 8 39 27 40 41 42 43 44 45 46 RC FM ...
Страница 45: ...13 1 REVISION LIST Version 1 0 Initial release ...


