English
29
Playing a Karaoke disc
IMPORTANT!
You have to turn on your TV and set to
the correct Video In channel. (See page
17 “Setting the TV”).
1
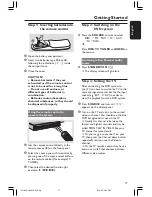
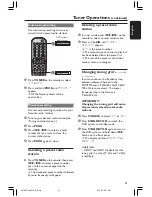
Connect a microphone (not supplied) to
the
MIC
socket on the side panel of the
DVD main unit (as shown below).
2
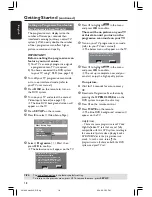
Load a karaoke disc.
➜
If the disc menu appears, use
3
4
keys
to make your selection and press
OK
to
start playback.
3
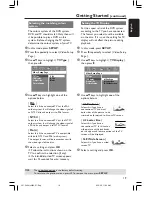
To turn off the vocal or change the sound
channel of a karaoke disc, press
VOCAL
on the remote repeatedly to toggle
between various audio modes.
4
Press
MIC ON/OFF
on the remote to
turn on the microphone and start
enjoying the karaoke.
●
While singing, you can set the
microphone volume level by pressing the
MIC LEVEL
on the front panel and
followed by adjusting the Volume control.
Microphone Setting
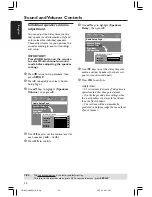
1
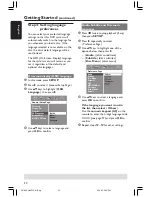
Press
KARAOKE
on the remote to
access ‘Microphone Setup’ page.
2
In ‘Microphone Setup’ page, use
34
keys
to select the option for microphone
settings and press
OK
to confirm.
{
Mic Volume
}
– Use
34
keys to set the microphone
volume level (00 ~ +20). Choose ‘00’ for
minimum microphone volume setting.
{
Echo Level
}
– Use
34
keys
to set the Echo Level
(00 ~ +20). Choose ‘00’ for minimum
echo level setting.
{
Key
}
– Use
34
keys to set the pitch level
(-10~ +10) that matching your voice.
Select ‘-10’ for lowest possible tone and
‘+10’ for highest tone. To return to
original tone, select ‘00’.
TIPS:
Some discs cannot be played on this DVD system due to the configuration and characteristics
of the disc, or due to the condition of recording and authoring software that was used.
Disc Operations
(continued)
001-049 hts3500-51-Eng
9/14/05, 2:51 PM
29


