3 - 3
Pr
eparations
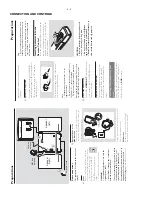
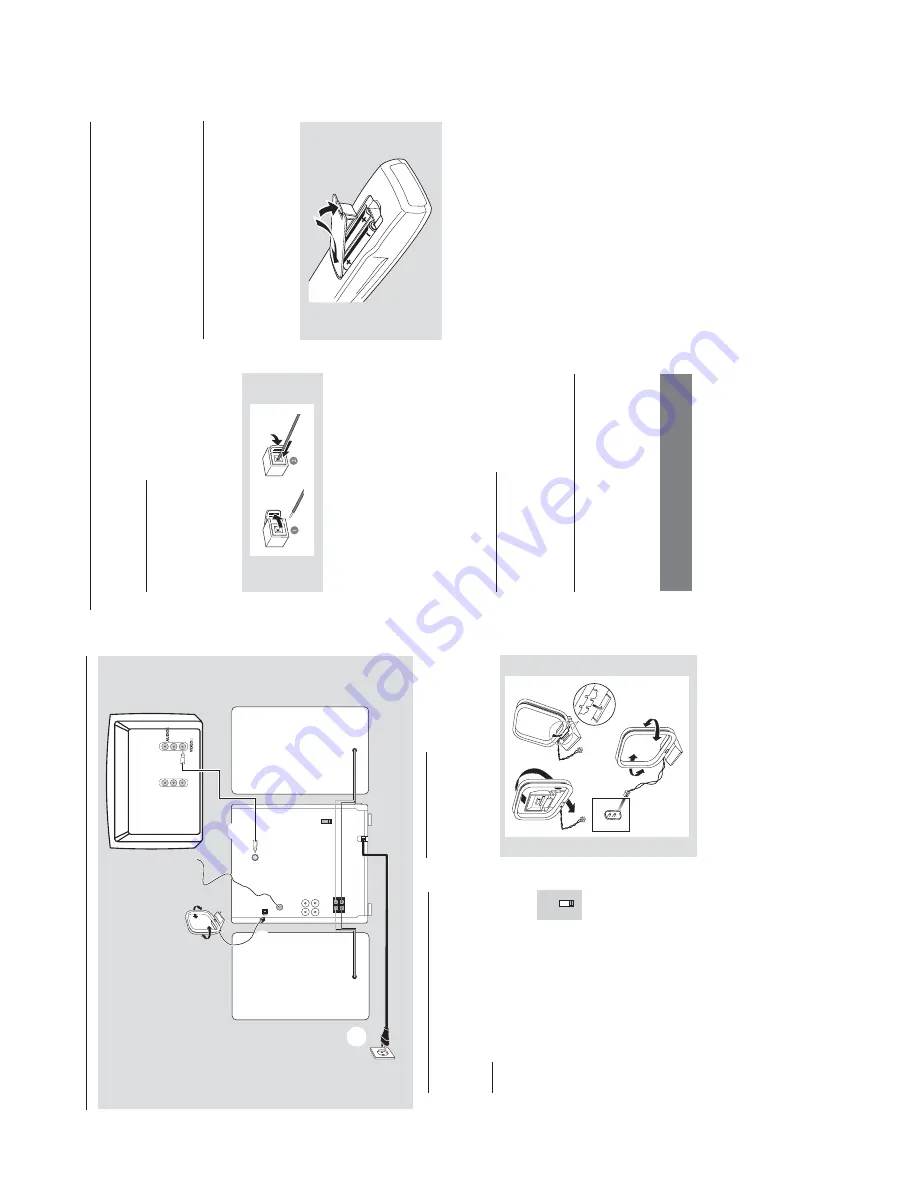
Rear connections
The type plate is located at the r
ear of the
system.
A
Po
w
e
r
Bef
ore connecting the
A
C
po
w
er cord to the
wall outlet,
ensure that the f
ollo
wing are done;
–
If y
our system is equipped with a
V
oltage Selector
, set the
V
O
LT
A
G
E
SELECT
OR to the local po
w
er line
voltage
.
–
All other connections ha
ve
been made
.
WARNING!
–F
or optimal performance
, use only the
original po
wer cable
.
–N
ev
er mak
e or change an
y connections
with the po
wer s
w
itched on.
To
av
oid o
verheating of the system,
a safety
circuit has been built in.
Ther
efor
e
, your
system may s
witch to Standb
y mode
automatically under e
xtr
eme conditions
. If
this happens
, let the system cool do
wn
befor
e r
eusing it
(not availab
le f
or all ver
sions)
.
VOLTAGE
SELECTOR
110V-
127V
220V-
240V
B
Antennas Connection
MW Antenna
Connect the supplied MW loop antenna to the
“AM antenna”
ter
minal.
Adjust the position of
the antenna f
or optimal reception.
Fix the claw
to the slot
MW ANTENNA
P
osition the antenna as far as possib
le from a
TV
,
VCR or other r
adiation source
.
FM Antenna
It is unnecessar
y to connect the FM pigtail
antenna since it is f
ix
ed to the main unit.
VOLTAGE
SELECTOR
110V-
127V
220V-
240V
Speak
er
(r
ight)
Speak
er
(left)
MW loop
antenna
AC
po
w
er cord
FM wire
antenna
AM ANTENNA
FM ANTENNA
AUX/CDR
R L
SPEAKERS 6
!&
R
+
Ö
L
LINE OUT
VIDEO OUT
IN
Television
L
R
IN
C
r
Cb
Y
A
B
C
D
12
3
Pr
eparations
Adjust the FM antenna f
or optimal FM stereo
reception.
C
Speak
ers Connection
Connect the speak
er wires to the SPEAKERS
terminals,
r
ight speak
er to "
R
" and left speaker to
"
L
", colored (mar
ked) wire to "
+
" and b
lack
(unmar
ked) wire to "
-
".
Full
y inser
t the str
ipped por
tion of the speak
er
wire into the terminal as sho
wn.
Notes:
–F
or optimal sound perf
ormance
, use the
supplied speak
ers
.
–
Do not connect mor
e than one speak
er to any
one pair of
+
/
-
speak
er terminals.
–
Do not connect speak
er
s with an impedance
lo
wer than the speak
er
s supplied.
Please ref
er to
the SPECIFIC
ATIONS section of this manual.
D
Video Out Connection
Connect the
VIDEO OUT
ter
minal at the rear
of the system to the
TV or
VCR
VIDEO IN f
o
r
viewing or recording.
Optional connection
The optional equipment and connecting cords
are not supplied.
Ref
er to the oper
ating
instr
uctions of the connected equipment f
o
r
details.
Connecting other equipment to your
system
Connect the audio left and right OUT ter
minals
of a
TV
, VCR,
Laser Disc pla
ye
r, D
VD pla
yer or
CD Recorder to the
A
UX
ter
minals.
Note:
–
If you ar
e connecting equipment with a mono
output (a single audio out terminal), connect it to
the
A
UX left terminal.
Alternatively
, you can use a
“single to double”
cinc
h cable (the output sound
still r
emain mono).
Inser
ting batteries into the
Remote Contr
ol
Inser
t tw
o batter
ies (type R06 or
AA) into the
remote control with the cor
rect polar
ity as
indicated b
y the
+
and
-
symbols inside the
batter
y compar
tment.
CA
UTION!
–
Remo
ve
batteries if the
y are e
xhausted
or not to be used for a long time
.
–
Do not use old and new or different
types of batteries in combination.
–
Batteries contain chemical substances
, so
the
y should be disposed off pr
operly
.
or
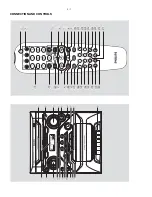
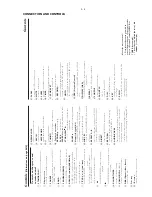
CONNECTION AND CONTROLS
Содержание FWV182
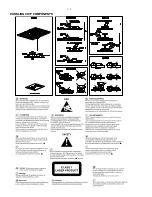
Страница 2: ...1 1 HANDLING CHIP COMPONENTS ...
Страница 6: ...3 1 3 6 ª 6 5 º 9 8 7 1 fi fl CONNECTION AND CONTROLS 1 4 7 3 0 8 9 6 5 2 fl ...
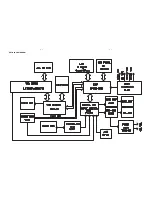
Страница 12: ...5 1 5 1 SET BLOCK DIAGRAM ...
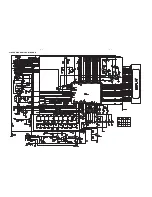
Страница 13: ...5 2 5 2 SET WIRING DIAGRAM ...
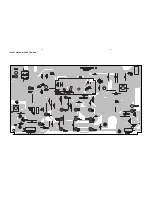
Страница 14: ...6 1 6 1 CIRCUIT DIAGRAM FRONT BOARD ...
Страница 15: ...6 2 6 2 CIRCUIT DIAGRAM FRONT BOARD ...
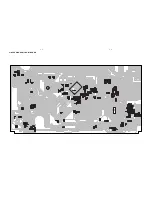
Страница 16: ...6 3 6 3 LAYOUT DIAGRAM FRONT BOARD ...
Страница 17: ...7 1 7 1 CIRCUIT DIAGRAM VCD BOARD ...
Страница 18: ...7 2 7 2 LAYOUT DIAGRAM VCD BOARD ...
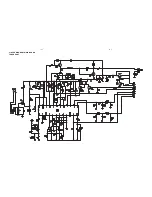
Страница 19: ...8 1 8 1 CIRCUIT DIAGRAM POWER BOARD ...
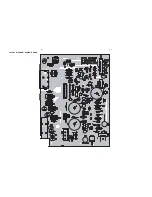
Страница 20: ...8 2 8 2 LAYOUT DIAGRAM POWER BOARD ...
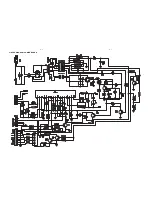
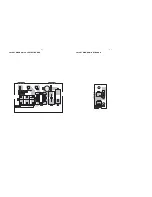
Страница 21: ...9 1 9 1 LAYOUT DIAGRAM ANT BOARD LAYOUT DIAGRAM VOL SELECT BOARD ...
Страница 22: ...10 1 10 1 CIRCUIT DIAGRAM MAIN BOARD TUNER PART ...
Страница 23: ...10 2 10 2 CIRCUIT DIAGRAM MAIN BOARD TAPE PART ...
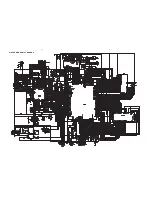
Страница 24: ...10 3 10 3 CIRCUIT DIAGRAM MAIN BOARD ...
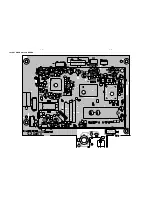
Страница 25: ...10 4 10 4 LAYOUT DIAGRAM MAIN BOARD ...
Страница 26: ...10 5 10 5 LAYOUT DIAGRAM MAIN BOARD ...
Страница 27: ...11 1 11 1 EXPLODED VIEW DIAGRAM ...


