Mechanical instructions
GB 12
EM1A
4.
10. Reconnect cables (except degaussing cable 0020),
panels and modules.
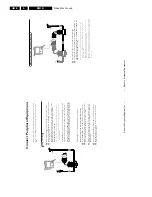
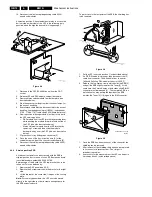
Alternative position 2: A somewhat easier way to access the
bottom side (solder side) of the LSP is the following (only
possible when the high tension cable is long enough):
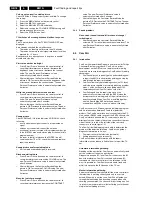
Figure 4-3
1.
Disconnect the CRT/SCAVEM panel from the CRT-
socket.
2.
Release LSP and DW-module, and pull backward.
3.
Remove Mains switch module from bottomplate (see
description below).
4.
Free the necessary wiring from their fixation clamps, for
the ease of handling.
5.
Sometimes a cable must be disconnected for the ease of
handling, like the degaussing coil (0020), loudspeaker
(1735, 1736 & 1737) cables and 0325 (frame deflection).
6.
Now reposition following modules, in order to cope with
the LSP service position:
–
DAF-module from the LSP-bracket by pressing lever
while pushing the module forward in the direction of
the CRT (see also description below).
–
Mains Harmonic module from the LSP-bracket by
removing 1 screw and then slide the module
backward, away from the CRT (see also description
below).
7.
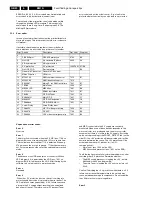
Flip the chassis tray 90 degrees clockwise [2].
8.
Place the hook of the tray in fixation hole [A] of the
cabinet bottom and pull the chassis tray backward [3].
9.
Reconnect the cables (except degaussing cable 0020),
panels and modules.
4.2.2
Service position SSB
All relevant test points can be accessed with the SSB in
original position, but for ease of use a 'SSB extension board'
is available under number 9965 000 05769.
Before usage of this board, the 'LSP top-bracket' has to be
taken out. This can be done by:
1.
Remove the DAF panel (see 4.2.5).
2.
Remove the 2 screws which hold the bracket at the right
side.
3.
Lift the bracket at the same side. It hinges at the cooling
plate.
Note: For some type numbers, the LSP has to be moved
slightly to the right side in order to create enough space for
the SSB extension board.
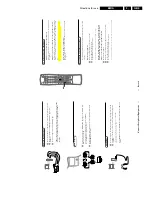
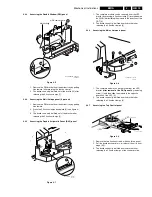
To get access to the test points of the SSB, the shielding has
to be removed:
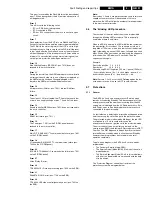
Figure 4-4
1.
Put the LSP in service position 1 (as described above).
2.
If a PIP/DW module is present, then disconnect the IF-
cable from connector 1946, flatcable from connector
1948 and flatfoil on DW-module connector 0205 [1].
3.
Release the 'top fixation clamp' which holds the SSB [2]
and pull the SSB slightly towards the Tuner [3]. At the
same time, the 2 metal clamps at both sides of the SIMM-
connector must be released [4] . The complete SSB can
be taken out now by pulling the topside of the SSB
towards the Tuner [5]. It 'hinges' in the SIM-connector.
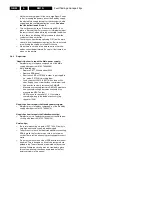
Figure 4-5
1.
Once the SSB has been taken out of the connector, the
shielding can be removed.
2.
After removal of the shielding, the panel can be replaced
in its connector in reverse order. Don't forget to
reconnect the cables.
3.
If necessary for the measurement, the LSP can be put in
'service position 2' (as described above).
CL 06532130_007.eps
131000
2
3
1
1
A
CL 06532130_008.eps
131000
2
4
4
5
3
0946
0948
FROM
PIP/D
W MODULE (0205)
1
1
1
CL 06532130_009.eps
031000
2
1
1


