background image

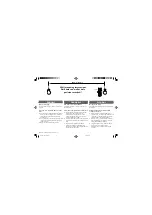
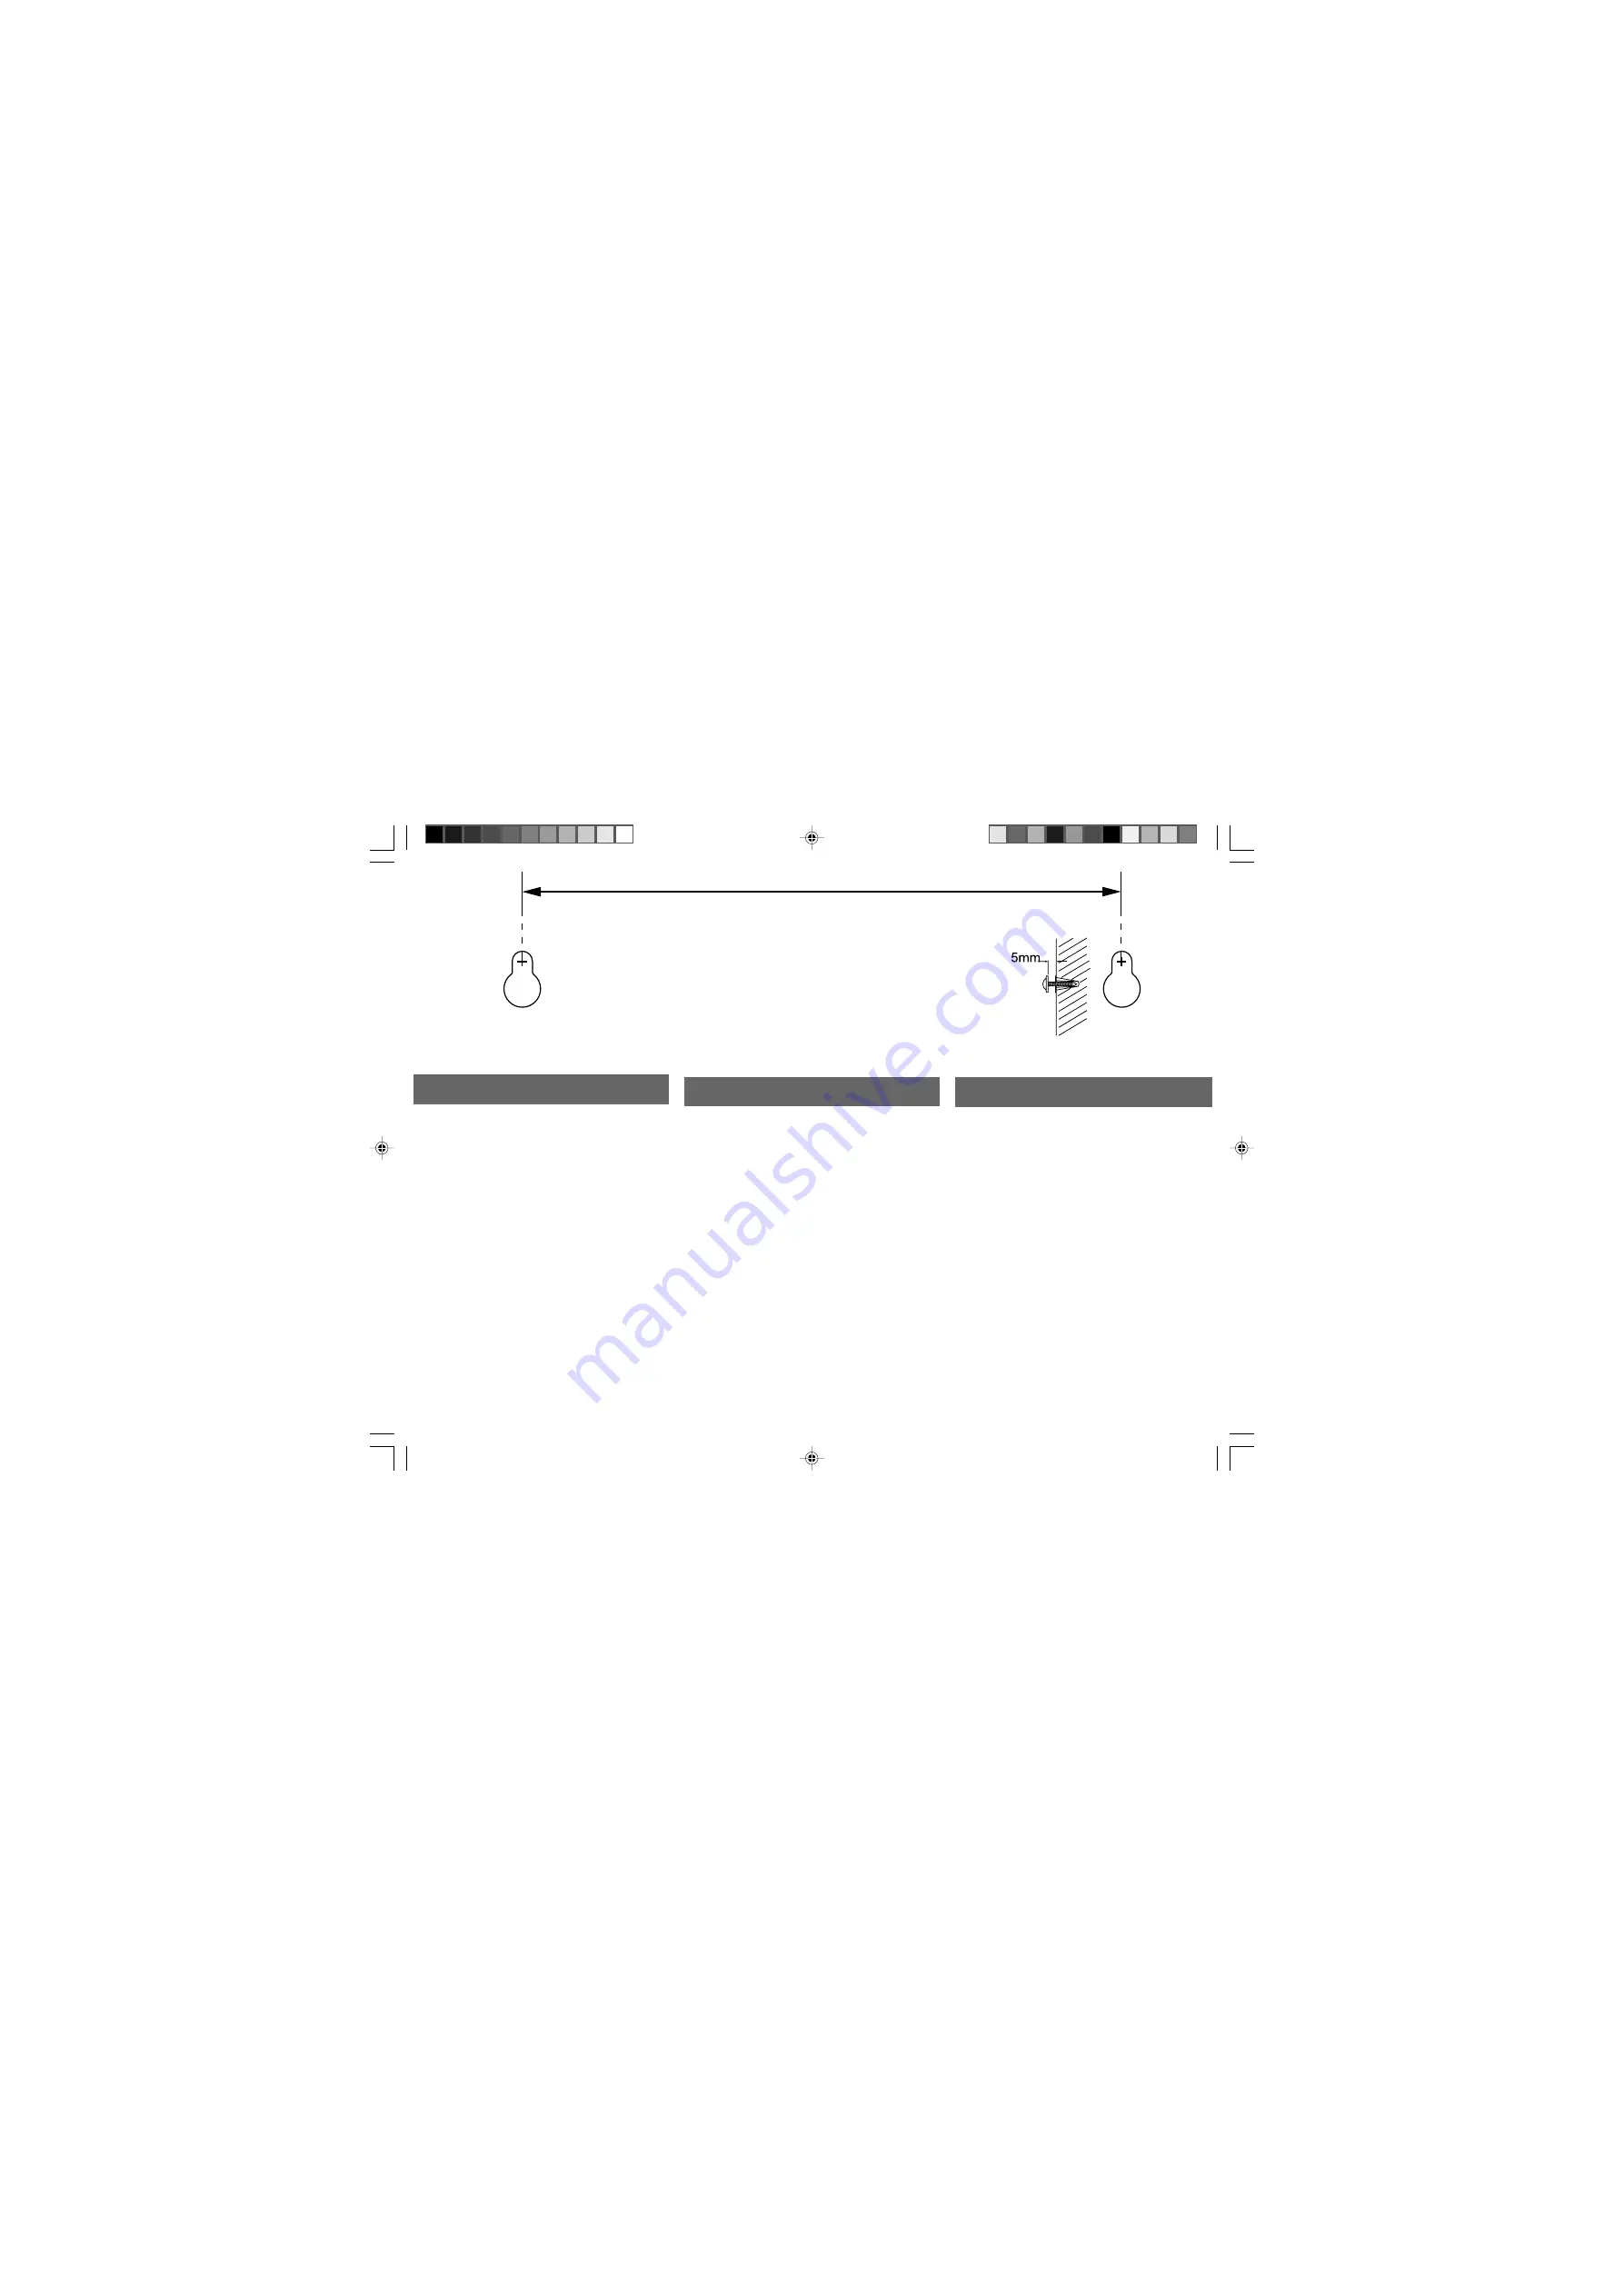
155 mm (6.10")

Wall mounting instructions

Drill holes on wall at hole

positions marked.*

ENGLISH

Note for mounting

To secure the mounting on wall, concrete wall is
required.

Use screws to mount the main unit on the
wall

1.

Use this sheet as a template. Mark the position

where you want to hang the unit on the wall
(as shown above) and then drill two 6mm
diameter holes.

2.

Secure the 2 dowels and 2 screws (both supplied)

in the holes respectively.  Leave the screws 5mm
proud of the wall.

3.

Hang the unit on the fastening screws.

FRANÇAIS

Remarque concernant la fixation

Le système de fixation n'est pas conçu pour les
murs en béton.

Fixez l'unité principale au mur à l'aide de vis

1.

Servez-vous de cette feuille comme modèle.

Tracez des repères à l'endroit où vous
souhaitez suspendre l'appareil sur le mur
(comme illustré ci-dessus), puis forez deux
trous d'un diamètre de 6 mm.

2.

Placez les 2 chevilles et les 2 vis (fournies) dans

chacun des trous. Laissez les vis dépasser de 5
mm.

3.

Suspendez l'appareil aux vis de fixation.

*

Instructions relatives à la fixation murale
Percez des trous dans le mur en respectant la

position des trous marquée.

ESPAÑOL

Nota para el montaje

Para garantizar un montaje seguro, la pared debe ser
de cemento.

Utilice tornillos para montar la unidad
principal en la pared

1.

Utilice esta página como plantilla. Marque la

posición en la

que desea colgar la unidad en la

pared (como se muestra en la imagen anterior)
y perfore orificios de 6mm de diámetro.

2.

Fije los 2 tacos y 2 tornillos (ambos incluidos)

respectivamente en los agujeros. Los tornillos
deben sobresalir 5mm de la pared.

3.

Cuelgue la unidad en los tornillos de sujeción.

*

Instrucciones de montaje en pared
Perfore agujeros en la pared en la posición

deseada

DCM278_12_Wall mounting instruction _V1.0

DCM278_12 Wall Mounting

9/2/09, 16:08

1

Содержание DCM278/12

Страница 1: ...lustré ci dessus puis forez deux trous d un diamètre de 6 mm 2 Placez les 2 chevilles et les 2 vis fournies dans chacun des trous Laissez les vis dépasser de 5 mm 3 Suspendez l appareil aux vis de fixation Instructions relatives à la fixation murale Percez des trous dans le mur en respectant la position des trous marquée ESPAÑOL Nota para el montaje Para garantizar un montaje seguro la pared debe ...

Страница 2: ...aan een betonnen wand Bevestig het apparaat met schroeven aan de wand 1 Gebruik dit blad als sjabloon Markeer de plaats waar u het apparaat aan de wand wilt hangen zie bovenstaande afbeelding en boor twee gaten van ongeveer 6 mm 2 Maak de twee pluggen en schroeven beide meegeleverd in de gaten vast Laat de schroeven 5 mm uit de wand steken 3 Hang het apparaat aan de schroeven Instructies voor wand...

Страница 3: ... skruer til at montere hovedenheden på væggen 1 Brug dette ark som skabelon Marker det sted på væggen hvor du vil hænge enheden op som vist og bor derefter to huller på 6 mm i diameter 2 Placer to rawlplugs og to skruer medfølger i hullerne Lad skruerne stikke 5 mm ud fra væggen 3 Hæng enheden op på de fastgjorte skuer Instruktioner til vægmontering Bor huller i væggen på de markerede positioner S...

Страница 4: ...ÓÈÒÚ Ó Ì Á Í ÂÔÎÂÌÌ Â ËÌÚ àÌÒÚ Û͈ËË ÔÓ ÏÓÌÚ ÊÛ Ì ÒÚÂÌ è ÓÒ Â ÎËÚ ÓÚ Â ÒÚËfl ÒÚÂÌ Á Ì ÓÚÏ ÂÌÌ ı ÏÂÒÚ ı PORTUGUÊS Nota para a montagem Para fixar a unidade a parede deve ser de betão Use parafusos para fixar a unidade principal à parede 1 Utilize esta folha como modelo Marque a posição onde pretende pendurar a unidade na parede tal como indicado em cima e faça dois furos com 6 mm de diâmetro 2...

Страница 5: ...ouby 1 Použijte tento list jako vzor Označte místo na zdi kam si přejete jednotku zavěsit podle výše uvedeného obrázku a poté vyvrtejte dva 6milimetrové otvory 2 Umístěte do děr postupně 2 hmoždinky a 2 šrouby jsou součástí dodávky Nechte šrouby vyčnívat 5 mm ze zdi 3 Zavěste jednotku na upevňovací šrouby Pokyny pro montáž na stěnu Na vyznačených místech vyvrtejte do stěny díry Slovensky Poznámka ...

Страница 6: ...alra 1 Ez a lap mintaként szolgál Jelölje meg a falon a helyet ahová fel szeretné függeszteni az egységet lásd fent majd fúrjon két 6 mm átmérőjű lyukat 2 Húzza meg a mellékelt két tiplit és két csavart A csavaroknak 5 mm re kell kiállniuk a falból 3 Akassza az egységet a megerősített csavarokra Falra szerelési utasítások A furatok jelölt helyénél fúrjon lyukat a falba DCM278_12 Wall Mounting 9 2 ...

Отзывы: