T
he Picture-in-Picture (PIP) TINT control allows you to adjust
the PIP picture to obtain natural skin tones.
1
Press the MENU/SELECT button. The onscreen menu
appears. Then press the CURSOR RING DOWN twice to
highlight FEATURES.
2
Press the CURSOR RING RIGHT to enter the FEA-
TURES submenu. Then press the CURSOR RING DOWN
repeatedly until the PIP item is highlighted. Press the CUR-
SOR RING RIGHT to enter the PIP submenu.
3
Press the CURSOR RING RIGHT or LEFT to adjust the
TINT to the desired level.
4
Press the STATUS/EXIT button to exit the menu.
U
sing the PIP buttons on the remote, you can move the PIP
window around and swap it with the main screen. You can
also freeze the PIP window picture. Perform the steps below to
practice using the PIP buttons.
1
Press the PIP on/off button to show the PIP window. The
window appears in a corner of the TV screen. Press the
PIP on/off button again to reduce the PIP window size,
and a third time to remove the PIP window from the
screen. Press the PIP on/off button again to show the PIP
window.
2
Press the PIP CH DN/UP buttons to tune to channels in
the PIP window.
If you press and hold the PIP CH UP button for three sec-
onds, the set will automatically perform a forward scan for
channels. Press and hold the PIP CH DN button for three
seconds, and the set will automatically perform a back-
ward scan for channels. Auto scanning will stop if you
press any key, and it will also stop upon reaching the
channel at which scanning began.
3
Press the PIP POSITION button to move the PIP win-
dow from corner to corner on the TV screen.
4
With PIP on the TV screen, press the SWAP button to
swap the main and PIP pictures. Press SWAP again to
swap the pictures back.
NOTE: The CVI source is not accessible in the PIP win-
dow, so it cannot be swapped between the main screen and
PIP.
5
Press the FREEZE button to stop motion within the PIP
window.
The FREEZE button allows you plenty of time to write
down onscreen information such as phone numbers or
addresses.
6
Press the PIP on/off button, multiple times if necessary,
to remove the PIP window from the screen.
7
A
DJUSTING
PIP T
INT
2
1
3
5
4
6
8
7
9
0
TV
SWAP
PIP CH
DN
UP
FREEZE
SOUND
MUTE
SURF
A/CH
POWER
PICTURE
STATUS/
EXIT
VCR
ACC
MENU/
SELECT
VOL
CH
TV/VCR
ACTIVE
CONTROL
FEATURES
TIMER
AutoLock
PIP
CLOSED CAP
FORMAT
TINT
FEATURES
TINT
44
PIP
1
4
2,3
U
SING THE
P
ICTURE
-
IN
-P
ICTURE
(PIP) F
EATURE
U
SING THE
PIP B
UTTONS
PIP
2
1
3
5
4
6
8
7
9
0
TV
SWAP
PIP CH
DN
UP
FREEZE
SOUND
MUTE
SURF
A/CH
POWER
PICTURE
STATUS/
EXIT
POSITION
VCR
ACC
MENU/
SELECT
VOL
CH
TV/VCR
ACTIVE
CONTROL
2
4
1,6
5
3
POSITION
SWAP
FREEZE
Ski Vacations
P.O. Box 55512
Anytown, USA 87654
1-800-555-1212
To prevent uneven picture-tube aging, do not leave stationary images
on screen for extended periods of time. Vary your picture viewing.
See page 60 in the Directions for Use manual.
W
ARNING
H
ELPFUL
H
INT
When you press the PIP on/off
button to show the PIP win-
dow, the window will appear
where it was located the last
time it was displayed.
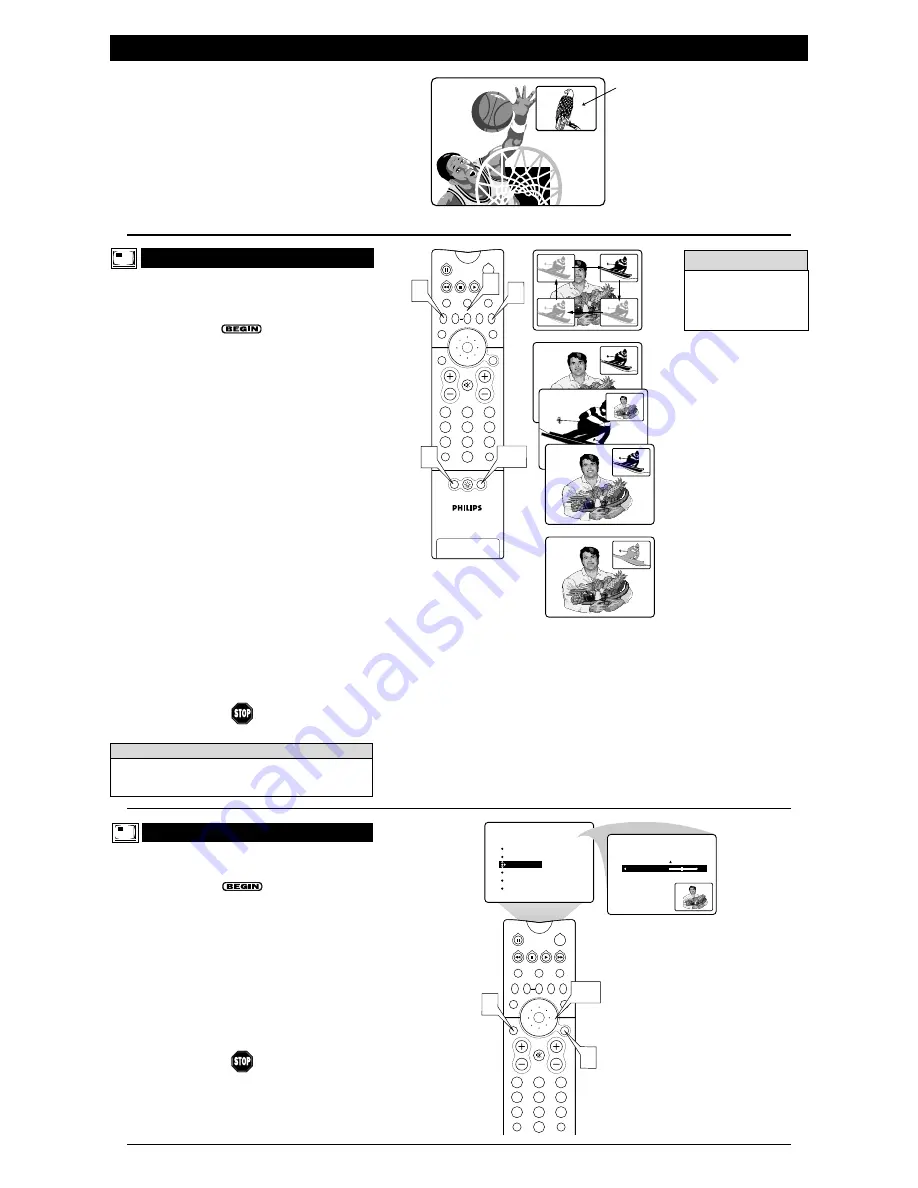
PIP Window
Main Screen
P
icture-In-Picture (PIP) is the showing of two pictures on the
TV screen at the same time—one main screen picture and one
small picture, or PIP. Because your set has two tuners, you can
enjoy all the benefits of PIP without using a VCR as a second
tuner for your PIP picture. Tune to your favorite show on the main
screen with tuner one while scanning other channels with tuner
two in the PIP window. Also view the AV1, AV2, or AV3 sources in
the PIP window. NOTE: CVI cannot be displayed in the PIP win-
dow, and AV4 and AV5 do not function with PIP. For information
on connecting accessory devices to the AV inputs, see the
Directions for Use manual that came with your set. Connection
information begins on page 6.


