10BDL4551T
12
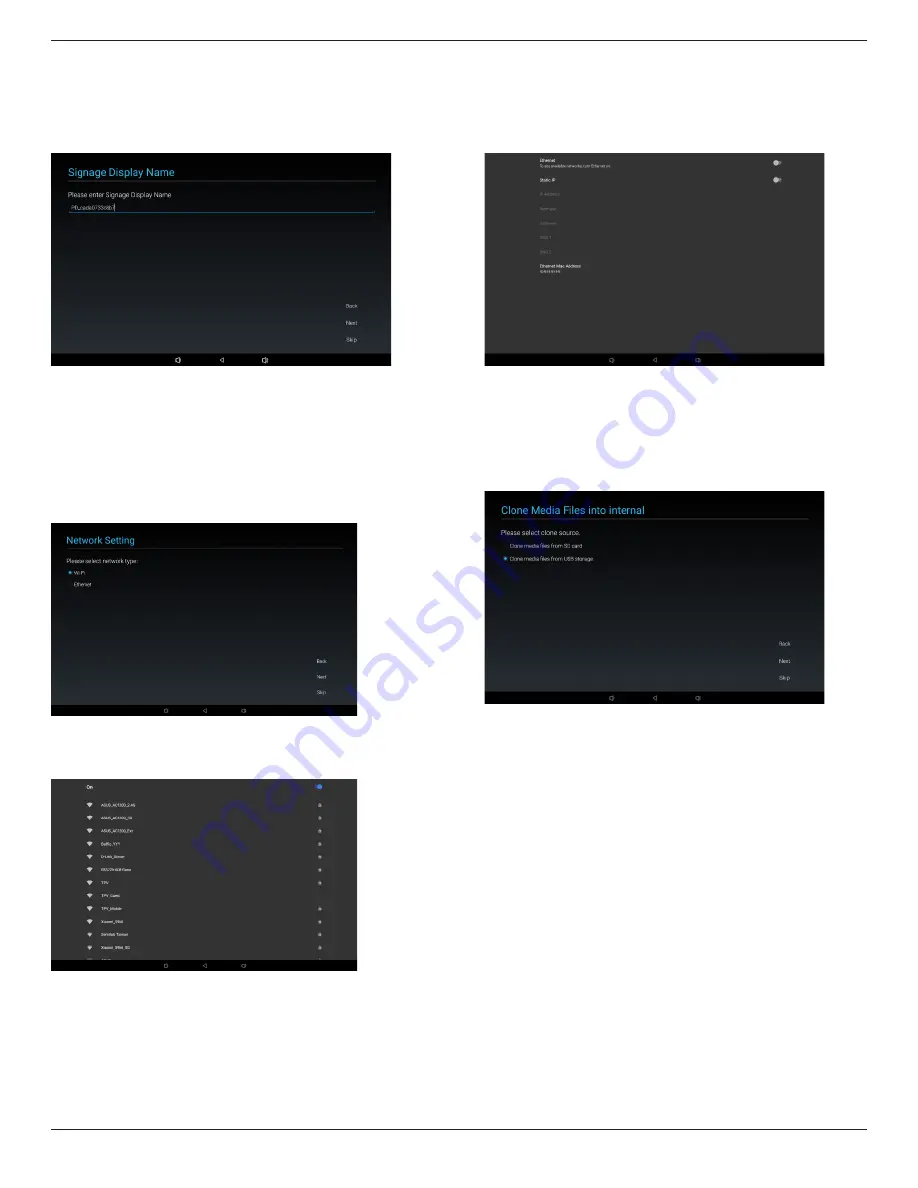
It will show the default Signage Display name, but the user
can change to other name.
You can click “Skip” if you do not want to change the name.
PS: If the name is blank, you can not click “Next” to go to
next page.
5.1.5. Network Setting
You can choose the network source:
Wi-Fi
or
Ethernet
.
Then click “Next” to finish the network setting. Or, you can
click “Skip” to skip network setting.
PS: If you did not connect Ethernet cable, it will show
“Network cable is not plugged.” If you choose and click
“Next”.
(1). Wireless
When connecting to Wi-Fi, it will lead you to next page
automatically:
Signage Display Settings
(2). Ethernet
When you enter “Ethernet” mode, it will show:
Connection Type
:
2 options: DHCP and Static IP
IP Address (Only in Static IP mode)
Netmask (Only in Static IP mode)
DNS Address (Only in Static IP mode)
Gateway (Only in Static IP mode)
Finish the setting and click “Next”, it will lead you to next
page:
Signage Display Settings
(1) Ethernet
Turn on the Ethernet, it will show related information about
current connection.
(2) Static IP
In Static IP mode, the user can set IP Address, Netmask, DNS
Address, and Gateway manually.
5.1.6. Clone Media Files into internal
(1) Clone media files from SD
After cloning, it will jump to
6.1 Import Clone Data .
(2) Clone media files from USB
After cloning, it will jump to
6.1 Import Clone Data
.
5.1.7. Setup Complete
When you click “Finish”, it will start “Import” or “Clone
Data”.
If it runs “Import”, it will show
6.1 Import Clone Data
.
Otherwise it will show
6.2 Manual Setup Complete
.
PS: Do not power off during “Import” and “Clone”
processes, otherwise it will cause data loss.
(1) Import Clone Data
Click “Finish”, run “Import data”, it will re-boot
automatically.


