PheeNet WMS-208
Quick Installation Guide
11
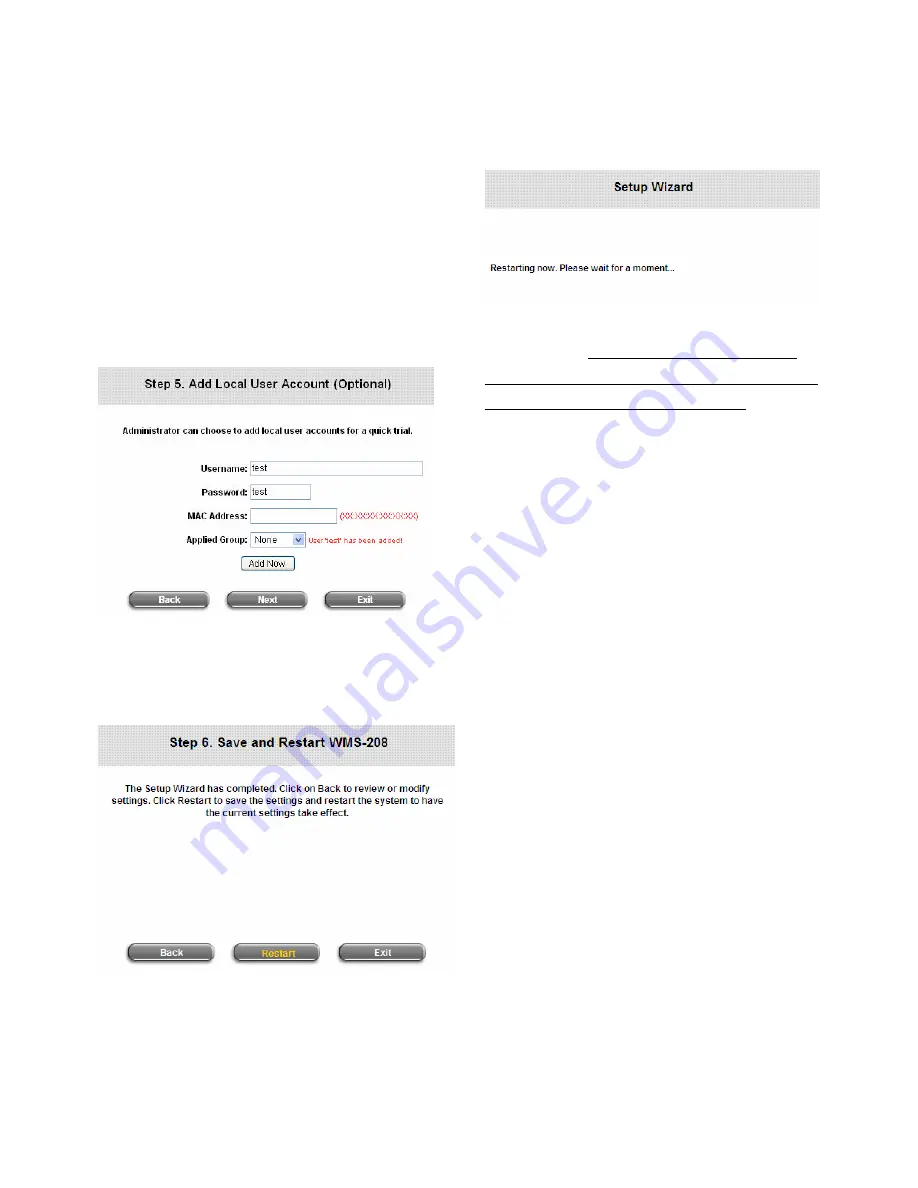
Step 5. Add Local User Account (Optional)
Ø
A new user can be added to the Local User
database. To add a user here, enter the
Username
(e.g. test),
Password
(e.g. test),
MAC Address
(optional, to specify the valid
MAC address of this user) and assign an
Applied Group
to this particular user (or use
the default
None
).
Ø
More users can be added by clicking the
Add
Now
button.
Ø
Click
Next
to continue.
Step 6. Save and Restart PheeNet WMS-208
Ø
Click
Restart
to save current settings and
restart PheeNet WMS-208. The Setup Wizard
is now complete.
Ø
While restarting WMS-208, a
“Restarting now.
Please wait for a moment.”
message will
appear on the screen.
Please do NOT interrupt PheeNet WMS-208
restart process until the
Configuration Wizard
pop-up window has disappeared
–
which indicates
the restart process has been completed.
Now, the basic configuration is completed.
If all the steps are done properly, PheeNet
WMS-208 has been connected to the managed
network.
2.4
User Login
After completing the configuration wizard, the user
account generated in Step 5 can be used to login to
the system to verify whether the configuration is
done properly.
First, connect a client device (e.g. laptop, PC) to
one of the LAN1~LAN8 Ports. If eliminating the
need for client IP configuration is desired, the
administrator can enable the
“IP PnP”
function to
support both static and dynamic IP. Otherwise, the
client device must be set to use
DHCP
in TCP/IP
to
obtain an IP address automatically.
1.
Open an Internet browser on a client device and
access any URL, the default
User Login Page
will be displayed.
2.
Enter a username and password previously
created in the Local User account database (e.g.
“test@local”
for
Username
and
“test”
for
Password
) or from an On-demand User account.
Check the
Remember Me
box to store the
username and password on the current


