


C
OUGAR
3
V
IDEO
R
OUTER
Publication 81-9059-0660-0, Rev. B
March 2011
Proprietary Information of PESA
5-46
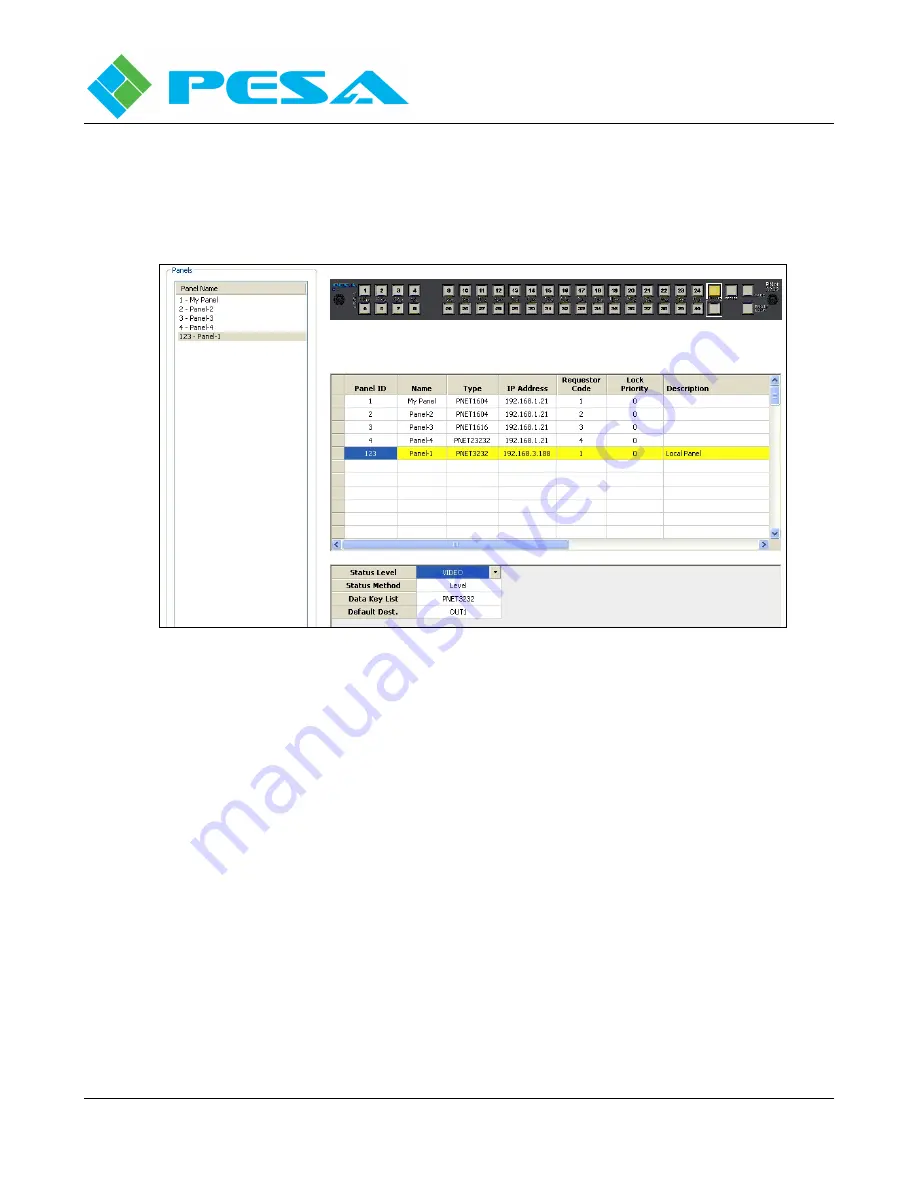
configuration screen. If you are adding a new panel to the listing, the graphic image of the panel
is displayed once the panel type parameter is selected. Displaying a graphic image allows you to
verify the panel type as well as provide a visual cue of the features and functions of the specific
panel.
Figure 5-31 Adding a Panel Configuration
•
Enter Panel Configuration Data
-
Panel ID – Enter the hardware ID number assigned to the panel in the Panel ID column.
This is a unique number assigned to each remote control panel in the system as set by rotary
switches on the rear of each PNet control panel.
-
Name – This entry allows you to assign a name to each panel. If you are adding a new
panel, the place-holder name entered by Cattrax will initially appear in this column. You
may change the name to a more descriptive panel name if you wish. A panel name may
consist of a mix of alphanumeric characters. This is the text string displayed in other
configuration and status screens to identify the panel.
-
Type – This column allows you to select the panel type using a pull-down menu of all
PESA PNet panel model numbers. Click in the Type cell and open the pull-down menu.
Select the model number of the panel you are installing and click the entry. The model
number appears in the cell and a graphic image of the panel is displayed on the
configuration screen.
-
IP Address – Each PNet panel must be a assigned a valid IP address that is compatible with
the facility network. In most cases, IP addresses are issued by the facility network
administrator. Enter the IP address of the panel in this column.
Содержание Cougar 3
Страница 88: ......


