


4
1.4 Instrument Installation
The following procedures will help you finish the installation.
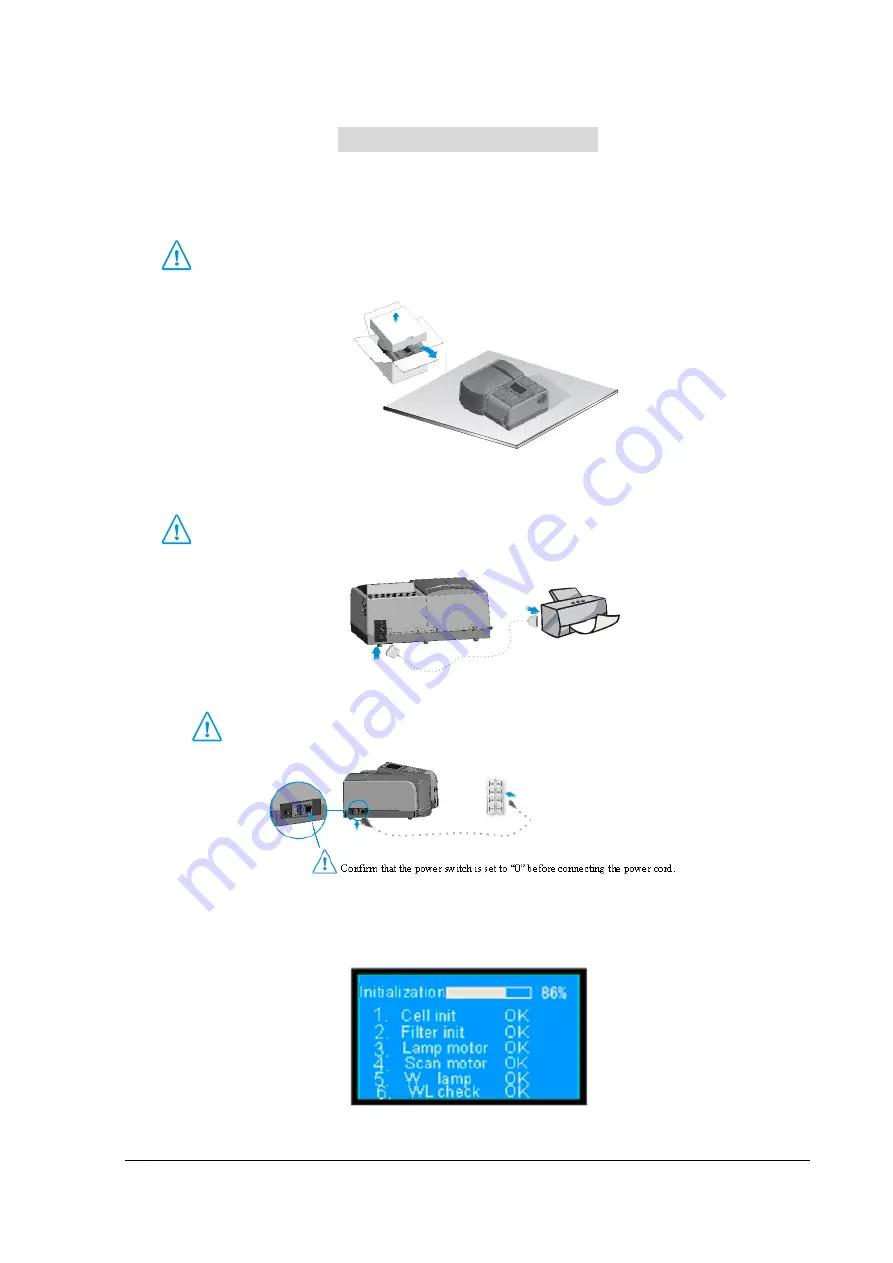
Step one: Unpack the instrument and place it on the stable workbench.
Unpack the instrument carefully and set it down gently! The workbench should be stable and
free from vibration.
Step two: Connect to the printer
Be sure to turn off the power of the instrument and the printer before connecting via the parallel
port, otherwise it may damage the devices.
Step three: Connect the power cords, and then put the plug into the AC outlet in the building.
Confirm that the power switch is set to “0” before connecting the power cords.
Step four: Switch on the instrument power and then it will start initialization, as shown in the following
display.