background image

25

3

Turn your camera on.

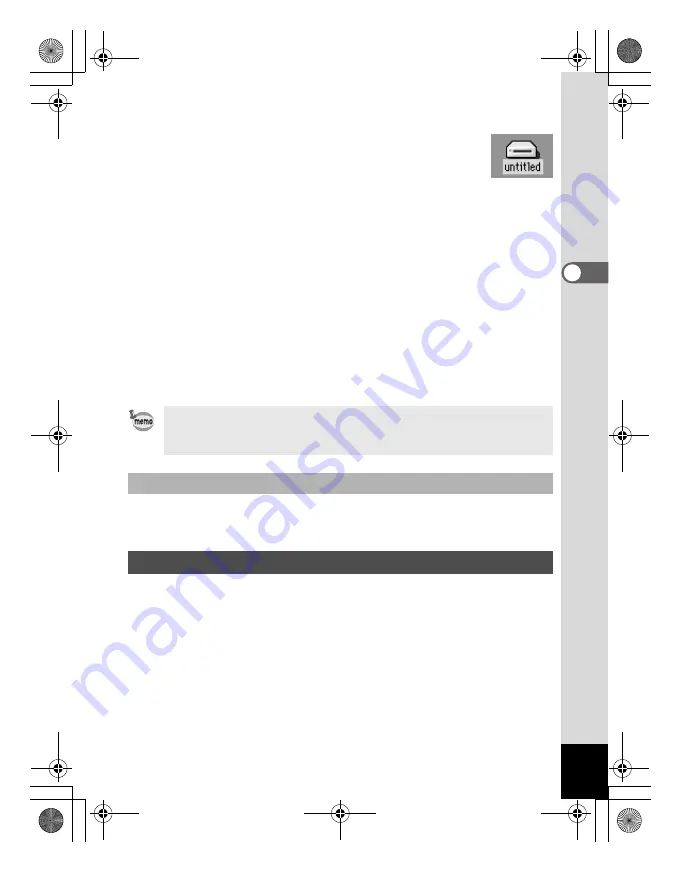
The camera is recognized as [untitled] ([NO_NAME] in 
OS X) on the desktop. The folder name can be 
changed.

4

Double-click the [ACDSee™] folder on the desktop.

5

Double-click the [ACDSee™] program icon.

An image list (Browser) is displayed.

6

Open the camera folder.

The camera images are in the [untitled] (or volume label name if 
the SD Memory Card has one) 

 [DCIM] 

 [XXXPENTX] (XXX is 

a three-digit number) folder.
An image list of the camera is displayed.

7

Select the image to view from the image list.

Double-click the image you selected. A full-size image is displayed 
(Viewer).

See your Macintosh user’s manual for how to copy or move files. 
Please copy images to your Macintosh before editing them.

1

Drag [untitled] (or the volume label name on the SD 
Memory Card) to your trash.

2

Disconnect the USB cable from your camera and your 
Macintosh.

If the SD Memory Card has a volume label, the volume label name 
will be displayed instead of “untitled”. A new SD Memory Card 
unformatted may show the manufacturer name or model number.

Copying images to your Macintosh

Disconnecting your Camera from your Macintosh

e_00_pc_kb367.book  Page 25  Thursday, January 29, 2004  6:13 PM

Содержание Optio 30

Страница 1: ...Viewing Your Digital Camera Images On Your PC PC Connection Manual e_00_pc_kb367 book Page 1 Thursday January 29 2004 6 13 PM...

Страница 2: ...demarks of their respective companies Apple the Apple logo AppleScript the Apple Store Mac the Mac logo Mac OS Macintosh and QuickTime are trademarks of Apple Computer Inc registered in the U S and ot...

Страница 3: ...NTAX 26 Launching ACDSee for PENTAX 26 Viewing using the Browser 27 About the Browser 27 Viewing images in other folders 31 Sorting image files 32 Setting detailed display categories 33 Viewing a Larg...

Страница 4: ...ve the card from the camera Whentransferring images on the card to a PC with another device make sure to review the user manual accompanying that device Here are some ways to use the images captured w...

Страница 5: ...u are using Images sent to the computer can be saved onto a CD R or other media Use your printer ACDSee for PENTAX p 26 44 View Images Edit Images Save processed images E mail Images Manipulate images...

Страница 6: ...dows 98 98 SE Me 2000 Windows XP Home Edition Professional Installation of the driver is necessary for Windows 98 98 SE USB port must be standard equipment Application Software ACDSee for PENTAX 9 lan...

Страница 7: ...s meeting the system requirements You may play movie pictures taken using the provided software ACDSee for PENTAX QuickTime 6 0 or later required You can download DirectX and Windows Installer Service...

Страница 8: ...into the CD ROM drive The PENTAX Software Installer screen appears automatically but no action is required at this stage 3 Make sure the camera is turned off and connect it to your computer with the...

Страница 9: ...e and click Next 7 Select CD ROM drive and click Next If another item has been selected click the box to deselect it 8 Confirm that PENSSTOR INF is displayed and click Next Installation of the driver...

Страница 10: ...r for the new hardware starts 10 Click Next 11 Select Search for the best driver for your device and click Next 12 Select CD ROM drive and click Next If another item has been selected click the box to...

Страница 11: ...displayed and click Next 14 Click Finish When installation is finished the Wizard window is exited 15 Double click My Computer on the desktop A removable disk will be added e_00_pc_kb367 book Page 9...

Страница 12: ...n screen to install your desired software is displayed 4 Click ACDSee Installing the image processing software ACDSee for PENTAX When multiple accounts have been setup in Windows 2000 or Windows XP lo...

Страница 13: ...ur PC a message such as the one shown on the right is displayed before the Setup screen appears Click Install QuickTime to first install QuickTime 6 0 The panoramic image software Photostitcher the im...

Страница 14: ...s connected to the Internet click the displayed country or region and then follow the instructions to register your product Thank you very much for your cooperation Product Registration on the Interne...

Страница 15: ...ayback of FULL menu 3 Use the four way controller 23 to select USB Connection 4 Use the four way controller 45 to select PC 5 Press the OK button Copying Images to your PC Setting the USB Connection m...

Страница 16: ...3 Turn your camera on The Device Detector screen is displayed automatically If the Device Detector screen is not displayed display copy the images following the steps in When the Device Detector scree...

Страница 17: ...rowse For Folder screen is displayed 6 Select a destination folder and click OK 7 Click Next The image is copied to the PC and the ACDSee for PENTAX Browser starts e_00_pc_kb367 book Page 15 Thursday...

Страница 18: ...icon on the desktop 5 Double click My Computer 6 Double click Removable Disk If the SD Memory Card has a volume label name then select that name 7 Double click the DCIM folder 8 Click the xxxPENTX fo...

Страница 19: ...Copy To from the Edit menu The Copy Files screen is displayed 10 Click More and select the destination folder 11 Click OK The image is copied to the PC e_00_pc_kb367 book Page 17 Thursday January 29 2...

Страница 20: ...the camera and disconnect the USB cable from your camera and PC Disconnecting the Camera from your PC Windows 2000 Me The computer is downloading the camera s image data with the camera is connected...

Страница 21: ...sage is displayed permitting removal turn the camera off and disconnect the USB cable from your camera and PC There is no hot plug icon in Windows 98 98 SE Confirm that the viewfinder lamp red is not...

Страница 22: ...lation of the driver is not necessary Application Software ACDSee for PENTAX and ACD Photostitcher 6 languages English German French Spanish Italian Japanese OS Mac OS 8 6 or higher requires QuickTime...

Страница 23: ...e desktop Double click the Master Installer icon to display PENTAX Software Installer screen 5 Click your applicable language You can choose the languages from the displayed screen A selection screen...

Страница 24: ...he message CarbonLib xxxxx could not be found is displayed during installation you must add the function expansion file called CarbonLib to the function expansion folder in the system folder in order...

Страница 25: ...our product Thank you very much for your cooperation 1 Press the MENU button 2 Press the four way controller 5 to display B Set up menu when the displayed screen is A Rec Mode or Q Playback of FULL me...

Страница 26: ...Confirm that the SD Memory Card is inserted in the camera when the images in the SD Memory Card are copied displayed Displaying images on your Macintosh Language English PC USB Connection Screen Setti...

Страница 27: ...w from the image list Double click the image you selected A full size image is displayed Viewer See your Macintosh user s manual for how to copy or move files Please copy images to your Macintosh befo...

Страница 28: ...lso installed at the same time Use this software to enjoy an even higher degree of freedom in your image creation editing and processing This manual provides explanations regarding the most basic ACDS...

Страница 29: ...ed when you launch ACDSee for PENTAX Here explanations are provided regarding Browser configuration as well as names and functions within the Browser cMenu bar You can select and execute the various f...

Страница 30: ...e pane gFile list toolbar With these shortcut buttons you can copy move or delete items select what file types or folders to display in the File pane and sort your images You can customize the toolbar...

Страница 31: ...ut buttons for commonly used functions and tools These buttons open dialog boxes or display further activity buttons eNavigation pane Navigation pane displays a folder tree of the folders on your comp...

Страница 32: ...from the following display methods Thumb Details Display image file thumbnails and file information in a list format You can change the file information that is displayed p 33 Thumbnails Display imag...

Страница 33: ...rent folder by clicking in the Browser toolbar When you use in the Browser toolbar to change the displayed folder click to return to the folder displayed after the current folder Select Path Box from...

Страница 34: ...sort categories Specifying ascending descending order Clicking the right mouse button on the File pane background empty area where images are not displayed as thumbnails or icons will display the men...

Страница 35: ...ign the cursor with the edge of the row header Click on the edge when the cursor changes to a left right arrow head and drag the edge to adjust the row width Setting detailed display categories Settin...

Страница 36: ...image Here explanations are provided regarding Viewer configuration as well as names and functions within the Viewer cMenu bar You can select and execute the various functions and settings of the ACDS...

Страница 37: ...ons eViewer pane Viewer pane displays your images one at a time in full resolution fStatus bar Status bar displays information and properties for the selected folder file or files When the viewer is d...

Страница 38: ...licking on pictures to select multiple images After selecting the images select Extras from the Activities menu and select Photostitcher from the submenu The Photostitcher is not enabled if two or mor...

Страница 39: ...When the position is adjusted click the STITCH button 4 Select the stitching method You can choose the stitching method from Big Plane and Cylinder Here you will create a flat panorama Click the Big...

Страница 40: ...is adjusted click the Trimming button 6 Save the image After confirming your trimming click the Save button to save the image To cancel the trimming click the Cancel Trimming button When you are done...

Страница 41: ...rrow on the right The selected images are displayed on the image layout palette in the alignment window 5 Setting the stitching parameters Click the Stitching method button to open the stitching param...

Страница 42: ...the mouse button and drag the image to adjust the stitching position For easier adjustment of two images that are next to each other click the Align 2 images tab to enlarge the section where the image...

Страница 43: ...use button and drag the dotted lines to adjust the image trimming position When the position is adjusted click the Trim button again To cancel the trimming click the Undo button After confirming your...

Страница 44: ...ialog box is displayed 3 Select or change the printing options 4 Click Print You can print the currently viewed image or all images that reside in the same folder as the currently viewed image 1 Selec...

Страница 45: ...humbnails size 1 In the Browser select a group of images Press the Ctrl key on the keyboard while clicking on pictures to select multiple images for printing 2 Select Print Contact Sheet from the File...

Страница 46: ...ect an image or a group of images To select several images press the Ctrl key on the keyboard while clicking on pictures to select multiple images 2 Select Share from the Activities menu then select E...

Страница 47: ...w ACDInTouch is a data exchange service When you connect information is sent to you so that you can read up to date information directly in the ACDInTouch pane This information is relevant to your pro...

Страница 48: ...ttp www pentax co uk PENTAX France S A S 12 14 rue Jean Poulmarch 95106 Argenteuil Cedex FRANCE PENTAX Benelux B V for Netherlands Spinveld 25 4815 HR Breda NETHERLANDS http www pentax nl for Belgium...

Отзывы: