background image

©  PCE Instruments 


User Manual 

User manuals in various languages (Deutsch, 

français, italiano, español, português, nederlands, 

türk, polski, 

русский

中文

) can be downloaded here:  

www.pce-instruments.com 

Last change: 25 October 2017 

v1.0 

Engli

sh


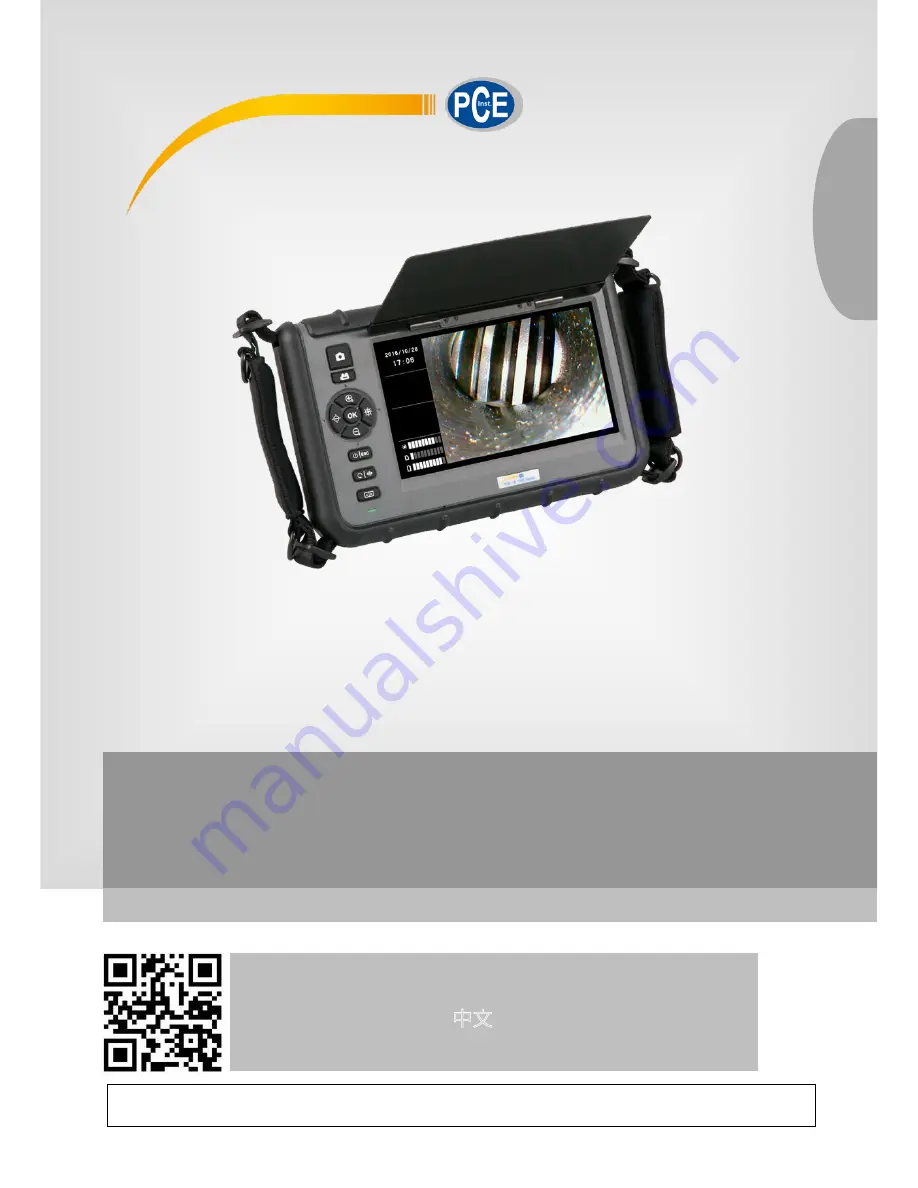
PCE-VE 1000 

Videoscope


Содержание PCE-VE 1000

Страница 1: ...r Manual User manuals in various languages Deutsch fran ais italiano espa ol portugu s nederlands t rk polski can be downloaded here www pce instruments com Last change 25 October 2017 v1 0 English PC...

Страница 2: ...ng the image 8 6 4 Pre timed video recordings 8 6 5 Playback function 8 6 6 Functions for video recording 9 7 Settings 9 7 1 General settings 9 7 2 SD card 9 7 3 Language 10 7 4 Date and time 10 7 5 A...

Страница 3: ...The case should only be opened by qualified PCE Instruments personnel Never use the instrument when your hands are wet You must not make any technical changes to the device The appliance should only...

Страница 4: ...E Instruments 2 System description 2 1 Main unit 1 Record 2 Snap 3 Right brighten 4 Up zoom in 5 Left dim 6 OK Menu 7 Down zoom out 8 Power ESC 9 Rotate mirror 10 Power indicator 11 Integrated microph...

Страница 5: ...PCE Instruments 1 Sun visor 2 Stand 2 2 Connectors 1 Reset 2 SD card slot 3 AV out 4 USB interface 5 DC in...

Страница 6: ...PCE Instruments 2 3 Back 1 Insert tube connector 2 PRM280 mount 3 Tripod thread 2 4 Display 1 Date 2 Time 3 Repeat recording indicator 4 Brightness indicator 5 SD card status 6 Battery indicator...

Страница 7: ...PCE Instruments 2 5 Display with included accessories...

Страница 8: ...layed in the left information field underneath the time indication after the recoding has been stopped Simultaneously with the video recording an audio file will be recorded which allows the user to l...

Страница 9: ...ion is not activated the recording will automatically be stopped after 30 minutes To enable the single sequences enter the main menu by pressing the button After this the and buttons must be used to g...

Страница 10: ...mark the chosen file It will then be marked with an orange X 3 When all unwanted files are marked press the button to start the deletion process The display will show DELETE FILE and give you the opt...

Страница 11: ...s an automatic shutdown function that can be activated To do so enter the main menu and the submenu AUTO POWER OFF The buttons and can be used to navigate through the different time settings You can c...

Страница 12: ...e you can proceed as follows 1 Switch off the device 2 Loosen the cable from the device and pull it out carefully 3 Insert the different borescope cable Note that the pins have to be inserted correctl...

Страница 13: ...0 4 9 mm 4 With front and lateral camera 5 5 mm 5 With front camera 6 mm 6 2 way 28 mm 0 Always with 22 m cable Resolution 320 x 240 640 x 480 HR Type of cable n a for 22 m cable Flexible F Only added...

Страница 14: ...2 Turn on the borescope and place the camera head in the desired inspection area Operation 1 Using the rotary knob you can control the wire draw mechanism This moves the camera head By turning the ro...

Страница 15: ...he probe does not get in touch with inflammable liquids or gases The HR cable includes various small cables which control the optics and electronics of the camera tip To ensure high reliability do not...

Страница 16: ...cm Put the protection ring back on and tighten it when not using the device for a longer period of time Do not crash the probe head Make sure that the camera does not get in contact with the followin...

Страница 17: ...t slightly until it is fixed To clean the camera head use the cleaning liquid and the swabs provided in the cleaning kit Technical specifications Length of camera head 20 mm Diameter with protection r...

Страница 18: ...y activates a mirror which enables particle free vision 9 Connector 1 Probe to guide the camera 2 Bending neck 3 Camera head for illumination and capturing 4 Assembly ring to attach accessories 5 Prot...

Страница 19: ...ssembly ring down to the bottom Step 3 Screw the mirror attachment onto the thread until the thread is completely covered Step 4 Align the lateral LED opening of the mirror attachment in a way that th...

Страница 20: ...p 2 Screw the climbing ball on until it snaps in Please note that the magnetic hook and the climbing ball can only be attached to borescope cables with a diameter of 5 5 mm Operation Boost key Use thi...

Страница 21: ...image by 90 four times for instance when trying to read an inscription completely Light key When using the mirror attachment this key improves the vision which will not be impeded by particles dust e...

Страница 22: ...pollutants batteries must not be disposed of as household waste They must be given to collection points designed for that purpose In order to comply with the EU directive 2012 19 EU we take our devic...

Страница 23: ...0583 975 114 Fax 1 561 320 9176 Fax 44 0 2380 98703 9 Fax 39 0583 974 824 info pce americas com info industrial needs com info pce italia it www pce instruments com us www pce instruments com english...

Отзывы: