Manual
13
* Use the "▲ button" (4-5) and the "▼ button" (4-6) to adjust the desired value on the right bottom of the
display.
* When you press the "Enter button" (4-4) once, the adjusted value will be saved into the memory and
then the device will return to the normal measuring screen and finish the offset adjustment procedure.
* The above offset adjustment for Type K/J/T/E/R/S is valid for T1, T2, T3, T4 at the same time.
Pt 100 Ohm offset adjustment
1) Set the function to Pt 100 Ohm.
2) Insert the Pt 100 Ohm probe to the PT1 (PT2) input socket.
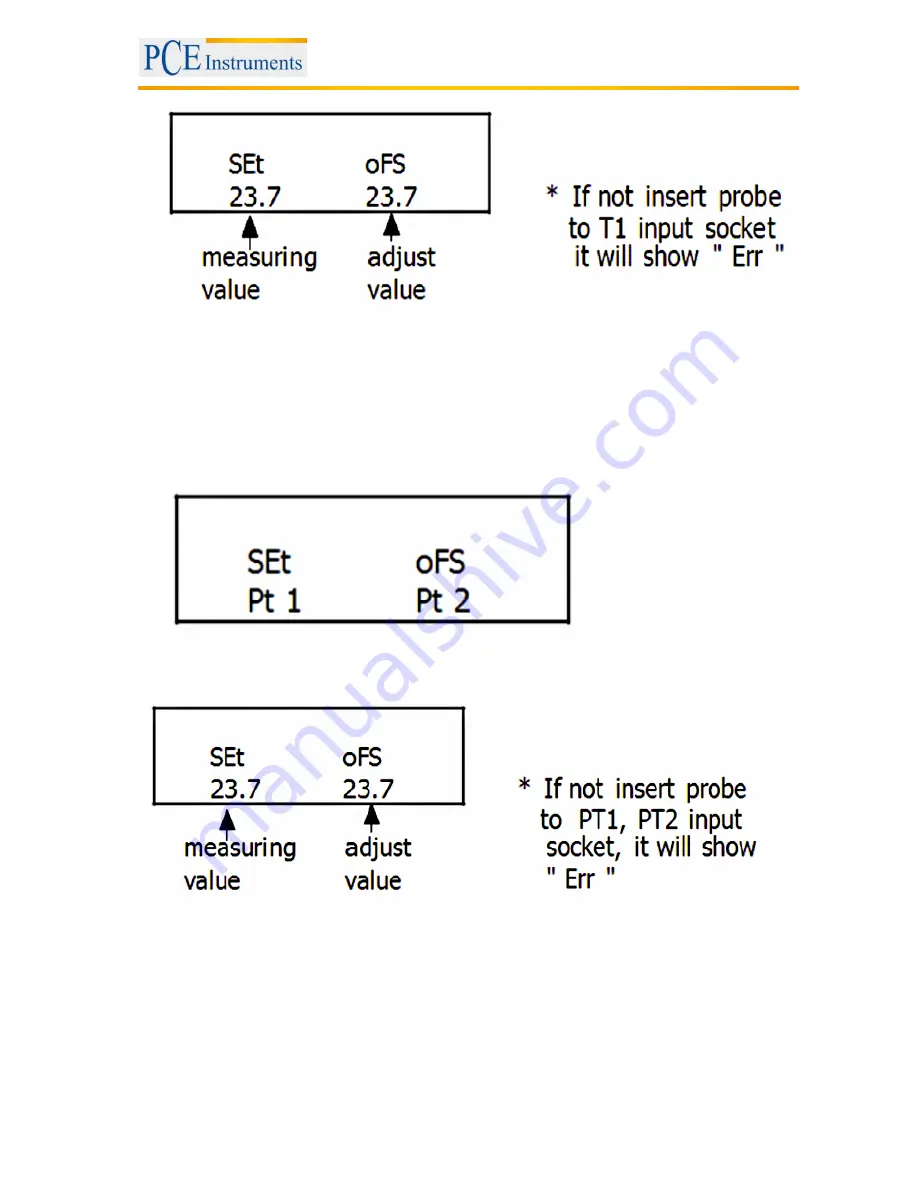
3) Press the "Offset button" (4-8) continuously for at least two seconds, then release it. The
display will show:
4) If you wish to make the offset adjustment for Pt 1, insert the probe into the PT1 input socket. Press the
"L button" (4-5) once so that the display will show an example as follows. If you want to make the offset
adjustment for Pt 2, insert the probe to the PT2 input socket. When you press the "R button" (4-6) once,
the display will show an example as follows:
* Use the "▲ button" (4-5) and the "▼ button" (4-6) to adjust the desired value on the right bottom side of
the display.
* Press the "Enter button" (4-4) once. The adjusted value will be saved to the memory, then the device
will return to the normal measuring screen and finish the offset adjustment procedure.
* The above offset adjustment for Pt 100 Ohm is valid for PT1, PT2 individually.


