© PCE Instruments
5
Operation
Press the on / off switch on the back panel of the viscometer to turn it on.
After switching on, the device performs a self-calibration, which lasts for about 10 seconds
(spindle rotates). Meanwhile, the serial number is shown on the display.
ATTENTION:
Make sure that the motor unit is in the highest position when switching on
the device and that the impeller can rotate freely and is not in the sample.
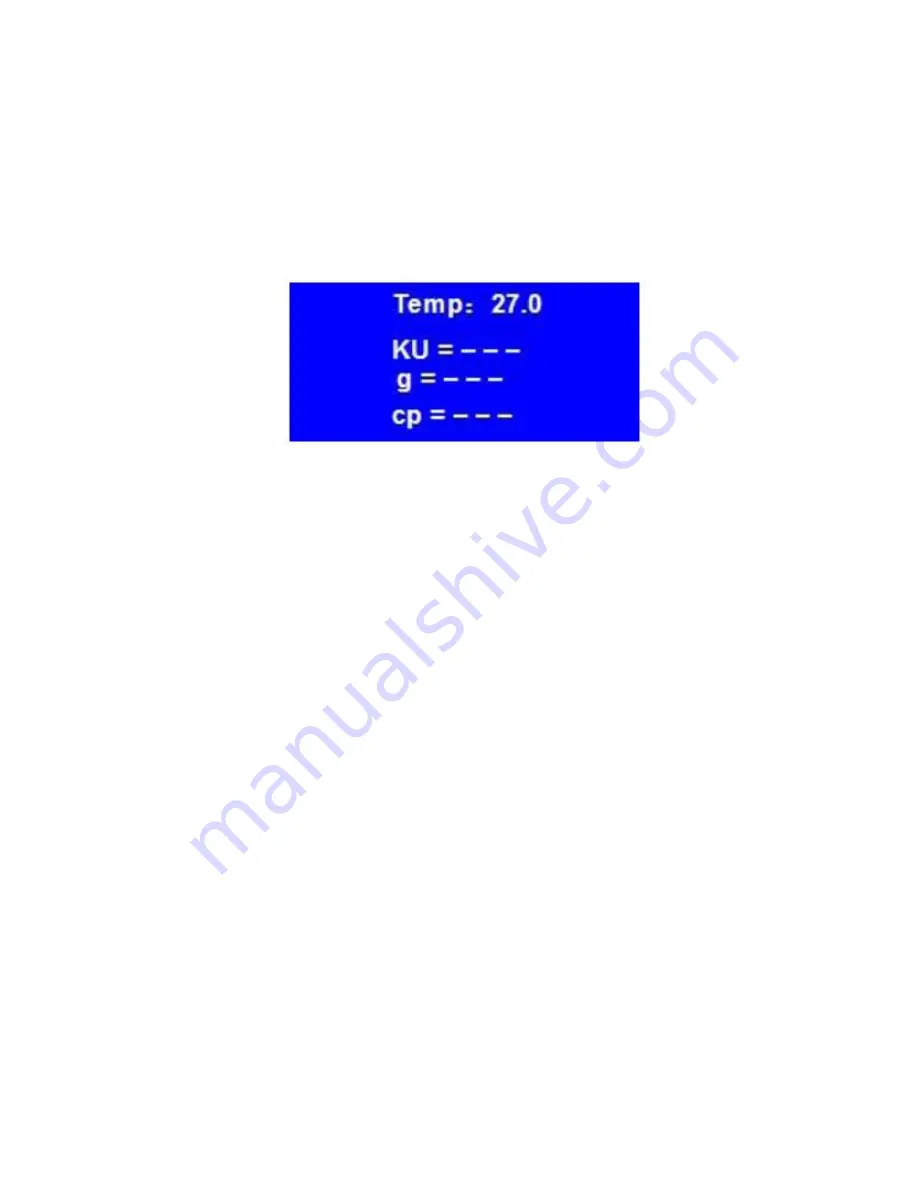
After the self-calibration, you get to the main screen:
The temperature is displayed at the top of the screen. Below that, there are the indications for
viscosity (KU, g, cP).
5.1
Measurement
To perform a measurement, follow these steps:
1.
Fill the measuring cup with the desired sample. Note that the sample has to reach the
marking on the spindle (above the wings). If necessary, use one of the supplied
stands.
2.
Move the lever down until the lowest position is reached The spindle should be in the
sample now, up to the marking.
3.
Once the lowest position has been reached, the viscometer starts the measurement.
The spindle starts rotating automatically. The measured values can now be tracked
on the screen. In addition, a "o" symbol appears in the upper right corner of the
screen. This means that the measurement has not been completed yet.
4.
When the measurement is completed, a "●" instead of "o" appears in the upper right
corner of the display. The final measurement values can now be read from the
display.
5.
Now move the lever up until the motor unit and the spindle are in the highest position
again. The measurement is finished and the rotation of the spindle stops.


