manualshive.com logo in svg
background image

MAINTENANCE

Paslode

®

 tools are built for ease of maintenance.  A few

simple details will assure trouble-free operation and long
tool life. Anyone who uses or maintains the tool must read
the safety and maintenance instructions.  Study the sche-
matic drawing before starting any repairs on the tool.

Air-operated tools must be inspected periodically, and worn
or broken parts must be replaced to keep the tool operating
safely and efficiently.  Also the items on the maintenance
chart must be checked often.

Cold Weather Care

When temperatures are below freezing, tools should be
kept warm by any convenient, safe method.  If this is not
possible, the following procedure should be used to warm
up the tools.

■  

Reduce the regulated air pressure to 30 psi.

■  

Remove all fasteners from the tool.

■  

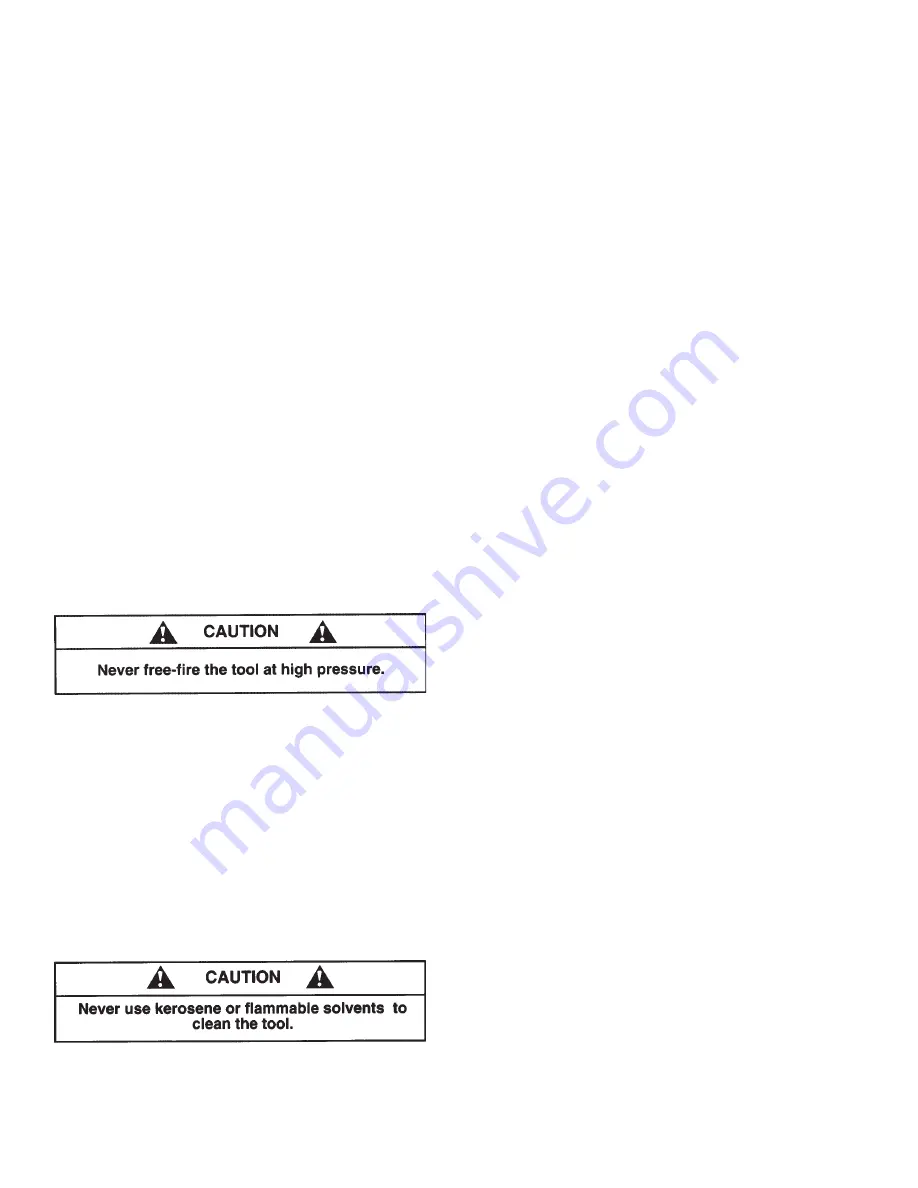
Collect an air line and blank fire the tool.  The reduced

air pressure will be enough to free-fire the tool.  Slow speed
operation tends to warm up the moving parts.  Slowing up
the piston helps the bumper and the O-rings to become
springy.

■  

Once the tool is warmed up, readjust the regulator to

the proper working pressure and reload the tool.

■  

Tool operators working outdoors or in unheated areas in

extremely cold temperatures should also:

■  

Use Paslode pneumatic oil with antifreeze in the

lubricator, Part No. 219090 (8oz.)

■  

Once a week, depending on the amount of tool use,

take the tool apart and wash away any sludge with
degreaser cleaner (Paslode Part No. 219086) to keep the
tool operating efficiently.

Cleaning the air-operated tools with solvents removes the
thin coating of grease applied to the cylinder wall and
O-rings at the factory.  To replace this coating of grease,
use Chemplex grease (Paslode Part No. 403734).

■  

Open the drain on the air compressor tank to drain any

moisture at least daily in extremely cold or humid weather.
A few ounces of anti-freeze in the tank will keep the air
free of frost.

Testing the Tool After Servicing

After replacing any part or parts, it is important to check
the tool for proper operation.  This ensures that the tool
was put together correctly, is safe to use, and will perform
the job properly.

■  

Ensure that all hardware is tight.

■  

Ensure that the work contacting element is installed

correctly in relation to the trigger, and that both parts
move freely.

■  

Ensure that the magazine is properly attached.

■  

Ensure that the required safety information on the tool

is legible.

■  

Use only Paslode approved fasteners in the tool, and

ensure that they are correct for the application.

■  

Ensure that a male air fitting is securely connected to

the tool.

■  

Test the tool by driving fasteners into a workpiece

identical to the tool's application.

■  

Check the tool for air leaks during testing and for the

proper sequence of operation.

■  

Ensure that all fasteners are driven to the same depth

and that the crown of the fastener is flush with the
workpiece.

Tool Lubrication

It is most important that the tool be properly lubricated by
keeping the air line lubricator filled and correctly adjusted.
Without proper lubrication the tool will not work properly
and parts will wear prematurely.

Use the proper lubricant in the air line lubricator.  The
lubricator should be of low air flow or changing air flow
type, and should be kept filled to the correct level.  Use
only Paslode recommended lubricants.  Substitutes may
harm the rubber compounds in the tools O-rings and other
rubber parts.  Paslode Part No. 219026 is a pneumatic
lubricating oil specially made for pneumatic applications.

If a filter/regulator/lubricator is not installed on the air
system, air operated tools should be lubricated at least
once a day with 6 to 20 drops of oil, depending on the
work environment, directly through the male fitting in the
tool housing.

Most minor problems can be resolved quickly ans easily
using the maintenance table that follows.  If problems
persist, contact your Paslode dealer for assistance.

12

Содержание Paslode 403606-10

Страница 1: ...P Operating and Maintenance Manual PNEUMATIC TOOLS 403606 10 08 02 ...

Страница 2: ...r length in inches that can be used with the tool 00 S 00 P Type of tool P powerpack DL double length Gauge of fastener Indicates crown size W wide S standard I intermediate N narrow Maximum fastener length in millimeters O 000 Paslode is a member of NAILER Tool application letter Maximum fastener length in inches that can be used with the tool O 000 Type of tool C coil nailer S strip nailer F fin...

Страница 3: ...your new tool Also read Paslode s warranty statement in the back of this manual Even though Paslode ia a leader in the power fastening business we continually strive to find new and better ways of improving our products That is a commitment we ve made to our most important asset our customer Paslode also manufactures a line of cordless tools featuring Impulse Technology which are not covered in th...

Страница 4: ... help prevent accidental firing Never tamper with disable or remove the work contacting element Do not use the tool unless the work contacting element is working properly The tool could fire unexpectedly DISCONNECT THE TOOL WHEN NOT IN USE Always disconnect the tool from the air line when it is not in use or when you leave the work area The tool should never be left unattended because people who a...

Страница 5: ...the bottom of each branch line A refrigerant type dryer is installed on the system Air hoses are kept as short as practical A regular maintenance program is followed Outdoor Air System Installation Be certain that A moisture trap and a filter regulator lubricator are installed at the compressor Air hoses and fittings are large enough so that air flow is not restricted Minimum hose size is 3 8 inch...

Страница 6: ...ber is found in the Air Consumption Chart In this example using the air consumption chart wefind that a compressor providing at least 19 scfm of air is required Because in compressors approximately 1 hp is required to produce 4 scfm a compressor of at least 5 hp is required Calculated Required Piping For example given a 20 hp electric compressor supplying approximately 80 cfm of air at 120 psi and...

Страница 7: ...ir hose requirements and lengths In general no other special installation is required 5 If the operator is working at a bench or table it is usually best to run the air line underneath the bench A small tray under the benchtop can hold the fastener supply and the tool when not in use 6 If this tool does not work when it is first con nected do not try to make repairs Call your Paslode representativ...

Страница 8: ...asteners have been driven release the tool trigger to avoid unintentional fastener discharge Sequential Operation The sequential operating kit prevents succesive or bounce driving Depress the work contacting element and hold it against the work surface before pulling the trigger After each fastener is driven completely release the trigger and lift the tool from the work surface TOOL OPERATION cont...

Страница 9: ...ep No 3 Remove the retainer from a nail coil and place the nail coil in the magazine with the tips of the nails against the loading tray and with about 4 inches of coil unwound Step No 4 Slide the free strip of nails along the top of the feeder body assembly and place the first nail between the feed claw and the locator Step No 5 Carefully close and latch the magazine door Step No 6 Advance the fi...

Страница 10: ...PowerMaster Plus Series Strip Nailer Step No 1 Grasp the nailer handle firmly Pull the magazine follower all the way to the rear of the magazine until it is latched into its loading position by the magazine latch Step No 2 Insert the a strip of fasteners into the top of the magazine with the point of the nails facing the nose area Step No 3 Hold the follower firmly and press the follower latch Sli...

Страница 11: ...t of the tool until it locks in place The tool is now ready for use 6000 Series Strip Nailer Step No 1 Grasp the nailer handle firmly Pull the magazine follower all the way to the rear of the magazine and pivot it downward until it latches into the locked position Step No 2 Insert the a strip of fasteners into the top of the magazine with the point of the nails facing the nose area Step No 3 Pivot...

Страница 12: ...n the tank will keep the air free of frost Testing the Tool After Servicing After replacing any part or parts it is important to check the tool for proper operation This ensures that the tool was put together correctly is safe to use and will perform the job properly Ensure that all hardware is tight Ensure that the work contacting element is installed correctly in relation to the trigger and that...

Страница 13: ... Keep tool lubricated Prevent clogging of filter with dirt Prevent air leakage and pro mote efficient operation Promote operator safety and efficient tool operation Prevent jamming of fasteners Assure long life and proper operation of tool Keep tool operating efficiently and maintain Paslode tool warranty Open manual petcock most air supply systems have such a valve Fill with Paslode pneumatic too...

Страница 14: ... air lines 3 8 inch ID minimum Adjust work contacting element extend length Reduce air pressure Open front guide latch release jammed fastener and close latch securely Check magazine for proper fasteners Magazine follower should slide freely Clean as needed to remove debris Make sure correct fasteners are being used Use fasteners that meet Paslode specifications only Increase air flow to tool use ...

Страница 15: ...TOOL WARRANTY TOOL WARRANTY AND LIMITATIONS An Illinois Tool Works Company 888 Forest Edge Drive Vernon Hills Illinois 60061 P 15 ...

Отзывы: