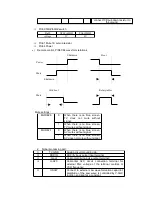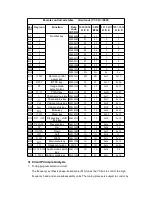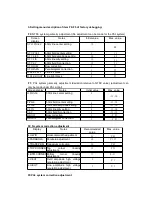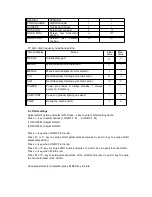
retains the factory mode.
B. Use factory debugging remote control:
1) Press FA key (Factory key) to return to the factory debugging menu.
C. Aging mode
a. Use factory debugging remote control:
1) Press FA key (Factory key) twice to enter the aging mode, the screen displays
“factory”.
b. Manual operation:
1) In the factory debugging menu, press power switch to exit the factory
debugging state. When start again, the device retains the factory mode.
Note:
Press “Menu” and then “Audio mode” in the factory mode or the aging mode to
directly adjust data, and the screen displays corresponding menu + factory. Press
“Menu” to display the main menu adjustment data. All analog volumes have step of
50 and program searching speed doubles. To exit data debugging, press DISP, the
screen displays “factory” only.
2. White balance debugging:
1)
Intensifying ring adjustment: enter the factory debugging menu and press
”--/-” key to show a horizontal bright line, adjust the bright line to make it just
visible, then the adjustment is completed. Press ”--/-” key to quit the bright line.
2)
Manual white balance adjustment: Press the Factory key of the remote
control to enter the factory debugging menu, press Mute or Recall key or directly
press Number key “2” to select F2 settings page. Press P+/P- to select setting
options and V+/V- key to adjust setting values.
Short-cut keys for manual white balance adjustment under horizontal bright line:
“Number key 1 and 4”: adjust red bias;
“Number key 2 and 5”: adjust green bias;
“Number key 3 and 6”: adjust blue bias.
3) Use automatic white balance meter to adjust white balance:


