21
C
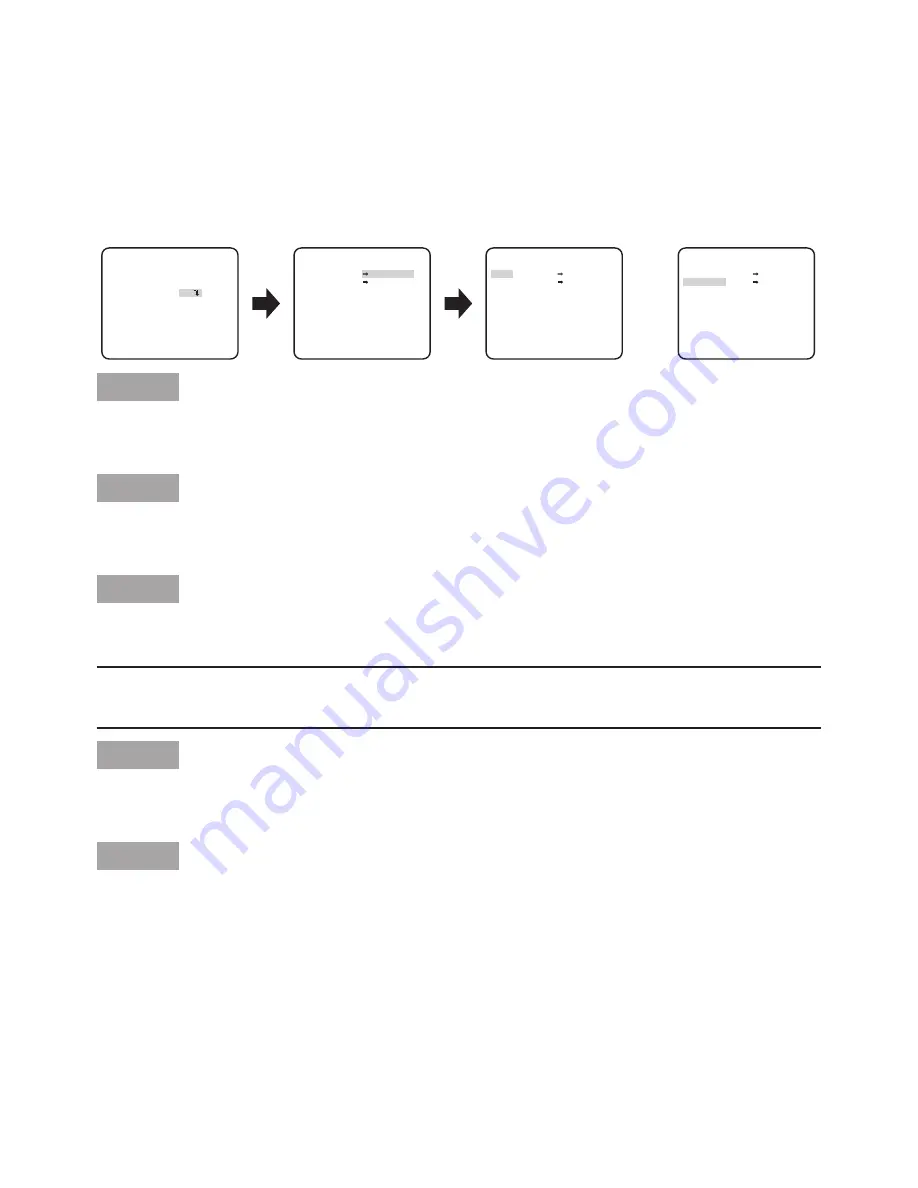
Electronic zoom setting [EL-ZOOM]
Whether or not to use the electronic zoom is determined.
ON: Uses the electronic zoom.
OFF (default): Does not use the electronic zoom.
When "ON" is selected, the zoom factor and the panning/tilting settings can be configured.
Follow the procedure below.
Step 1
Move the cursor to "EL-ZOOM", select "ON" and press the [SET] button.
→
The "EL-ZOOM" setting screen will be displayed.
Step 2
Move the cursor to "PUSH SET" of "ZOOM" and press the [SET] button.
→
The zoom setting screen appears.
Step 3
Adjust the angular field of view by changing the electronic zoom factor (up to 2x) using the
[UP]/ [DOWN] button, and press the [SET] button.
Note:
• When the zoom factor is incremented, resolution will be deteriorated.
Step 4
Move the cursor to "PUSH SET" of "PAN/TILT" and press the [SET] button.
→
The pan/tilt setting screen appears.
Step 5
Use the [UP], [DOWN], [RIGHT], and [LEFT] buttons to determine the position of the area to be
set and press the [SET] button.
The position can be changed in the range of zoom factor set in the "ZOOM" setting screen.
D
Upside-down setting [UPSIDE-DOWN]
ON: The video image can be reversed upside down.
OFF (default): The video image cannot be reversed upside down.
E
Lens distortion correction [LDC]
The image may be distorted depending on the lens used and the zoom factor. By adjusting the lens dis-
tortion correction setting, the distorted image can be converted to match the square monitor and achieve
effects desired by the user.
**EL-ZOOM**
**EL-ZOOM**
PUSH SET
PUSH SET
**EL-ZOOM**
PUSH SET
PUSH SET
PUSH SET
PUSH SET
ZOOM
PAN/TILT
ZOOM
PAN/TILT
ZOOM
PAN/TILT
U ZOOM D
L PAN R
"SYSTEM SETUP" screen
“EL-ZOOM” setting screen
RET TOP END
RET TOP END
“ZOOM” setting screen
“PAN/TILT” setting screen
RET TOP END
MANUAL
SYNC
PRIVACY ZONE
STABILIZER
EL-ZOOM
UPSIDE-DOWN
OFF
INT
OFF
ON
OFF
I...... 0
- +
LDC
FOCUS
**SYSTEM SETUP**
RET TOP END
U TILT D /


