94
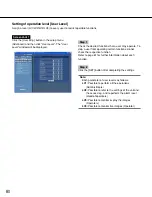
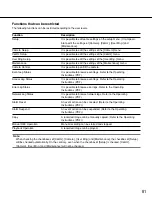
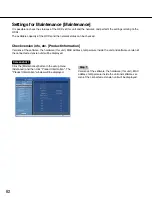
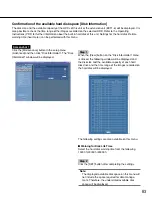
Initialize the pre-recording area [Pre Recording areas Format]
Initialize the pre-recording area as follow.
Important:
• When exiting from the HDD DISK MENU, be sure to click the [Main] button. Do not click the close button
(
) at the top right of the window, otherwise it may cause malfunction.
• Before formatting the pre-event recording area, configure the following setting items for the camera
channel to be assigned to the pre-event recording area to be formatted.
• "MODEL/COMPRESSION", "ADDRESS”, "USER ID" and "PASSWORD" on the "NW Camera Setup" page
• "RATE" and "DURATION" of "PRE-EVENT" on the "Program Setup" page
After configuring the above setting items, access the camera and confirm that images from it can be
displayed.
When the pre-event recording area is formatted even though accessing a camera for which the above
setting items are not configured and images from it cannot be displayed, images to be recorded for
the designated duration by the pre-event recording may sometimes not be recorded.
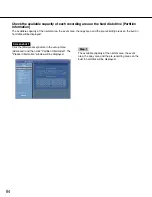
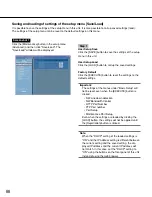
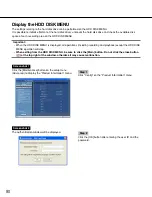
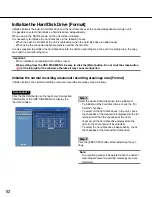
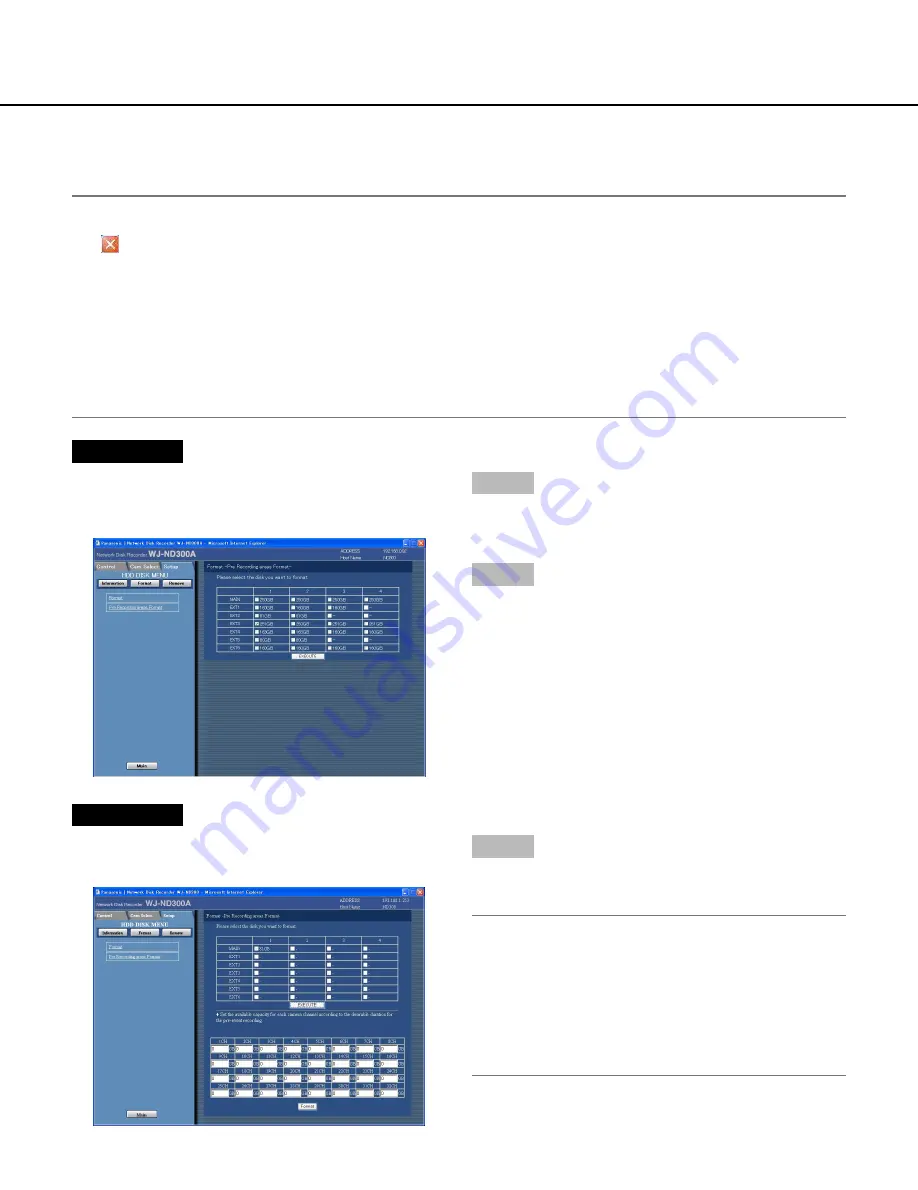
Screenshot 1
Click "Pre Recording areas Format" on the top menu
(Connection Information) of the HDD DISK MENU to
display the "Pre Recording areas Format" window.
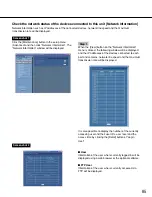
Step 1
Select the desired hard disk drive to be initialized.
Only a single hard disk drive can be initialized at a time.
Step 2
Click the [EXECUTE] button after completing the set-
tings.
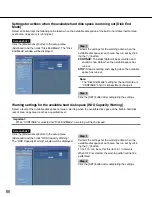
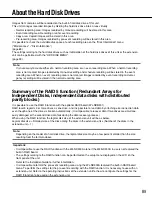
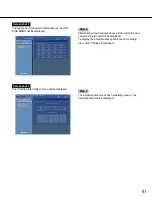
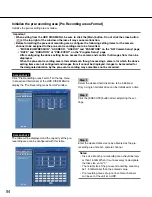
Screenshot 2
The table will be displayed and the capacity of the pre-
recording area can be configured with this table.
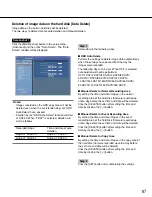
Step 3
Enter the desired disk size to be allocated as the pre-
recording area for each camera channel.
Notes:
• Disk size of each pre-recording area should be larg-
er than 15 GB. When it is unnecessary to designate
the disk size, enter "0".
• The actual size of the pre-event recording area may
be 1-3 GB smaller than the entered value.
• Pre-recording areas of up to 16 camera channels
can be set at the unit or a HDD.

